
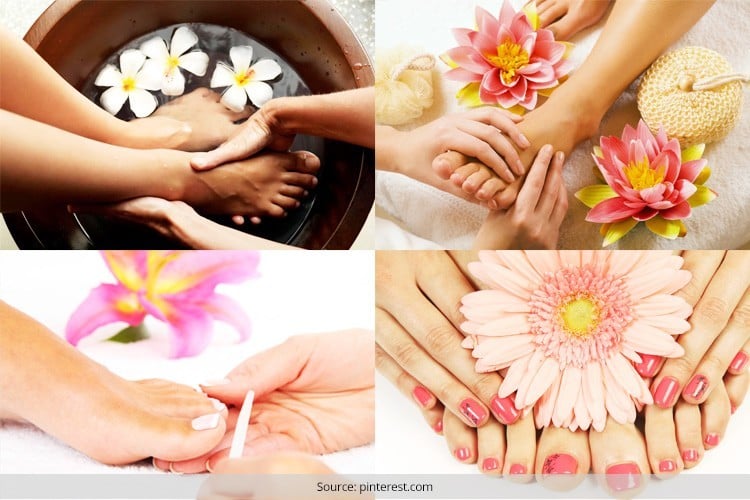
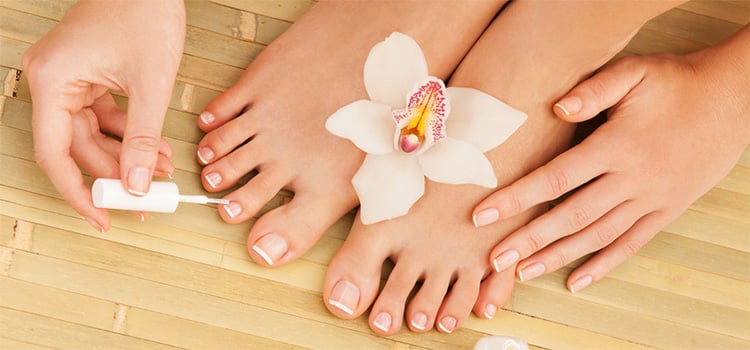
It won’t be fair to ignore the feet, while hands and face are getting pampered by beauty sessions. Since feet are the most exposed area of our body to dust and dirt, they demand a regular attention and care to keep them soft, beautiful and shiny.
Here Is An Easy Step-By-Step Pedicure Tutorial At Home For Beginners. Do Have A Read!
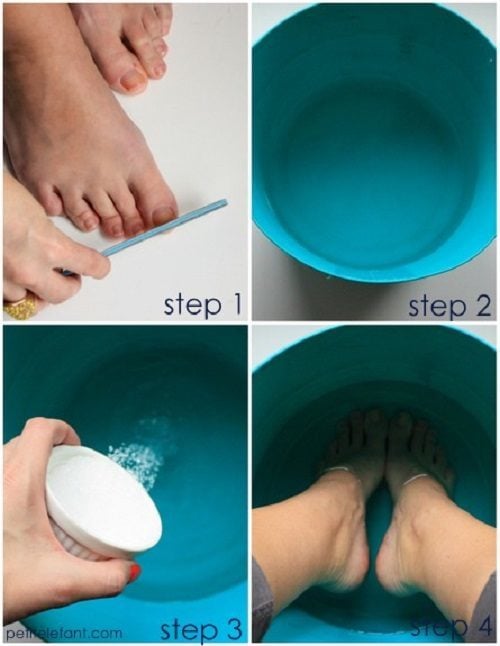
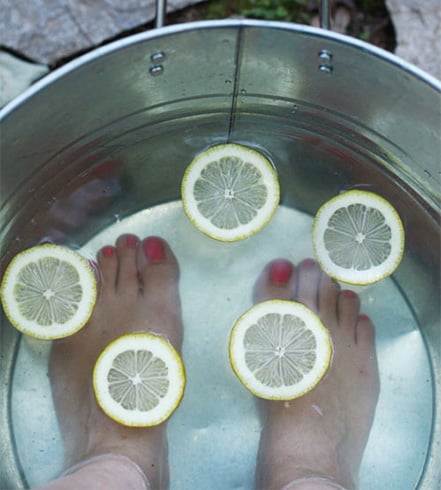
Step 1: Pedicure Bucket
The first step to do a pedicure at home is to get a pedicure bucket/tub ready to soak in your feet. For this, you have to fill half of the bucket with warm water and add some bath salts. If you don’t have then you can also for shampoo as well. Add salt and keep lemon pieces aside. Salt and shampoo make sure to remove the dirt from your feet and foot nails.
[Also Read: French Pedicure Ideas]
Step 2: Remove Nail Paint
After you’ve soaked your feet for a while, the nails would have become soft and now you can easily remove the existing nail paint from your nails.
Step 3: Trimming Nails
Now trim your nails just like you do it during manicure. While many women prefer to keep the foot nails short, there are some who like to all the nails stylish and beautiful. However, while filing the nails, make sure you do not cut them too short.
Step 4: Scrubbing
After soaking the feet in warm water, the heels would have become soft. It can help you easily scrub the heels. You can use a pumice stone to or scrub brush to rub the feet. The scrubbing helps remove the dead cells and rough skin from the heels. Pedicure for cracked heels is extremely important.
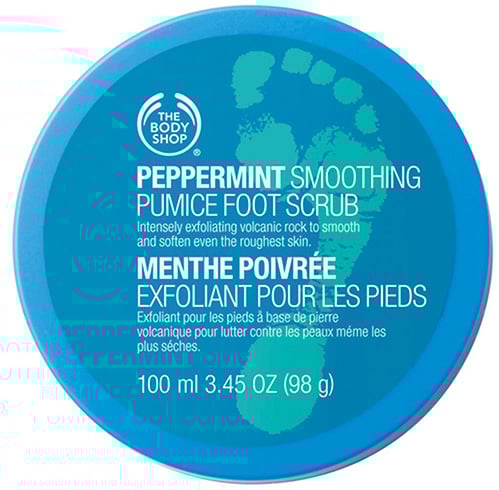
Step 5: Exfoliating
Now again soak the feet in the warm solution for 10 minutes. Use the foot scrub to exfoliate the feet. After scrubbing, apply foot mask but leaves the toes open.
[sc:mediad]

Step 6: Dry The Feet
Now remove the legs from the solution and wipe them with a dry towel.
[Also Read: Pedicure Tools]
Step 7: Prepare The Cuticles
Now it’s time to push back the cuticles. Use a wooden nail stick to push back the cuticle. After filing off the nails, gently push back the cuticles but make sure you do not remove them completely, as it may lead to infection.
Step 8: Cleaning
Unlike hand nails, foot nails easily store in dirt. Use the end of the filer to remove the dirt from beneath each nail. Make sure you clean them gently as you may injure the nails.
Check out this video for better understanding!
Step 9: Massaging
Now that you’re done with filing and scrubbing, it’s time to massage your feet using a moisturizer. It will help your feet from drying.
Tip 1: You can make your pedicure at home last longer by moisturizing it daily. Use a clear nail polish every two days.
Tip 2: After applying the home pedicure products, you can finish off the process by applying some glitter on your nails to make them look shiny and pretty.
Tip 3: You can easily get rid of your cracked heels by applying some Vaseline and covering your feet with a pair of socks. Do this in the night and you will notice positive results within a few days.
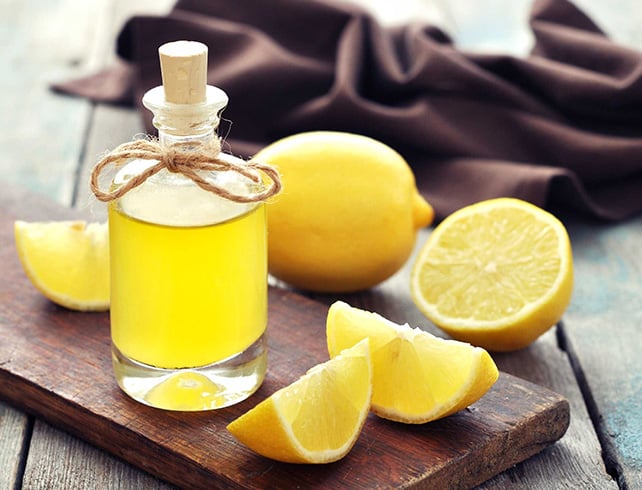
Tip 4: Prepare a homemade massage oil by mixing one teaspoon each of olive and almond oil and add 10 drops of any essential oil. Use this mixture to massage your feet.
Tip 5: Be cautious while cutting or clipping the cuticles as it can lead to infection.
Now that we have given you ample information on how to begin doing pedicures at home, easy and with no fuss, let’s take a look at how to get the french pedicure done at home too. Please read on and be well-informed of the same.
French Pedicure Steps And Tips
If you desire to have the french pedicure and flaunt your lovely toes after that, we are here to help you with that knowledge too.
Step 1: Remove the old nail polish
First up, get a nail polish remover and sit in a comfy position to remove all the old nail polish you have on your toe nails. It should be completely cleans sans any remnants at all on the toe nails.

Step 2: Get a large bowl of warm water
Now soak your lovely feet into a large bowl of warm water.
The temperature should be just right and according to your comfort levels. Too hot and it may scald the feet, too cold and it will constrict the blood vessels.
Soak your feet into this tub with epsom salts thrown into it for easing out the tiredness off the feet and also for exfoliation.
You should now use a pumice stone and gently scrub your feet, to remove dead skin cells and dirt or grime. Be very gently and loving towards your feet when you do that.
If you do not wish to use a pumice stone, you can use a foot scrub and get the exfoliation done.
Step 3: Use a cuticle pusher
Now that the nails are soft and wet, it would be the best time to gently push back the cuticles. While doing so, you have to be gentle so as not to hurt your toes. This helps prepare the nail bed too.
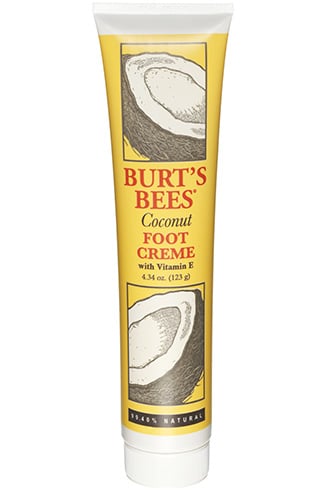
Step 4: Use a foot creme
A foot creams increases cell metabolism and promotes circulation, making the feet softer and more moisturized.
Once you have got the cuticles pushed back, it is time to apply the foot cream and to use effleurage and petrissage strokes to massage the cream gently into the feet.
Point to note here would be to concentrate more on the areas that are dry.
Step 5: Clip your nails
When the relaxing foot massage is done, it is time for you to clip your nails as per the length you desire them to be.
Step 6: Now apply a base coat
The next step would be to apply a base coat to the nails. Give two strokes of the base coat per nail and give it sometime for it to dry.
Step 7: Apply nail polish
Once the base coat has dried up, use the same steps of french manicure to apply your nail polish. Remember to be gentle and patient while doing so, so that you do not spill and overdraw the lines. Wait for a couple of minutes once the polish is put to allow it to set. Once that is done, you may now apply the transparent coat and wait for a few more minutes for it to set and dry.
You now have gorgeous looking toenails and feet worth flaunting. We hope you enjoyed the step by step tutorial on how to do french pedicures at home. And we have a video below for you to check out the same too.
Did you know, there are many ways to do pedicures at home, and you do not have to spend a bomb for them. We encourage you to check out more DIY series on the following-
Types Of Pedicure
Did you know that there are a number of different types of pedicures? You don’t have to just stick to the same old classic pedicure. Take a look at the various options and let us know which one would you love to try out!
- Spa Pedicure
- Fish Pedicure
- Margarita Pedicure
- Stone Pedicure
- Chocolate Pedicure
- Wine Pedicure
- Milk And Honey Pedicure
- French Pedicure
- Gel Pedicure
Now that’s quite an exhaustive list, isn’t it? Well, now that you know what pedicure to choose, how about finding out the health benefits of pedicure?
Benefits Of Pedicure
- A good pedicure helps in relaxing your body.
- It is good way to find out if you are having any fungal infections, corns or bunions.
- It helps in preserving your skin’s moisture.
- There would less chance of an infection when you cut and clean your nails on a regular basis. You can also prevent the problem of ingrown nails.
- The best part of a pedicure is the massage which increases the blood circulation and relieves tension from your calves and feet.
- The final benefit is that of exfoliation through which all the dead skin is removed which makes space for new cells to grow.
We did speak of homemade pedicure scrubs to use should you not want to use a pumice stone, so here are a couple of recipes that you can make, store and use at home when you do DIY pedicures anytime soon! Please take a look!
Here are some Natural Homemade Pedicure Scrubs for You:
1.Olive Oil and Sugar
What all you need:
- A tablespoon of sugar
- A tablespoon of olive oil
- Cotton swabs
Directions:
- Begin by soaking your feet in a large bowl of warm water
- Add epsom salt to it for relaxation
- Massage and knead your feet for circulation
- In a small bowl, mix the sugar and olive oil to form a coaste liquidish formula
- With your hands, gently massage the feet clockwise and anticlockwise for five minutes or as long as you like
- Dip your feet in the warm water and rinse off the feet
- Remove from the warm water and repeat the foot scrub again
- Rinse off finally under cold water
- Dab dry with cotton swabs
- Moisturize and continue with nail polishing
How it works:
Sugar granules are excellent to use as an exfoliating agent, and they help remove the dirt and grime and dead skin cells from the skin of the feet. Olive oil is a natural emollient and a moisturizing agent, it helps trap moisture in the feet skin and keeps the feet supple and nice, and also provides nourishment to the nails to stay strong and sturdy too.
Tip:
This should be done once in fifteen days and not more than that. Do not use this technique if the feet have cuts, nicks, wounds and if the nails have fungal infections or disorders.
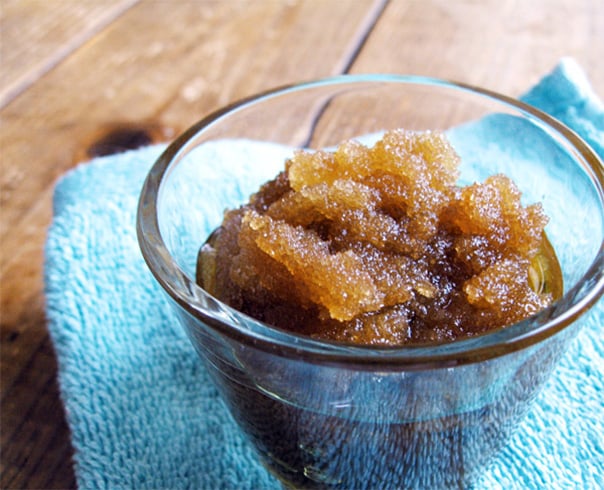
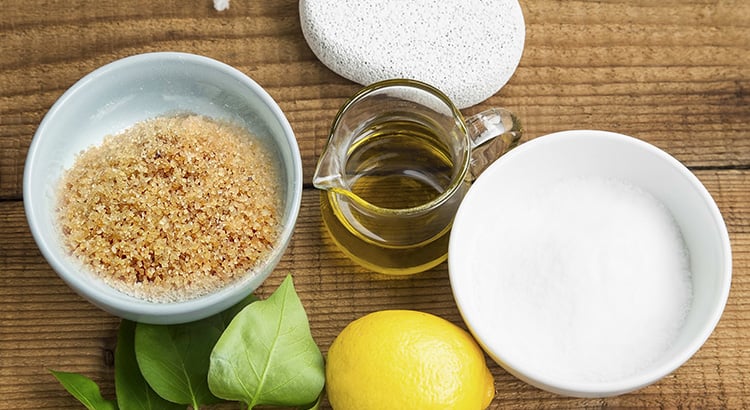
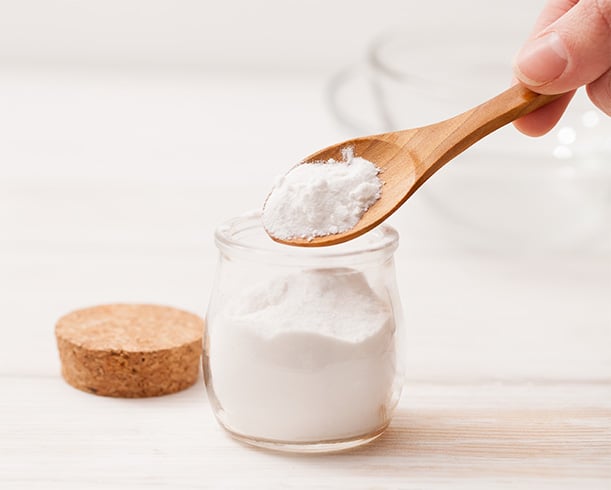
2. Baking Soda, Brown Sugar And Olive Oil
What all you need:
- A tablespoon of baking soda
- A tabelspoon of brown sugar
- A tablespoon of olive oil
- Cotton swabs
Directions:
- Begin by soaking your feet in a large bowl of warm water
- Add epsom salt to it for relaxation
- Massage and knead your feet for circulation
- In a small bowl, mix the sugar, baking soda and olive oil to form a coaste liquidish formula
- With your hands, gently massage the feet clockwise and anticlockwise for five minutes or as long as you like
- Dip your feet in the warm water and rinse off the feet
- Remove from the warm water and repeat the foot scrub again
- Rinse off finally under cold water
- Dab dry with cotton swabs
- Moisturize and continue with nail polishing
How it works:
Sugar granules are excellent to use as an exfoliating agent, and they help remove the dirt and grime and dead skin cells from the skin of the feet. Olive oil is a natural emollient and a moisturizing agent, it helps trap moisture in the feet skin and keeps the feet supple and nice, and also provides nourishment to the nails to stay strong and sturdy too. Baking soda helps lighten up the skin of the feet and illuminates the skin, while removing dead skin cells.
Tip:
This should be done once in fifteen days and not more than that. Do not use this technique if the feet have cuts, nicks, wounds and if the nails have fungal infections or disorders.
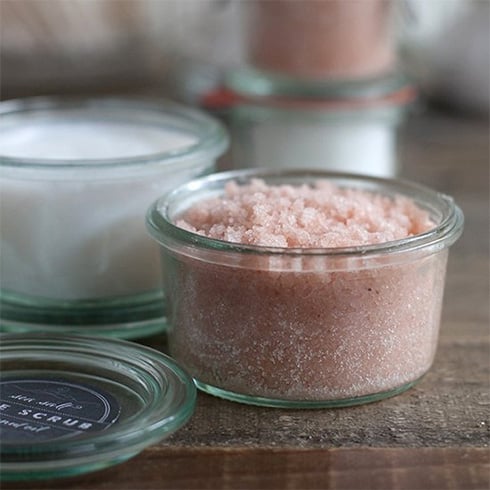
3. Coconut Oil And Sea Salt
What all you need:
- A tablespoon of coconut oil
- Half a teaspoon of sea salt
- Cotton swabs
Directions:
- Begin by soaking your feet in a large bowl of warm water
- Add epsom salt to it for relaxation
- Massage and knead your feet for circulation
- In a small bowl, mix the sea salt and coconut oil to form a coaste liquidish formula
- With your hands, gently massage the feet clockwise and anticlockwise for five minutes or as long as you like
- Dip your feet in the warm water and rinse off the feet
- Remove from the warm water and repeat the foot scrub again
- Rinse off finally under cold water
- Dab dry with cotton swabs
- Moisturize and continue with nail polishing
How it works:
Sea salts are excellent for calming the nerves and also for exfoliation of the skin of the feet. They help in relaxing, stimulating circulation and also with cell metabolism too. Coconut oil is best for trapping moisture into the skin and allowing the skin to stay soft and healthy. It also moisturizes the skin of the feet and feeds the cuticles of the toenails to keep them strong and healthy as well.
Tip:
This should be done once in fifteen days and not more than that. Do not use this technique if the feet have cuts, nicks, wounds and if the nails have fungal infections or disorders.
4. Salt and Baking soda
What all you need:
- A teaspoon of table salt
- A tablespoon of baking soda
- Cotton swabs
Directions:
- Begin by soaking your feet in a large bowl of warm water
- Add epsom salt to it for relaxation
- Massage and knead your feet for circulation
- In a small bowl, mix the salt and baking soda to form a compound foot scrub mix
- With your hands, gently massage the feet clockwise and anticlockwise for five minutes or as long as you like
- Dip your feet in the warm water and rinse off the feet
- Remove from the warm water and repeat the foot scrub again
- Rinse off finally under cold water
- Dab dry with cotton swabs
- Moisturize and continue with nail polishing
How it works:
Baking soda is a natural skin lightener and an excellent foot scrubbing agent, which removes the dead skin cells and promotes healthy skin to come to the layers. Salt is an excellent agent to disinfect any signs of pathogens hiding in the nails and in between toes, and it also helps draw out excess body fluids to promote healthy lipid layers of the foot skin too.
Tip:
DO NOT USE THIS PROCESS ON FEET THAT ARE DRY. To be done once a month only and never on mature feet!
5. Lemon juice and Powdered tea
What all you need:
- A cup of lime juice freshly prepared and in concentrated form
- Half a tablespoon of powdered green tea
- Cotton swabs
Directions:
- Begin by soaking your feet in a large bowl of warm water
- Add epsom salt to it for relaxation
- Massage and knead your feet for circulation
- In a small bowl, mix the lime juice and powdered tea to form a coaste liquidish formula
- With your hands, gently massage the feet clockwise and anticlockwise for five minutes or as long as you like
- Dip your feet in the warm water and rinse off the feet
- Remove from the warm water and repeat the foot scrub again
- Rinse off finally under cold water
- Dab dry with cotton swabs
- Moisturize and continue with nail polishing
How it works:
The vitamin C in lemon helps nourish the cuticles and the nails, and also promotes collagen in the skin, and along with green tea helps fight the onslaught of free radicals and infections if any. Green tea is anti ageing, and has high antioxidants in them to combat free radicals.
Tip:
This should be done once in fifteen days and not more than that. Do not use this technique if the feet have cuts, nicks, wounds and if the nails have fungal infections or disorders.
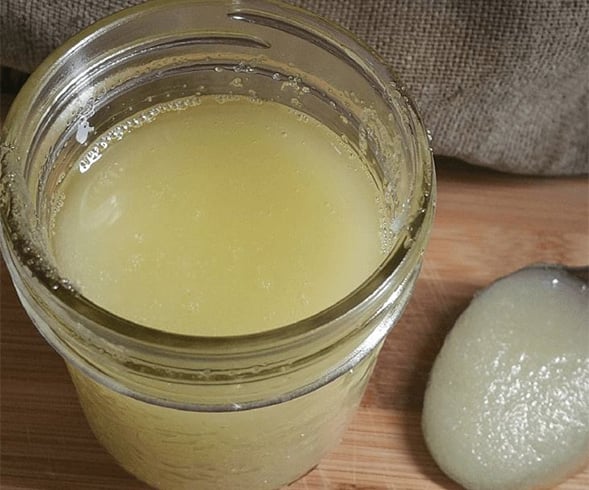
6. Honey and Lemon
What all you need:
- One half of a lime
- A tablespoon of honey
- Cotton swabs
Directions:
- Begin by soaking your feet in a large bowl of warm water
- Add epsom salt to it for relaxation
- Massage and knead your feet for circulation
- In a small bowl, pour the honey. Dip the lemon half into it and start applying on the feet
- With your hands, gently massage the feet clockwise and anticlockwise for five minutes or as long as you like
- Dip your feet in the warm water and rinse off the feet
- Remove from the warm water and repeat the foot scrub again
- Rinse off finally under cold water
- Dab dry with cotton swabs
- Moisturize and continue with nail polishing
How it works:
The vitamin C in lemon helps nourish the cuticles and the nails, and also promotes collagen in the skin. Honey helps moisturize the skin and keeps the pores of the feet refined and tight. It also helps soften the cuticles and makes them strong too.
Tip:
This should be done once in fifteen days and not more than that. Do not use this technique if the feet have cuts, nicks, wounds and if the nails have fungal infections or disorders.
Here were thus various ways to make your own DIY foot scrubs at home. If you noticed, we did mention who should not use these recipes. Read below and know who should not do DIY pedicures, which can do more harm than good to the feet and the nails.
Do not do pedicures at home if you have the following conditions
As monsoon sets in and its raining heavy around, chances are we are more inclined on wearing open toed shoes and heels or sandals. This means, our nails would gather a lot of dirt, and it is only a good pedicure that can remove the same. However, take a look at your feet- the heels, ankles and the toes, and do this before you step into the bathroom for a DIY session. Experts opine that if you have infections, nicks, cuts, wounds, skin disorders or any form of rash on the feet and on the nails, you SHOULD NOT get a pedicure at any cost. Apart from that, pedicure should not be done if you have the following-
- Athlete’s feet- where there is too much dry skin at the bottom of the feet
- Warts and calluses
- Toenail fungus- yellow toenails
- Micro scratches and cuts on the feet and near the nails
- Ingrown toenails
We hope this mini guide on DIY pedicures at home comes in handy. Should you have any issues with your nails, we would ask you to check with a podiatrist or a nail technician for advice.
Hope this post on how to do pedicure at home was helpful to you all. Do not forget to go through our manicure tutorial for beginners.
Images Source: pinterest