
89
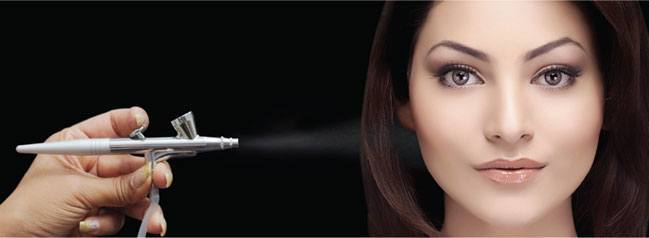
It’s a no-brainer that airbrush makeup works on the theory of air pressure, however, before you get started to dolling up someone; practicing with water makes sense. This would help you acclimatise the motor skills and settings, and you’d learn a little more on the airbrush compressor features along with the gun too.
Points to remember
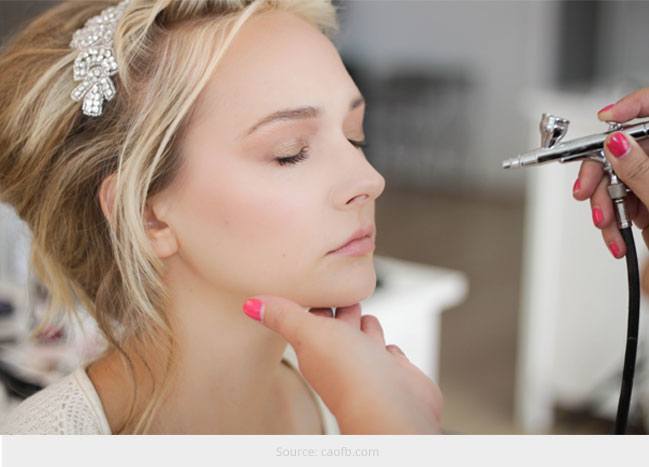
- Prior to applying makeup using a gun, your hair needs to be tied, you don’t want it to be coloured with makeup, now do you?
- Your wrist and hand needs to be firm and steady when using the spray
- Follow the air pressure as released by the gun. You’d know when to start and stop
- Your hands should constantly be in motion using the airbrush gun, or else too much colour would settle on one part of the face; ignoring the other areas. This would make the face look patchy!
- For highlighting, the hand should move from inwards to outwards
- For a tanned look or a concentrated look, the brush should be closer to the skin, not otherwise. Distance of the brush from the face should be borne in mind
- The spraying technique should be uniform, so that every inch of the face is evened out and touched
- Focus on the neck as well; a painted face and a rough look on the neck isn’t pleasing
- Check the brushes which come with the kit. Different sizes for different strokes are to be used
- Short brushes are used to hide spots and blemishes
- Sponges are used to conceal
- The eyes of the model should be closed at all times. Her face should be relaxed for the best results sans wrinkles and creases
- Clean the airbrush after every use. A little care for the product would go a long way. Traces of makeup and dirty brushes would lead to clogging
Source: squarespace.com
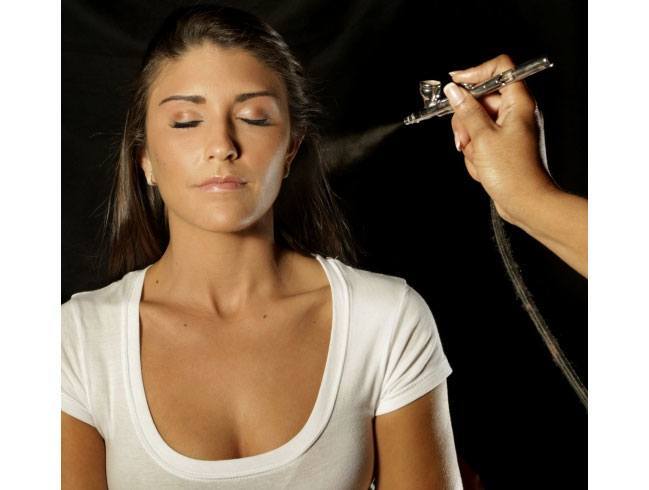
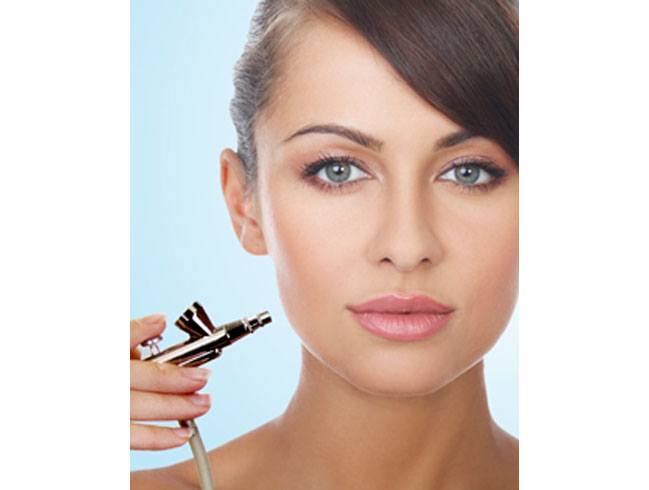
Airbrush for foundation
- Choose a shade that is closest to your skin tone; if required, combine one or two and bring it to a closest shade
- The airbrush should be held at 6inches from the face when the foundation is being sprayed
- Your hands should move in circles, which wouldn’t allow unnecessary concentration of makeup on one part of the face
Source: wordpress.com
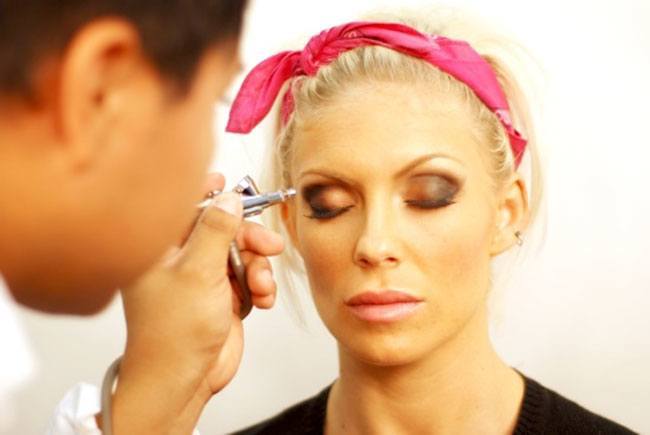
Airbrush for the eyes and the lips
- Use an eye shield (available in all kits) when colouring your lip edge and lower lids
- Use a 2 inch distance to cover the lip and eyelids using the airbrush
- Blend colours for the eyelids, should you be using more than just one shade to doll the eyes
[sc:mediad]
Source: wordpress.com
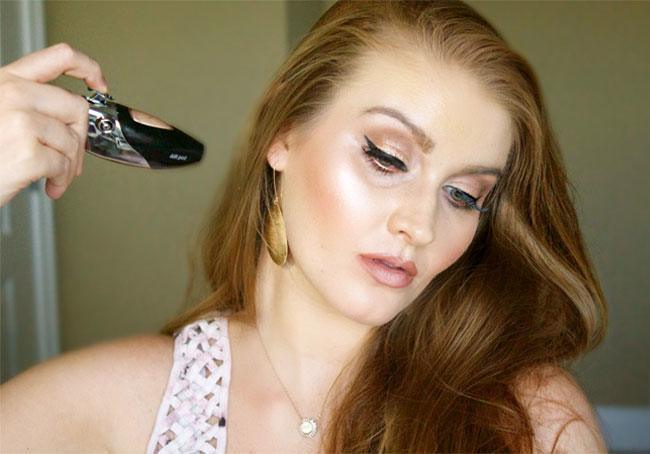
Airbrush for the blush
- Choose a shade which would be closest to your skin tone
- The airbrush should be held at a distance of 4 inches from the temple; spraying should start from the temple and all the way down to the jawline
- While moving the airbrush, it is advised to smile and to move in circles – the cheeks would hold onto the blush much stronger in doing so
Source: annemariemitchell.com
Airbrush to hide spots and blemishes
- Everyone would want this for sure;
- Choose a foundation that you would use everyday
- Grab hold of the airbrush and close in onto the face; press the knob very lightly on the airbrush and allow a little colour to dispense
- Follow the method as mentioned on applying foundation on the face
Source: blogspot.com
We crave for perfection and look for options that are affordable as well. Airbrush makeup is the answer for you; seamless and smooth diva looks are now possible.