
Please bow down. Not to me dearies, but to bow nail art. Because if you are looking for funny and mushy designs for your gorgeous nails, then you are on the right page.
Bow nail art designs are so many. From bow tie nail designs to 3D nail art bows, bow nail designs could leaving you asking for more.
While doing bows for nails, don’t just focus on bows for nails. There are simple things such as polka dots designs which would give plenty of life and take bow nail art many notches up. The same holds for 3D bow nail art.
[Also Read: Nail Art Designs]
So let us get started on the bow nail art step by step and bow tie nail art.
Things Required
- Base color
- Clear polish for the top coat
- Two nail polishes (one you can use for the background and one for the polka dot)
- Toothpick or dotting tool
Process Of Doing Bow Nails
Make a start by painting the base coat on your nails. This is important because it would protect your nails from the additional layers on top. If you want to improve on the longevity of your base coat so that it doesn’t wear off, then don’t hesitate on applying two coats. The two coats can be in any colour but try and choose neutral colours such as white. Before you apply the second layer, see to it that the base coat is dry.
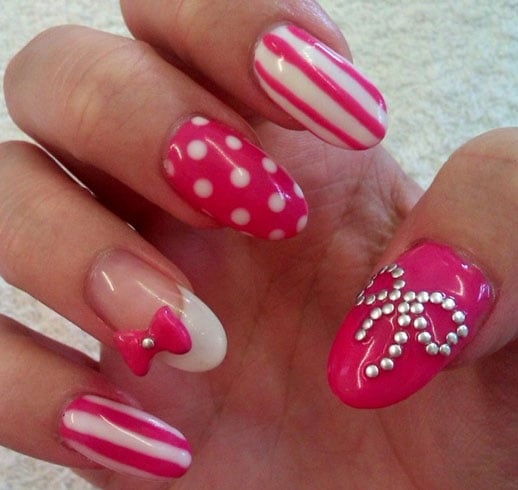
Now paint polka dots on all your fingers. But give your ring finger a skip where you will be putting the bow at a later stage.
When you get familiar on how to paint polka dot nail art then the steps might seem a breeze for you.
[sc:mediad]
Put on your first nail colour which should be contrasting to the polish you plan to use for polka dots. The background layer should be dry before you apply the dots.
On a flat surface put small amount of nail polish and using the toothpick or dotting tool put the dots on your nails in order. You can do it diagonally, horizontally, vertically. In fact you can line them up or randomly paint them. See to it that the dots dry before you proceed further.
When it comes to putting the bow for the ring finger, you can choose a rhinestone. If you are designing the bow at the tip of your nail then position the rhinestone at the middle tip. Dip the rhinestone in clear polish to enable it to stick to your nails. Then add two rhinestones at either side of the first rhinestone. Since you are creating a bow the rhinestones on the outer side should be bigger. Repeat this process with rhinestones the second time before you see a bow like shape on your ring finger.
You can also go for pre–designed bows which you can stick on your finger by using a clear polish.
Bow Nails You Will Freak Out On
[Also Read: Glitter Nail Polish]
[Also Read: Gold And Black Nail Art Designs]
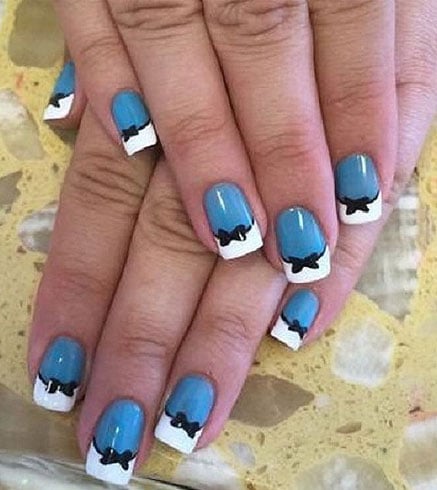
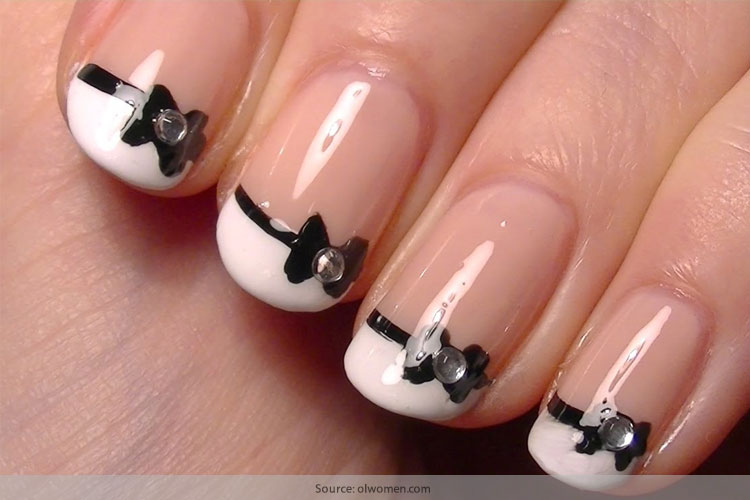
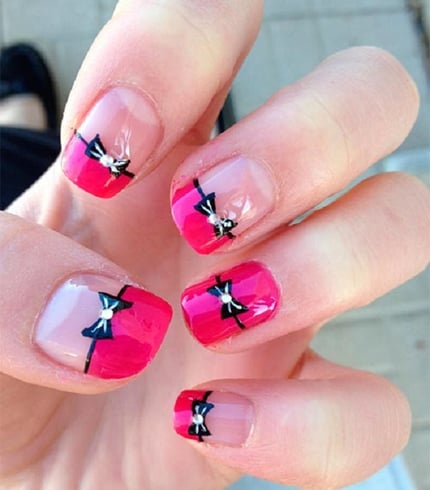
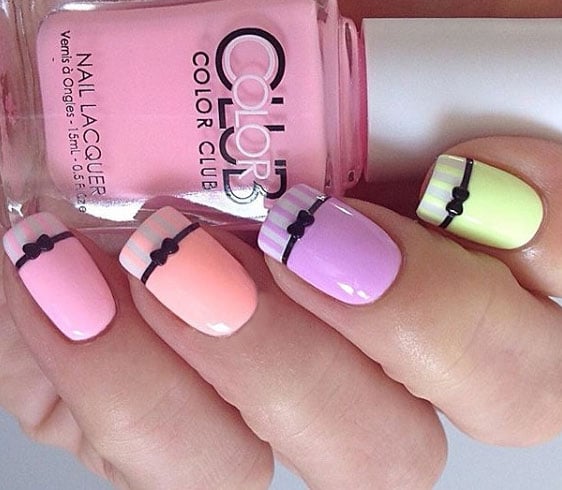
Say yes to pastel and stripes bows for nails. It would dazzle all the more when you add French tip.
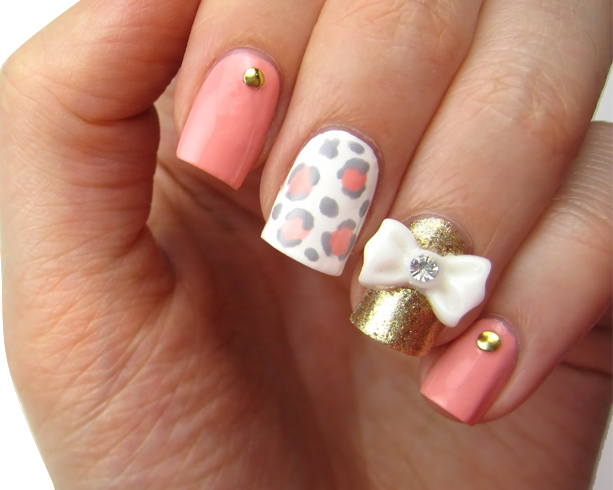
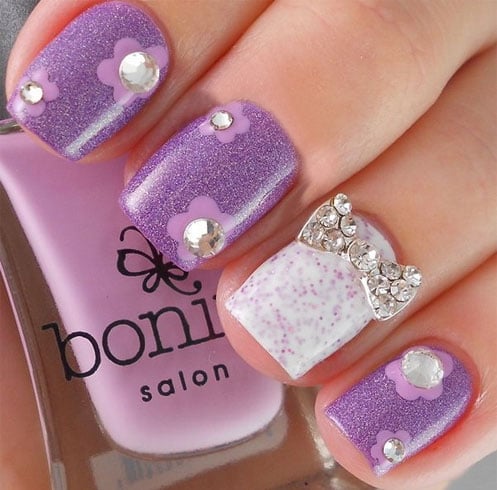
This creative bows for nails adds more sass when you add glitter polish and beaded flowers into violet hues.
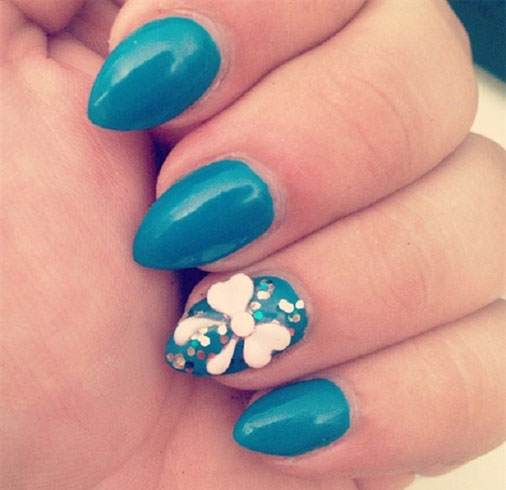
Sport electric blue nails with this bow theme in nail art. Add sequins and a bow embellishment on top for accent.
[Also Read: Christmas Nail Art]
Here are interesting videos which will show you how to do bow nails and 3D Acrylic Bow on your nails.
[Also Read: Black Nail Art]
So which of the bow nail art designs stole your heart? It’s high time you channel your inner fashionista by creating your very own bow nail art and wearing it to town.
Images Source: pinterest.com