After showing you guys how I to do hair straightening in 8 easy steps, I am back once again with another fabulous DIY to get curly hair. Let me assure you this is even easier than the hair straightening tutorial. I thought it would be pretty unfair if I shared tips for my darlings who loved straight strands and ignored who prefer locks.
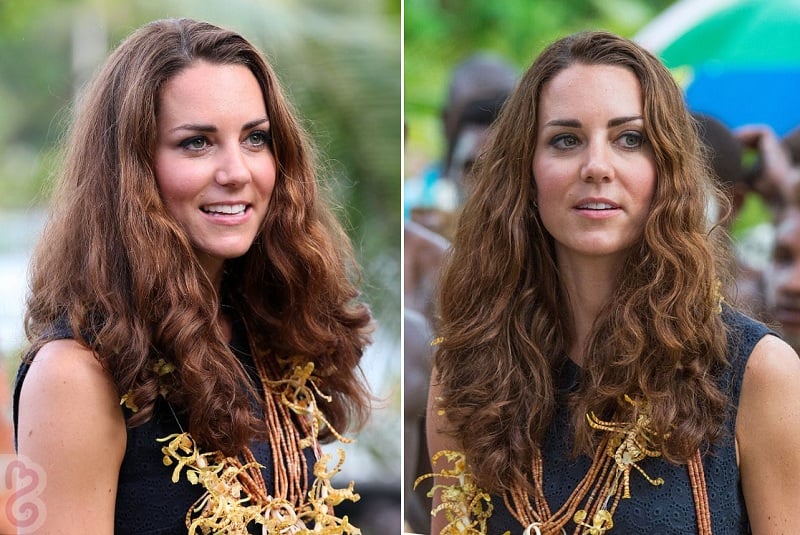
Taking inspiration from the Duchess of Cambridge, Kate Middleton’s barrel curls, I have come up with this step by step tutorial to get a fabulous new look this weekend. You may not have to spend a fortune on a great dress, if you do a bit of image makeover and nothing can be as compelling as hair styling. A new hair cut of styling can instantly change your personality, making you look smarter and confident than ever.
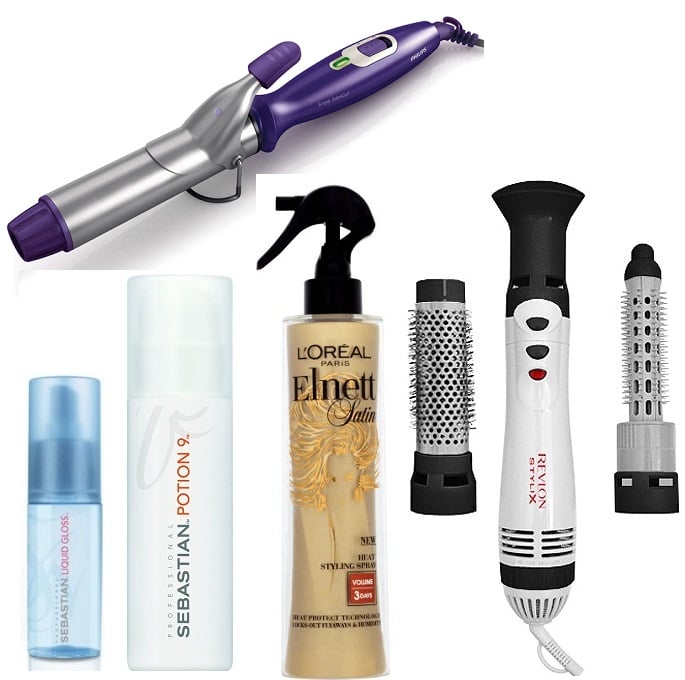
Things required –
Philips SimplySalon Curl – ₹1295
Sebastian Potion 9 – ₹1,177
Sebastian Liquid Gloss – ₹1177
Revlon Tourmaline Ionic Ceramic Hair Dryer – ₹2236
L’Oréal Elnett Satin – ₹932
Paddle brush
Go through this easy 10-step hair curling tutorial to get Kate Middleton look!
Step 1 – Apply Sebastian Potion 9: After washing and drying your hair, groom your hair by applying appropriate amount of Sebastian Potion 9 all over your hair. Start applying from the mid-lengths gradually moving towards the tips.
Step 2 – Blow dry the hair: Using your paddle brush, now blow dry your flipping your head upside down. Make sure the dryer is away from the face.
Step 3 – Create the side part: Once you’ve blow dried your hair then make different sections. You can also go for a side part, as it offers a flattering option for almost all face profiles, whereas a middle part although trendy but suits only narrow and symmetrical faces.

Step 4 -Divide the hair into two sections: Now separate your strands and divide them keeping closer to the crown. Now secure the section of the hair that’s closer to the crown with bobby pins. This will ensure you conveniently curl your locks without having to remove your front locks that keeping falling off.
[sc:mediad]
Step 5 – Start curling: If you’ve thick hair then a curling iron with two-inch barrel will work or else go for curling iron with one-inch barrel.
Step 6 – Curl taking diagonal sections: Start from the temple for curling and move towards the nape of the neck. Now take diagonal sections and use the curling iron keeping it away from the face.
Step 7 – Let hair cool: While you are busy curling hair, make sure you let each section cool without touching the curls. Even though they look tempting just don’t touch them as it will spoil the setting. Once you unpin the hair, repeat this step once again.
FYI: If you’ve soft, natural curls then wrap the hair around the curling iron without using the clamp.
Step 8: Apply Sebastian Liquid Gloss: Once you are done with curling all the sections, leave them to cool. Then, apply one to two drops of Sebastian Liquid Gloss and more at the tips to add shine, whilst creating smooth flyaways.
Step 9: Loosen your curls gently: Now gently loosen your curls by lightly pulling them off. Now bring all the curls and place over the shoulder.


