
Manicure Steps | French Manicure | Homemade Manicure Scrubs
We have posted several articles on nail art designs and tutorials, but ignored the basics. We have therefore decided to come up with an easy step-by-step on how to do manicure at home.
You’re already splurging on beauty treatments in high-end city’s salon. A DIY manicure beauty regimen, for nail care can not only save you from spending huge bucks, but make you a beauty expert as well with skills adhering to your needs. A DIY manicure is simple and wouldn’t take too much time once you have mastered it. You can do manicure at home on weekly or fortnight basis based on the time you have on hand. Manicure tutorials, like we have in this post, shows you a detailed step-by-step procedure. The end also has a DIY manicure video which will be more descriptive if you want to watch the video and learn directly from there. Never-the-less, this is a manicure at home for beginners.
No matter how expensive nail paint you have bought, until and unless you have groomed your nails, they cannot be attractive and gorgeous. Follow these steps to try out.
DIY Manicure at Home:
1.Things required
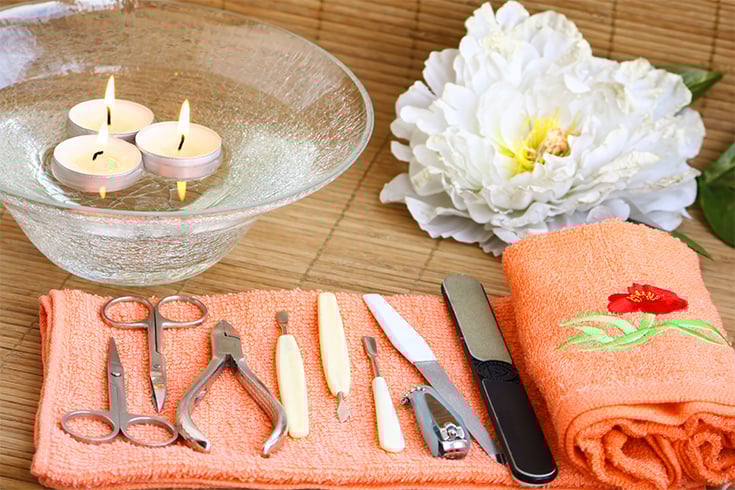
In order to have manicure session at home, you’ve to make sure you have gathered all the required equipment. You may have to run some errands to collect the supplies, but once you’re done then you’re all set for future sessions as well.
So here are the supplies –
- Nail buffer
- Nail trimmers
- Cuticle trimmer
- Cotton balls
- Paint remover
- Nail file
- Nail paint
- Hand cream
- Base coat
- Top coat
2. Set up
Before you initiate the session, choose a place as nail paint and remove can spoil the fabric, wood finish or carpet. It can also damage your cloth, so remove your rings and wear an old T-shirt. Spread a scrap paper or old cloth to protect the surface.
So before we get on to how to do manicure, make sure you have the set up ready.
3. Remover
Remove the existing nail paint from your nails. Swab a cotton ball in remover and gently apply on the nails. Sometimes the nail polish becomes too rigid to be removed, so you can place cotton ball on the nails for a while to remove the paint completely.
Do not use a remover having acetone, as it damages the nails.
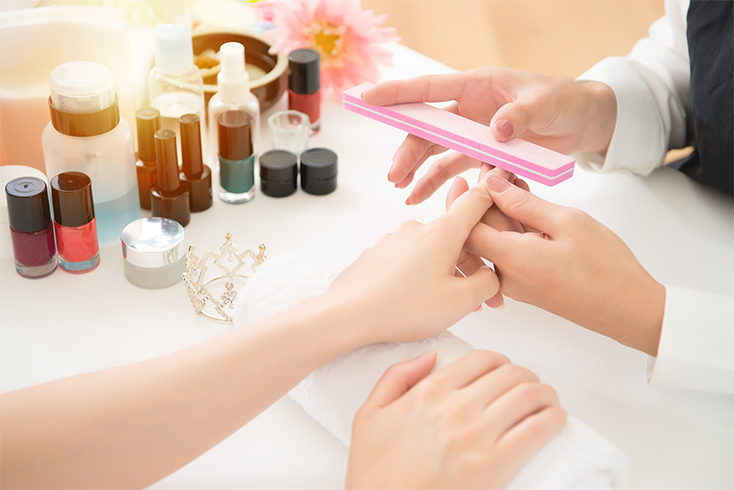
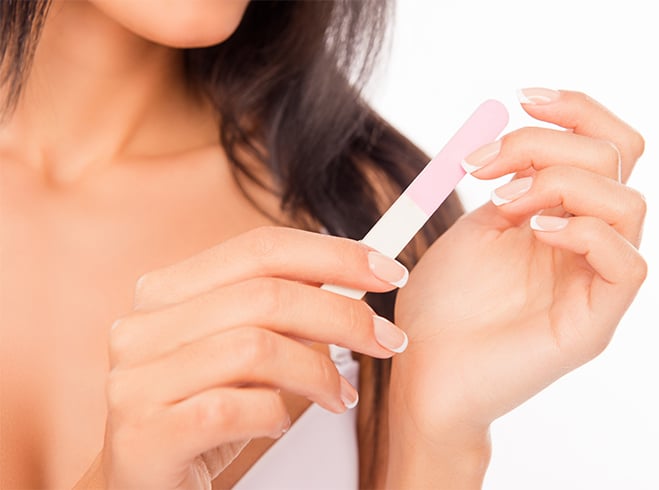
4. Filing nails
After removing the old nail paint, it’s time for filing the nails. Use nail clipper to trim the nails. Make sure you do not file the nails too short. Give your desired shape either straight or cone-shaped as per your choice. For better understanding I have added a video tutorial. Do not put much pressure and check-out how the expert uses her hand to save the nails from breaking. Try creating smooth curves through each stroke instead of angles. Do not file the corners too short or else you’ll get uneven growth.
The shapes of nails for manicure will be determined in this step. So it is not just enough to know what is a manicure and different manicure types, but you should also know how to file your nails correctly.
[sc:mediad]
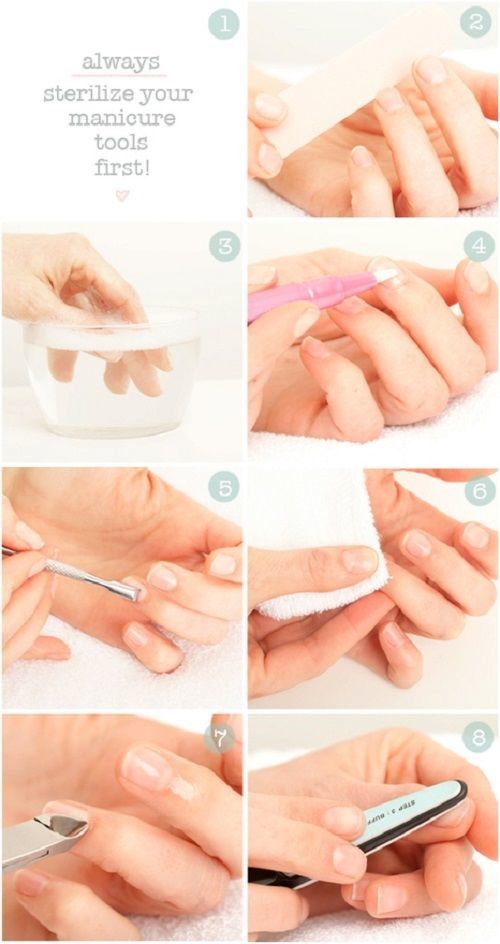
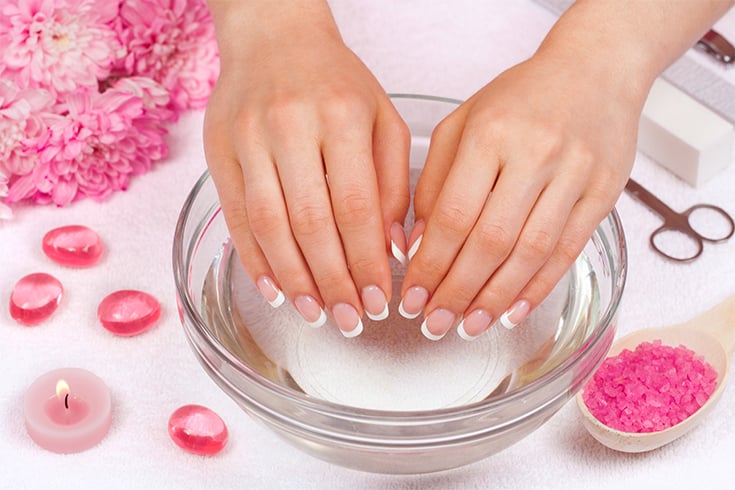
6. Soaking of nails
Take a bowl filled with warm water and few drops of soap and soak your hands in it for a few minutes. The soap solution helps remove the dead skin and dirt from the nail surface and soften the cuticles simultaneously.
Use a nail brush gently to clean the nails and skin around them. However, be warned if your nails are fragile then instead of soaking them rinse them off.
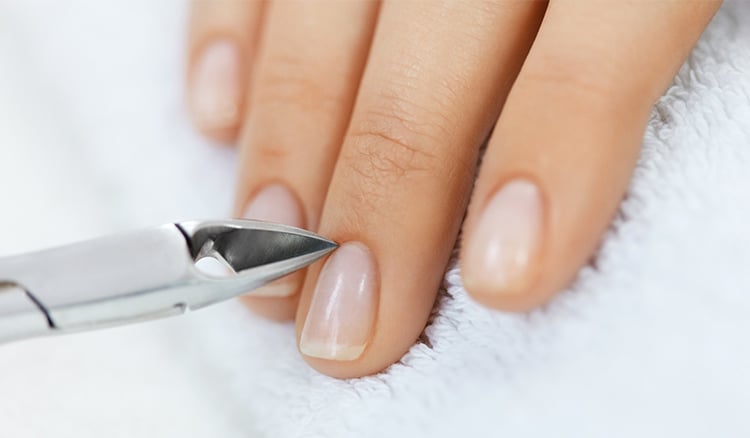
7. Shaping the cuticles
Apply cuticle cream and use a cuticle pusher to gently push back the cuticle. Never cut your cuticles, always be careful while preparing the cuticles. Because of the removal of cuticles, the skin around the nails can be infected and vulnerable.
You can also use a small binder clip to push back the cuticles. Hold the clip between the forefinger and thumb, allowing the grips to pass between these two fingers and now prepare the cuticles.
Follow these manicure tips to ensure that you have a safe cuticle removal process.
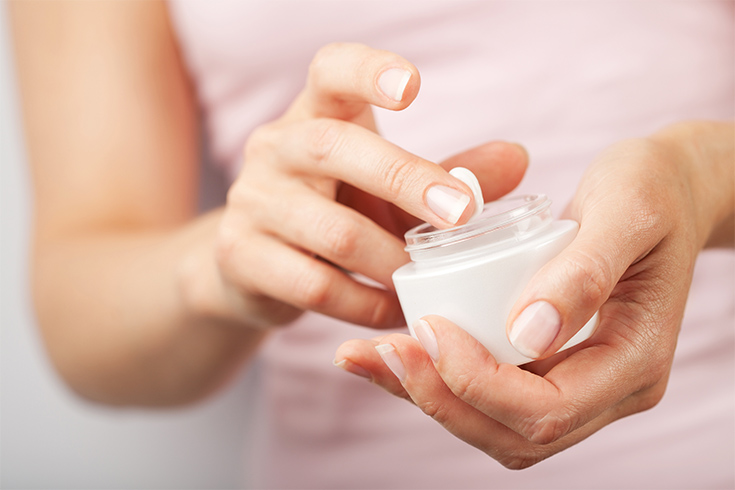
8. Apply cream
Now use your body lotion and massage it on both of your hands. If your skin is dry then go for a moisturizer. Before coming in contact with water or detergent make sure your nails are soaked with lotion for at least half an hour.
Moisturizing your nails will ensure that you have a healthy nails manicure.
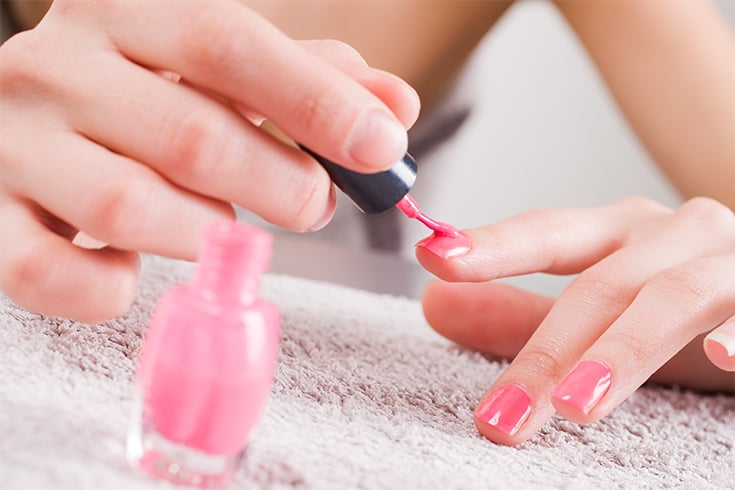
9. Apply Nail Polish
Aha! This is something any girl looks forward to.
But before you apply nail polish, do the following;
- Apply base coat (It gives the colored nail polish something to adhere to, and makes your manicure last longer)
- Three strokes of nail polish are ideal (It will give your nails a strong and rich feel)
- Clean up the edges of your nail (you won’t want the nail colour outside of your nails, would you?)
It is best to store the nail polishes in your refrigerator. This will make the nail formula last longer.
10. Reapply Moisturiser
Moisturization is very important to your nails, as much as for your face. Regularly apply moisturizer to your nails in the morning, during the day and at night time (before going off to sleep), so that they don’t come in contact with dryness.
You can even wear cotton manicure gloves overnight to give your nails a ‘protected’ feeling.
After going through these manicure step by step instruction, do check out this video for better understanding to DIY manicure!!
If you want French tips, then follow these steps:
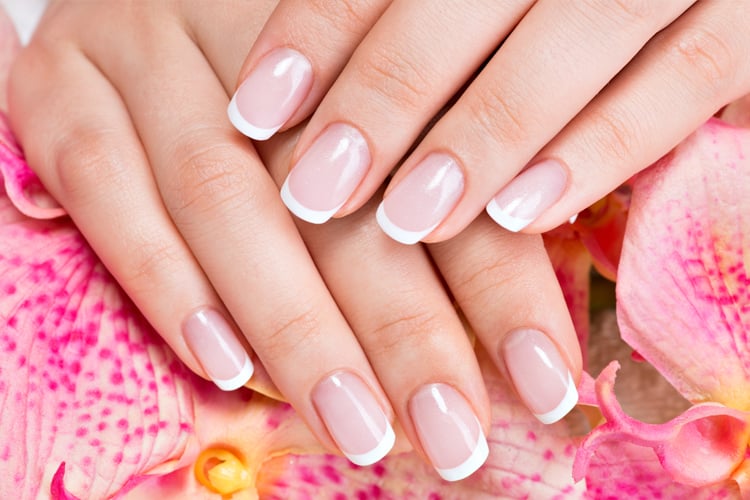
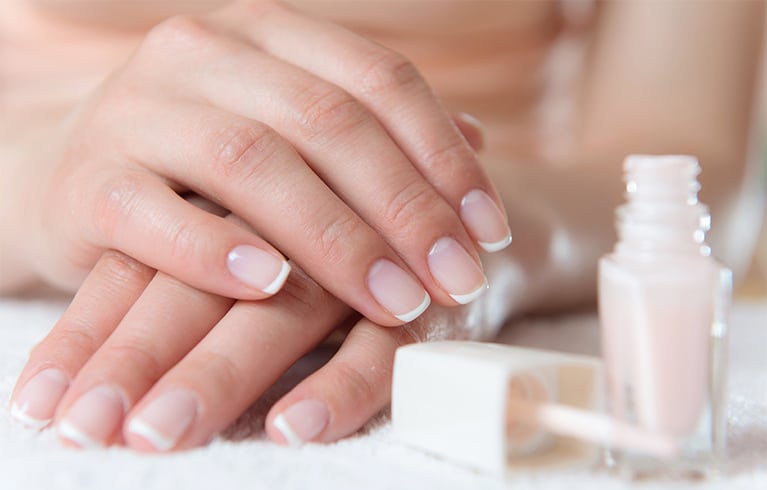
Knows what’s a ‘French Manicure’?
It’s a nail style in which white nail paint is applied on the nail tips. And what happens to the rest of the nails? They are painted with either a light beige nail polish or a natural looking pink nail polish.
The French manicure kit is available in the market – it contains base and top coat, natural nail polish, white nail polish and tip guide strips. Here is how to do French nails….
Step 1
Take off the nail polish (if it’s there on your finger nails) using nail paint remover.
Step 2
Cut your nails, and give them an apt shape.
Step 3
Dry your hands after washing them with soap and water.
Step 4
Now apply a base coat (transparent) on your nails. Make sure the base coat is very thin.
Step 5
To the lower part of your nails, apply the tip guide.
Step 6
Next, apply white nail polish on the nail tips (by using outward strokes).
Step 7
Once the nail tips become dry, take off the tip guides from all the nails.
Step 8
Now apply 2 coats of natural nail polish on the lower part of the nails. Allow it to dry.
Step 9
Apply the top coat nail polish (the best thing to do is to apply upper coat on the French nails еvеrу night to make them long-lasting)
Step 10
Your sophisticated and elegant-looking French nails are ready to flaunt!
One more learner’s guide for you – homemade manicure scrubs. Read on…
Here are some Natural Homemade Manicure Scrubs for You:
1. Sugar and olive oil scrub
What all you need:
- 1/2 cup sugar (white or brown)
- 1/2 cup oil olive oil
Directions:
- Mix up all the ingredients well
- Store them in an air-tight jar
- Now scrub your hands and fingers with this ‘mani’ mixture
- Massage it well for 5 min in circular movement
- Rinse it well with warm water
- Apply a moisturizer
How it works: This DIY scrub gives your hands a soft, glowing and nourished feel to your hands which come under pressure due to chopping and cleaning jobs.
Tip: The ‘finer’ sugar, less ‘rough’ will be your scrub. So try and use coarse sugar so that it looks like a scrub.
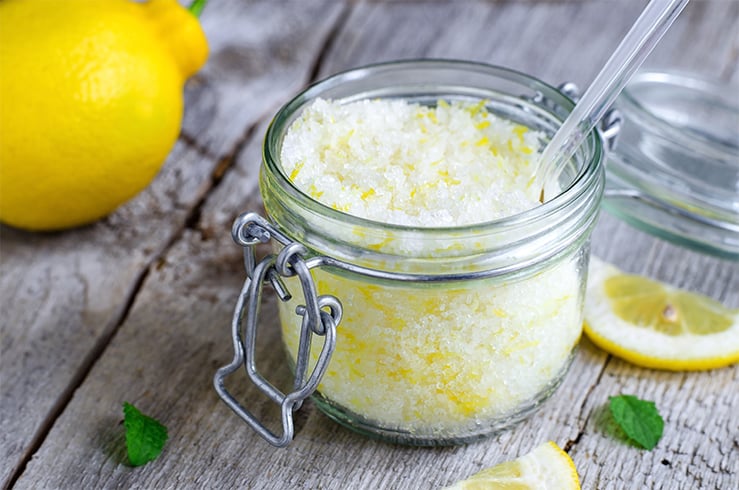
2. Lemon and sugar scrub
What all you need:
- Juice of half a lemon
- 1/2 cup sugar (granulated)
- Medium-sized bowl
Directions:
- Add lemon juice and sugar granules in a bowl
- When you get medium to thick consistency, apply it on your hands
- Rub it in circular motions on your hands for 3-5 min.
- Then rinse it off. And apply moisturizer.
- Now enjoy the silky softness of your hands.
How it works: Lemon and sugar scrub gives your hands a ‘lighter’ tone, which means milky fair hands.
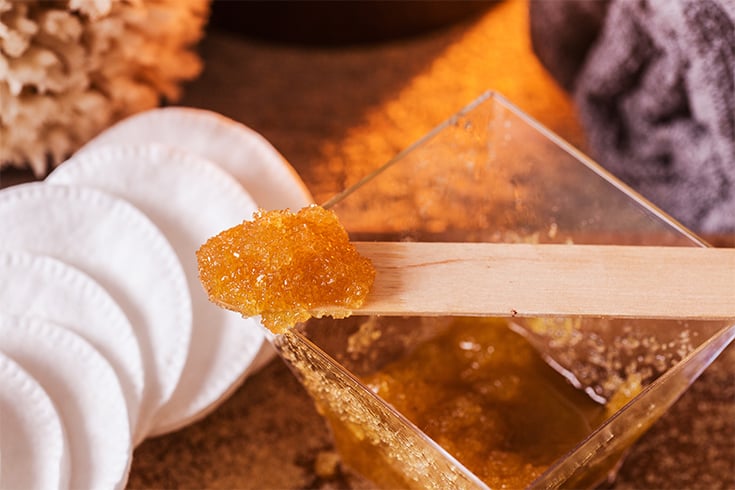
3. Vanilla, brown sugar and honey scrub
What all you need:
- Vanilla extract
- Brown sugar
- Honey
Directions:
- Mix all the ingredients to get a thick-n-smooth paste
- Apply this mixture-turned paste on your hands
- Massage it well on the palms too
- Wash the scrub off with warm water
How it works: This is an effective scrub made of natural ingredients to get you smooth and soft hands.
Tip: Cinnamon can also be used in place of vanilla extract – it enables blood circulation and imparts glow to the hands
4. Sea salt, coconut oil and vitamin E oil scrub
What all you need:
- Vit. E oil,
- Coconut oil,
- Sea salt
Directions:
- Mix the ingredients well so that you get a thick paste
- Massage it on your wet hands, all over
- Scrub it in circular motion (so that the dead skin cells get removed)
- Clean your scrubbed hands with warm water
- Pat them dry and apply moisturizer
How it works: Sea salt and the blend of oils scrubs off the dead skin of your hands effectively
5. Banana with sugar Scrub
What all you need:
- Whole Banana – 1 pc
- Sugar – 1 tbsp
- Lemon – few drops
Directions:
- Mash a banana
- In a bowl, put mashed banana , sugar and few drops of lemon
- Now apply this mixture on your hands and fingers
- Let it dry
- Now scrub off the hands slowly
- After some time, wash off your hands with cold water
How it works: Banana smoothens dry and chapped hands, and sugar granules remove dead skin
Some ‘quick’ tips when you have to manicure at home:
- Never use very hot water: Hot water can be the worst enemy to a nail polish. Stay away from it. If you still need it, use lukewarm water.
- Never use a tissue paper to remove your old nail paint: Protect your clients’ clothes with a tissue paper (disposable). DON’T USE IT to take off your old nail paint.
- Always use a brush having soft bristles: You see, soft bristles of a nail polish applier definitely help, as they help in smooth application. Hard bristles are a problem by themselves!
- Never keep chipped nail paints for too long: Chipped nail paints got our down? Fix this problem by applying glitter polish.
- At time you must keep your fingernails free of nail paint: Nails when kept natural (and no-paint) gives them the freedom to grow and shine on their own.
- Keep your nail paints in a cool and dry place: Fridge is the best place to store your nail paints. Heat will only destroy their colour.
- Do not dry your nail paints using a blow dryer: Wait for your painted nails to dry out on their own. A Blow-dryer will blow ripples into your nail polish, and destroy the colour and impact.
Now that you are more informed about how to do manicure at home; and the do’s and don’ts; write in and tell us how you found it. Any more tips you want to share? Most welcome.
Recommended Articles:
How To Do Hair Spa At Home
Best Patanjali Face Wash Products
Patanjali Aloe Vera Gel- Review
How To Dye Eyelashes
4 comments
What is Gel Manicure? Is it safe?
Gel Manicure is a kind of polish where it lasts longer and also resists chipping. The downsides of gel manicure seem to be overpowering the positives, as the gel manicure is affected by UV rays and can cause cancer, says some studies.
I have heard that wearing nail polish stop your nails from breathing. Is it true?
Nails are dead tissues and hence, do not have the necessity to breathe itself. Painting the nails helps to keep them stronger or else a base coat could be applied to maintain its healthy stature.