It’s human psychology – women who have straight hair mostly crave for curls and those who have locks long for straight hair. The straight hair is very much in trend may be it’s in the hit list in a row for a decade now. While all other hair styles such as bouncy hair, locks and waves come and go, the straight hair stands like rock in the world of ever changing fashion.
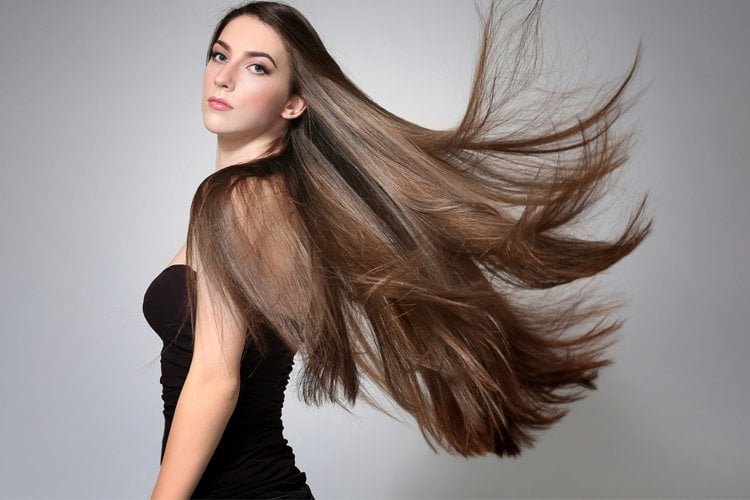
Even if you have natural straight hair, they won’t give you the polished look. Instead of spending big bucks in a salon in hair straightening, go through this 8 easy-step tutorial and become a pro at hair styling. You never thought hair straightening was that easy!
By now you would have spent endless hours staring at your mirror, cursing yourself for not having great hair And when it comes to self grooming, you effortlessly do your makeup regime and then get struck when it comes to hair styling.
When you always wanted a polished straight hair look, the natural waves won’t let you have that. The very idea of hitting a beauty salon won’t seem appealing either. Being frustrated and disheartened you end up with a pony tail or the traditional braid even though it’s a special day say your birthday or anniversary.
When I talk about getting straight hair without taking any professional’s help, many of you would surely argue narrating how your pricey straightening devices refuse to unlock your curls and how you always been dealing with this “keeping it straight” issue.
I really appreciate your effort but there must be few misses in your DIY. This edition will let you know how and why you were not successful earlier and for the beginners it is an absolute useful tutorial.
Go through these 8 easy DIY steps for straightening your hair. Do not forget to leave behind a ‘Thank You’ note!
Before we go through the step by step tutorial, let’s have a look at the tools and items we need for straightening.
Things required for hair straightening
#1 Straightening Iron
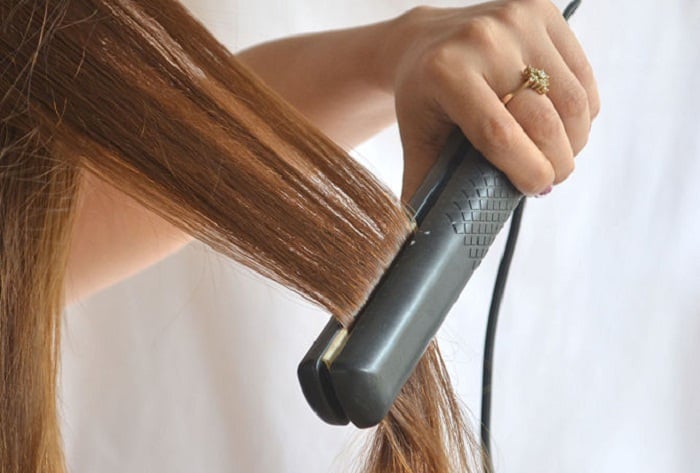
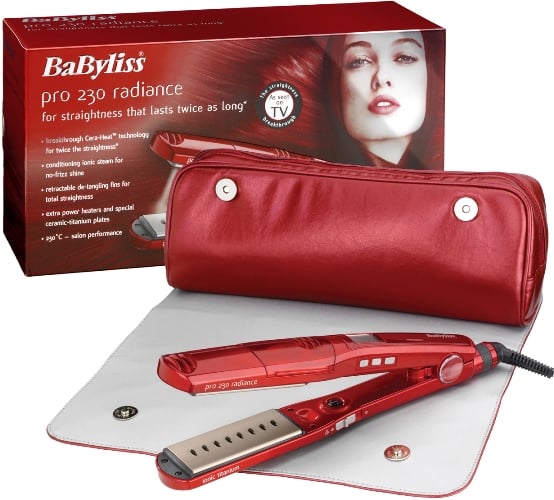 When it comes to hair straightening, it is the basic tool you need to have. To put it in a better way, the straightening iron is key to get polished long and bone-straight hair.
[Also Read: How To Get Thicker Hair]
Pick an iron rod that has ceramic base and can o up to 450 degrees. So, it becomes crucial to pick straightener that has proper ceramic plates with evenly dispersed heat and is capable of working even on the soft cuticles of the hair. This process also helps the hair from frizzing.
Suggested hair straightener
BaByliss Straightener – Pirce ranges from ₹2000-4000
Revlon Straightener – Price ranges from ₹1000-2000
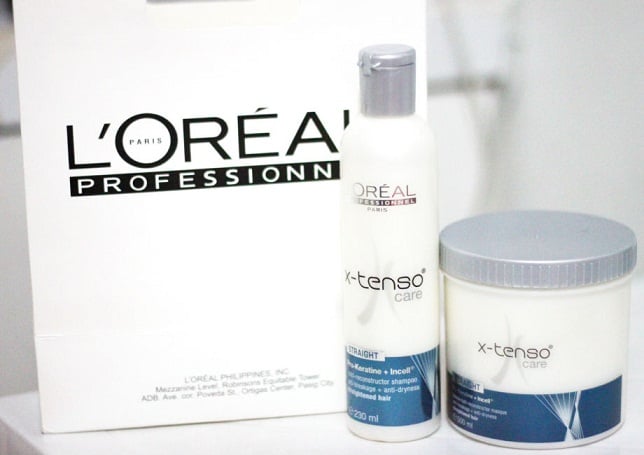
When we are picking cosmetic items for our hair, it’s better to stick to one brand. For this tutorial I have chosen everyone’s favorite L’Oreal Paris hair straightening products, which I guess don’t require any reviews.
However, be warned just as makeup and face creams even hair products do not suit all skin types. If you’re used to L’Oreal and it suits your hair then go ahead or else try picking items from the brand you’ve been familiar with.
Not just any regular shampoo and conditioner will work, you’ll have to pick a hair straightening shampoo and conditioner to get this look. Now have a rewind and analyze if this is the area you had missed earlier.
Such products are designed specifically to work on thick and straight locks. They enable the procedure faster and easier and not to mention their major advantage is they retain the groomed strands for longer time period.
I know it’s quite overwhelming to pick one that suits your hair. And if you have dyed your hair then pick a straightening shampoo that has sodium laureth sulfate and sodium lauryl sulfate to retain the color as well.
Suggested shampoo & conditioner
L’Oréal X-Tenso Straightened Hair Shampoo – ₹499
L’Oreal Professionnel X-tenso Care Straight Masque – ₹619
#3 Blow Dryer
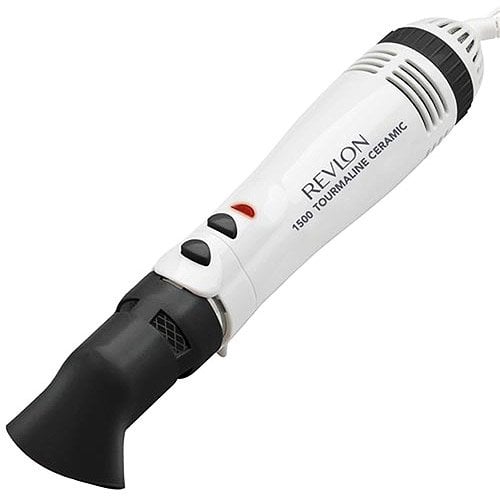 As you will wash your hair you’ll require a blow dryer and since you’re preparing your hair for the straightening style. Not just any blow dryer will work which simply gusts out warm air but the quality of the blower is the key player. A high-end quality blow seals the hair keeping it straight and clean. Just like a flat iron, it also helps in keep the hair bone-straight for longer time period.
Only because I mentioned here it helps in maintaining straight hairs for long, it does not mean you’ll over use it. It will only damage your hair. And if you’re using dryer frequently say once in a week then do wear a moisturizing hair mask before applying the dryer. L’Oreal Power Moisture Rush Mask is a great option. It is priced at Rs. 434 or even the Neutrogena Triple Moisture Deep Recovery Hair Mask is an ideal option, which is available at Rs. 435.
Now coming to blow dryer, an ideal one should be at least 1500 watts and should be conveniently used alongside a round brush. Let me tell you a hair dryer is an investment which should work for years to come, so spend carefully.
Suggested blow dryers –
Revlon Tourmaline Ionic Ceramic Hair Dryer – Priced at ₹2236
Philips HP4935 Hair Dryer & HP8315 Hair Straightener Combo – Priced at ₹3524
Remington D5020 Hair Dryer – Priced at ₹3529
Panasonic EH-2271 Nano Care Hair Dryer – priced at ₹5290
#4 Straightening Serum
 A serum is a must for this hair styling. Straightening can be simplified, provided you apply the right serum. Picking one from the market can be tricky as some of them leave the hair greasy or waxy. If you’ve thick hair then it works wonders; in the other hand it is far too intense for thin hair.
It becomes highly important to pick the appropriate serum that is ideal for your hair type.
[sc:mediad]
Suggested serums as per different hair types –
L’Oreal Professionnel X-tenso Care Straight Serum for normal thick hair – ₹575
L’oreal Smooth Intense Instant Smoothing Serum for dry hair – ₹240
B’IOTA Botanicals Bioxsine Series Advanced Herbal Serum for thin hair – ₹2112
#5 Hair Spray
 Hair spray is another essential item for hair styling no matter whether it’s for creating locks or unlocking your strands. It acts like glue and is paramount in locking the pattern of your styling. It not only freezes the pin-straight strands, but also saves your locks from extensive weather and pollution outside.
It’s true the hair spray makes your hair bit stiff, but it’s acceptable to obtain day-long straight and polished hair. And if you already have silky hair then you should be least bothered about.
Exclusive hair sprays are available in market, specially designed for hair straightening. However, since all kinds of hair sprays give the same effect, choose as per your budget.
Suggested products –
L’Oréal Elnett Satin – Priced at ₹932
L’Oréal Paris Studio Line Mega Hairspray – Priced at ₹497
#6 Round Brush
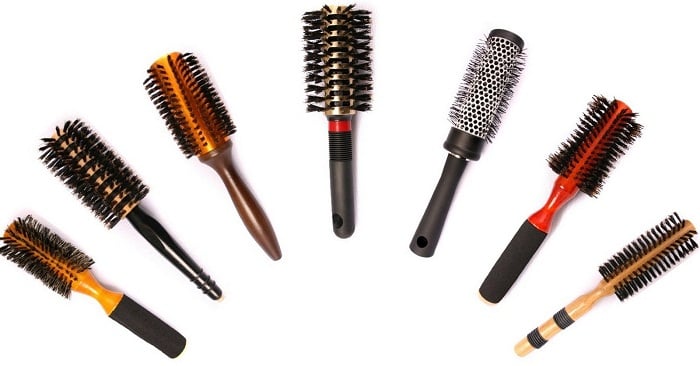
Last but the most essential one is a perfect round brush. since market is stockpiled with different types of hair brushes, you should pick that helps you with the grooming process. A quality brush is an all time investment.
Do have a look at the different kinds of round brushes to get some clue!
Round brush with boar bristles – The boar bristles are considered the best material for hair. Even though these round brushes are pricey, they’re worth buying. The bristles are manufactured from real boar hair, so they are gentle and last longer.
Round brush with porcupine bristles – These bristles are ideal for healthy and fine hair.
Round brush with plastic bristles – The plastic bristles usually come with nylon or rubber apart from plastic. These bristles are flexible and strong enough thereby giving you maximum control.
Metal round brush – Do not go for such combs unless you’re wearing a wig or extensions.
Was the edition bit lengthy up till now? Never mind as it’s worth reading the full article if you’re serious about the hair straightening DIY project.
Below listed is the 8-step tutorial. Continue reading!
Step 1 – Wash your hair: The first thing you’ll have to do is wash your hair. As I have already suggested you shampoo & conditioner, after shampooing, let the conditioner sit for 2-5 minutes and then rinse off well. Do not use too cold or too hot water for head wash.

Step 2 – Use towel to pat dry: Instead of using a blower, gently pat dry your hair with towel. Do not rub the locks too harshly instead let the towel absorb water gently.
Step 3 – Apply serum: Now that your hair is pat dried, it’s time for applying serum. Gently apply serum from root to tip with higher volume towards the tip. Now air dry your hair for 5 minutes. Before drying run your comb across your strands gently focusing mainly at the bottom half. This will ensure the serum is evenly spread through your strands.
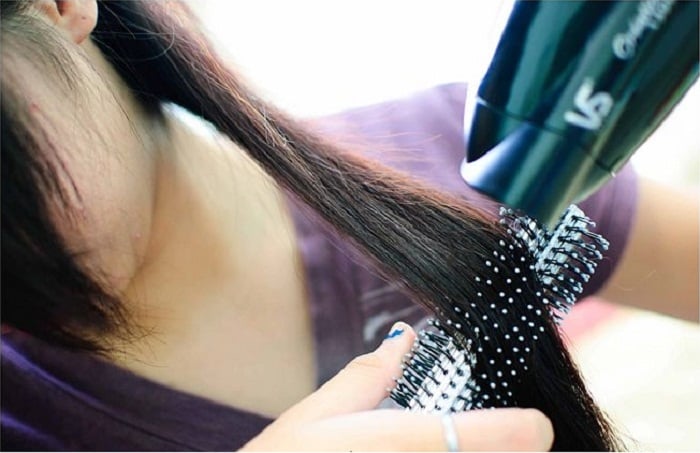
Step 4 – Use blow dryer: While blow drying your hair start by flipping your head upside down. First dry the roots. Once they are dried 50%, part your hair into sections and dry them using the hottest setting which you’re comfortable with. Also use the round brush to avoid any knots during drying.
Step 5 – Apply hair spray: Now apply a light coat of hair spray on the front and inner areas of hair.
Step 6 – Use straightener: Now pick individual sections and start straightening your hair using the highest heat mode.
Step 7 – Reapply serum: Now apply some more serum to your strands once you’re done with all the sections
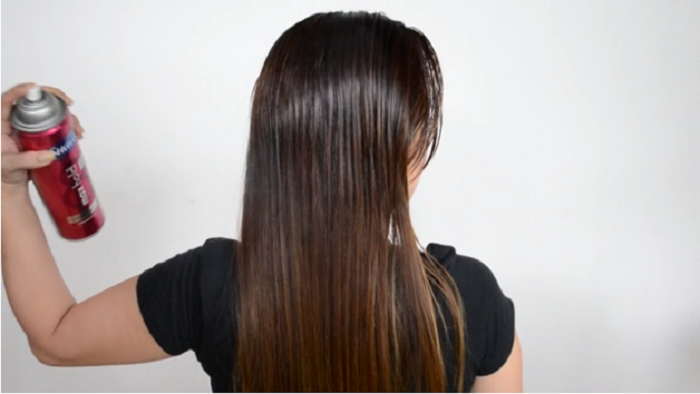
Step 8 – Use hairspray: Now gently apply hairspray all over your strands to keep the setting as it is.
With this easy and pro tutorial and all sorts of right tools under your belt, you can step out in style every weekend. Even though recommend to go for three days a week I suggest you to do once in a week in order to give your locks some room to breath, plus it’s never a great idea to apply cosmetics on regular basis.
Healthy hair is key to all sorts of styling. It gives you confidence to go ahead ans style your hair, so check on your health routine as well. Add Vitamin E and omega fish oil supplements to your diet, as they help repair your damaged hair.
Watch this video tutorial from one of my favorite YouTube makeup bloggers!
