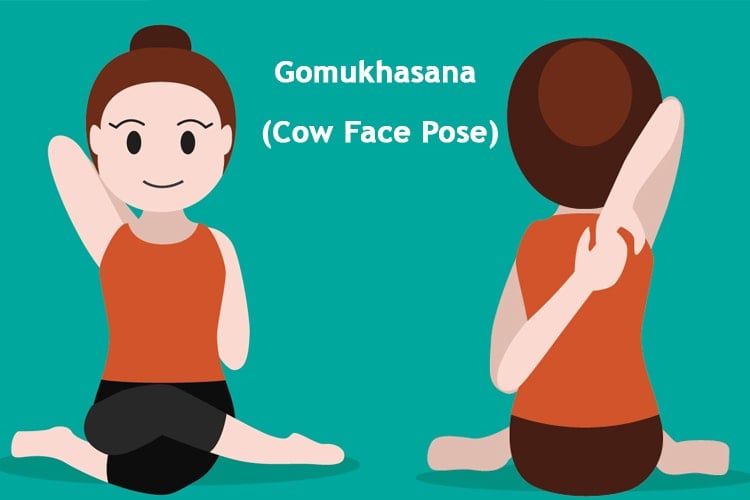
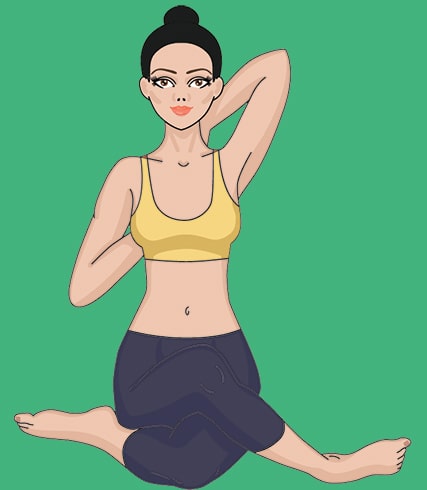
The word Gomukhasana is derived from a Sanskrit term-Go meaning cow, Mukha meaning face, and asana meaning pose. It is pronounced as Go-moo-KAHS-anna. The most interesting fact about the cow face pose is its reference to the body resembling a cow’s face while performing the routine. Below we have listed the benefits of Gomukhasana, tips for beginners, and step-by-step instructions.

Tips To Remember Before Practicing The Gomukhasana:
Gomukhasana has plentiful of health benefits. It is best performed during the morning hours. Practicing this asana on an empty stomach is important. This routine should not be performed after meals.
- Level- Beginner
- Style variation- Vinyasa
- Time- 30-60 seconds
- Repetition- Once using right leg, then with the left
- Stretching benefits: hip, shoulders, back, chest, thighs, triceps brachii muscle, thorax, and axilla
Tips for Beginners:
If you are new to this routine, you will find it hard to keep your sitting bones on the floor for a long period of time. This would prevent the knees from stacking evenly over with ease. To avoid this problem, simply spread a mat to support the sitting bones and try the steps below:
- Push your body onward from this step and make an effort to support the front side of your mid-section.
- Hold this position over the top thigh for half a minute.
- Breathe in while lifting your body.
Steps To Do The Gomukhasana (Cow Face Pose):
Here are the steps to perform the asana:
- Sit erect on the floor keeping your legs fully stretched towards the front.
- Gently stretch your left leg and keep it under your right butt.
- Fold the right leg and place over your left thigh.
- Place both knees close as one and place them over each other.
- Fold up your left arm gently and place it beneath your shoulders.
- Next move your right arm above your right shoulders. Stretch much as possible until your reach your left hand.
- Maintain a straight posture.
- Hold the position for an extended period of time. Take deep breaths as you holding the pose.

Advanced Poses:
Here are more variations of advanced poses:
- For this routine, you need to have flexible shoulders for maintaining the stretches.
- Begin the asana by moving your hands from the torso.
- Lean forward by placing your torso towards the inner part of the thighs.
- Hold this position for 20 seconds at least.
- Inhale as you come up.
Benefits Of The Gomukhasana:
Here are few benefits of this asana routine:
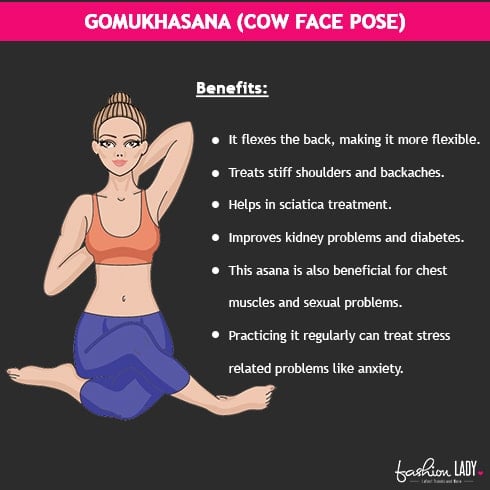
- It flexes the back, making it more flexible.
- Treats stiff shoulders and backaches.
- Helps in sciatica treatment.
- Improves kidney problems and diabetes.
- This asana is also beneficial for chest muscles and sexual problems.
- Practicing it regularly can treat stress related problems like anxiety.

Side Effects:
There are several side effects that can affect your body while performing the Gomukhasana. They are listed below:
- People with recurring back problem, knee pain, shoulder, and neck pain should avoid doing this asana. If you still wish to perform this routine with a backache, then make sure to consult a health practitioner and practice under a well-trained yoga instructor.
- If you have stiff shoulders and find it difficult to move your fingers towards the back, then make use of a strap. Begin the pose using a strap positioned over the shoulders. Gently move the lower arm towards the back.
- This asana routine may be difficult for fat or obese people to perform. You may start by placing your hands at the back and extending your legs one over the other. Give your body time to adjust with the poses until your body becomes flexible.
This routine is easy to perform and highly beneficial for our body. Try it and see the results for yourself.
