
We grew up on a staple diet of Disney and when it comes to Disney, the first thing that would come to your mind is Mickey Mouse and Minnie Mouse. If you are a Disney and Minnie Mouse fan and Minnie Mouse nail art designs fan, then this article is just for you! We will talk about how to pain Minnie Mouse nails and you can flaunt your cutesy Disney nails to all your friends. Minnie Mouse nails in fact are very easy to get. All you need are some nail polish supplies and a very steady hand. After all, you cannot have Minnie Mouse fingernail art where Minnie doesn’t look like Minnie at all!
How To Paint Minnie Mouse Nails
There are many different types of Minnie Mouse nails and we have brought together two very different, unique and easy to replicate designs for you. So, let’s get started!
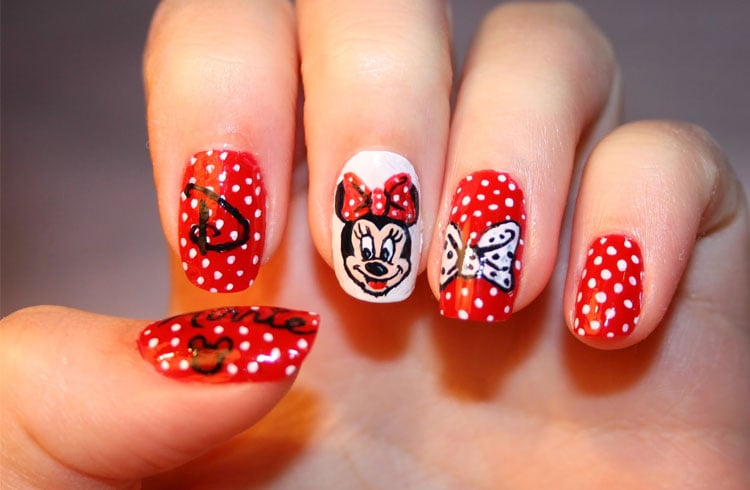
Minnie Mouse Nails: Design 1
Here Is What You Will Need:
- Base coat (Transparent)- This is to protect your nails
- Red nail polish
- Black nail polish
- A small slim brush
- White nail polish
- Dotting tool
- Top coat
Directions:
- Use the base coat and apply it to all your nails. The base coat usually strengthens the nails and is used to protect your nails. If you have weak nails, there are few base coats available that can even help strengthen your nails (Sally Hansen Strengthening Base Coat)
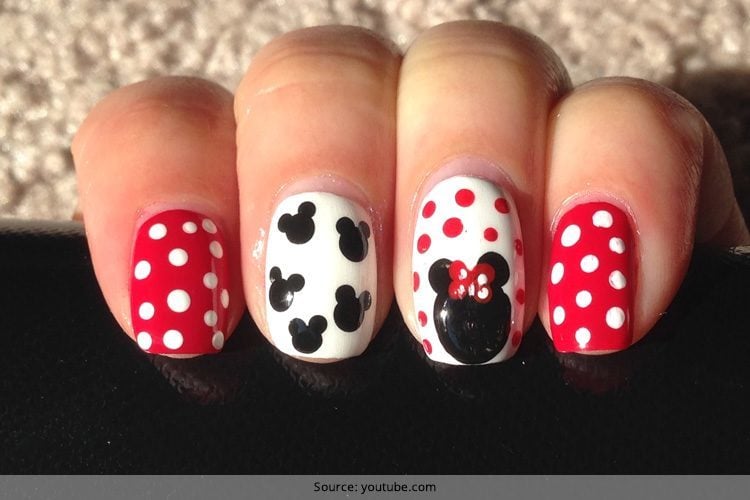
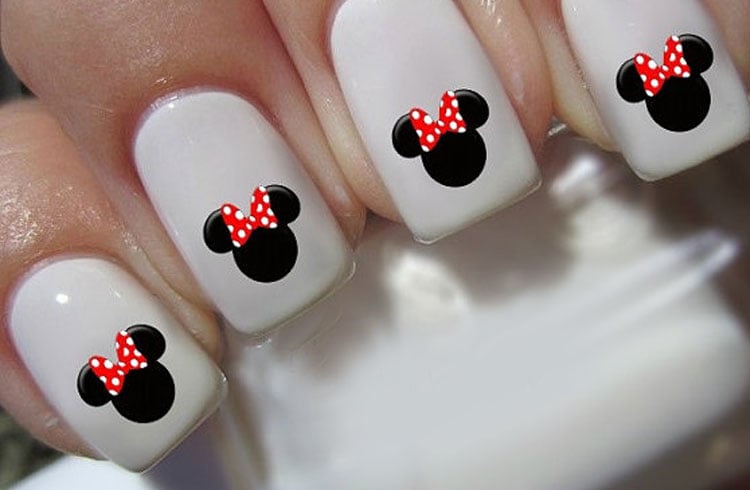
- Paint all your nails red except the ring finger
- Take the black nail polish and the brush and use it to make three large black circles. These will be used to create Minnie’s head on your ring fingers
- Make two red triangles on the black to represent her bows
- Now take the white nail polish and the dotting tool and dot each and every one of your nails
- Now take the top coat and apply it on every nail to finish off your art work. Tada! You are done!
[Also Read: Party Nail Art Ideas]
Here is a YouTube Minnie Mouse nail art tutorial that you can follow:
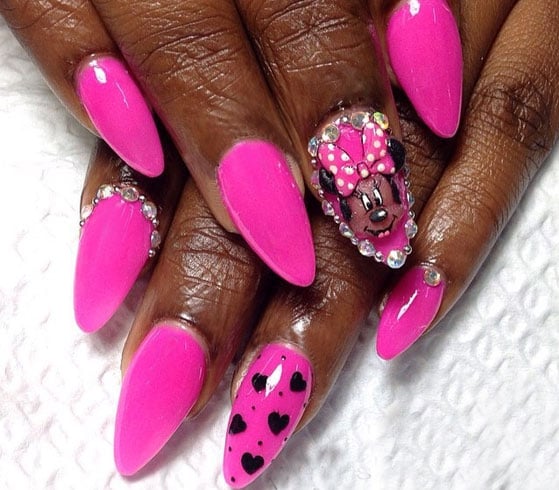
Minnie Mouse Nails: Design 2
Here Is What You Will Need:
- Base coat (Transparent)- This is to protect your nails
- Red nail polish or a nail art pen
- Black nail polish or a nail art pen
- A small slim brush
- White nail polish or a nail art pen
- Pink nail polish
- Dotting tool (An alternative to a dotting tool is also a bobby pin and you can use it to achieve the same effect)
- Top coat
Directions:
- Use the base coat and apply it well on all your nails. Not only does a base coat strengthen and protect your nails, but it can also prevent the yellowish staining that appears on nails if you have nail polish on it for a long time
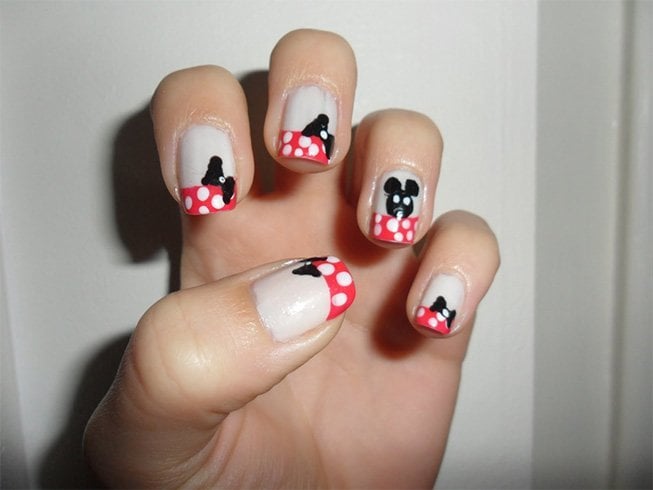
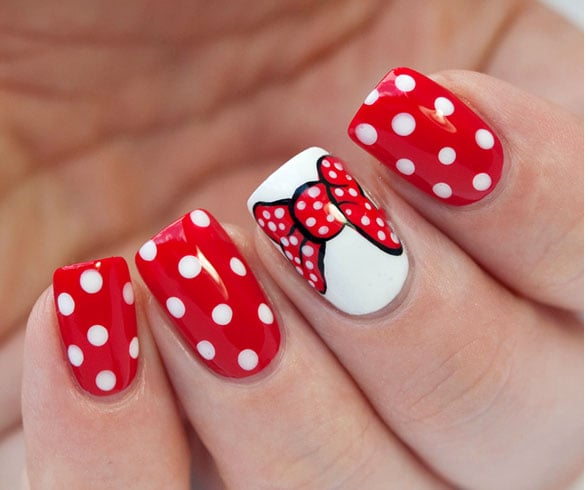
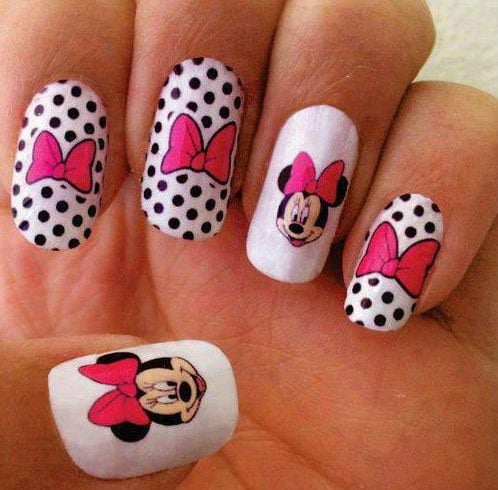
- Use red nail polish and apply it on all your fingers except your ring finger
- Now apply pink or peach nail polish on your ring fingers. This one will serve as Minnie’s face
- Use a nail art pen or a dotting tool or a bobby pin and put white dots on the rest of your nails except the ring finger
- For Minnie Mouse’s face, on the ring finger nail, draw two white ovals. These will now become Minnie Mouse’s eyes
- Now take the black nail polish and add a black spot to each of the red nails. These are to create the centre of the black bows
- Now take the nail art pen to make Minnier’s eyes, nose and whiskers
- Last but not the least, use the pen to add the bow details in black. Also, finish off any other details with your black pen
- After everything has dried off, use a top coat to finish off your Minnie Mouse nails!
[sc:mediad]
Here is a YouTube tutorial for these nails:
Scroll down to have a look at some of the other Minnie Mouse nail designs that you can try out!
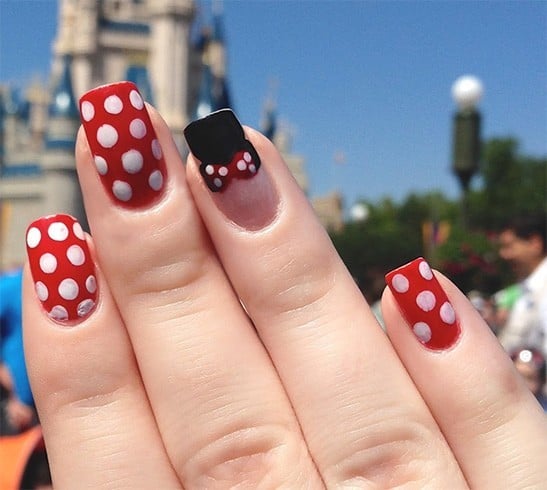
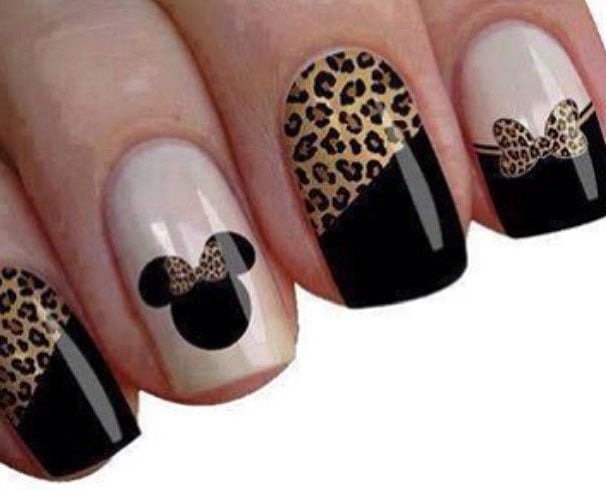
- Minnie Mouse Acrylic Nail Art – A perfect balance of white, red and black nail paints to flaunt the Minnie style.
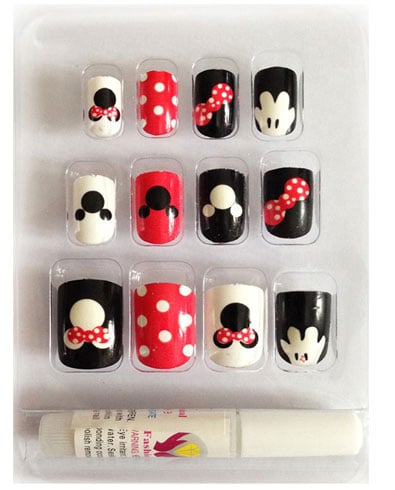
4. Minnie Mouse Fake Nails – Not all of us have the time and patience to draw designs on our nails, right. The next best option is flaunt your fingers with some fake nails.
5. Minnie Mouse Christmas Nails – Show some love for the festive season of Christmas with these Minnie Mouse inspired nails.
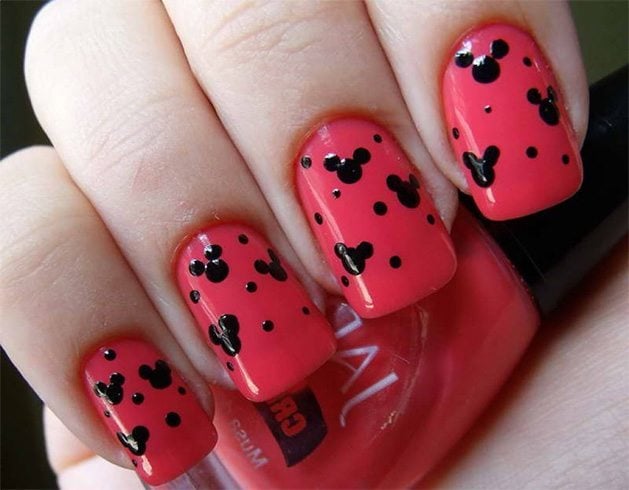
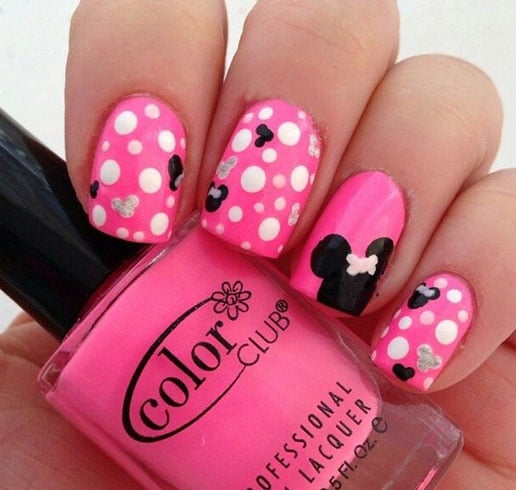
6. Minnie Mouse Pink Nails – Girls who love pink can try out this cute and simple Minnie Mouse design with polka dots.
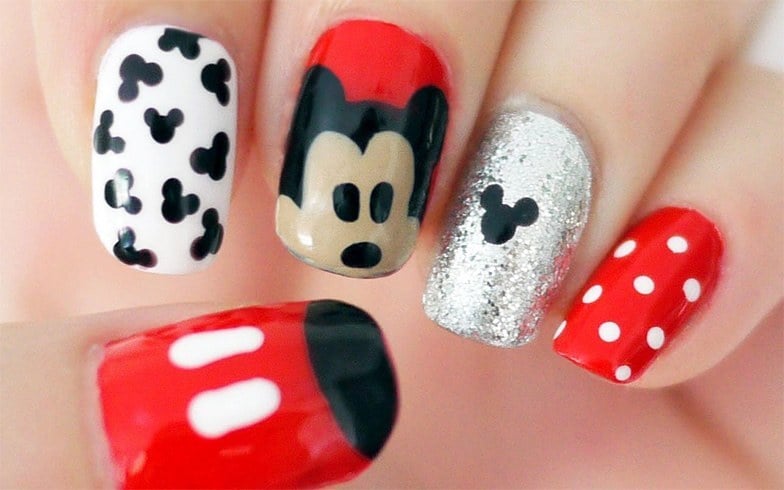
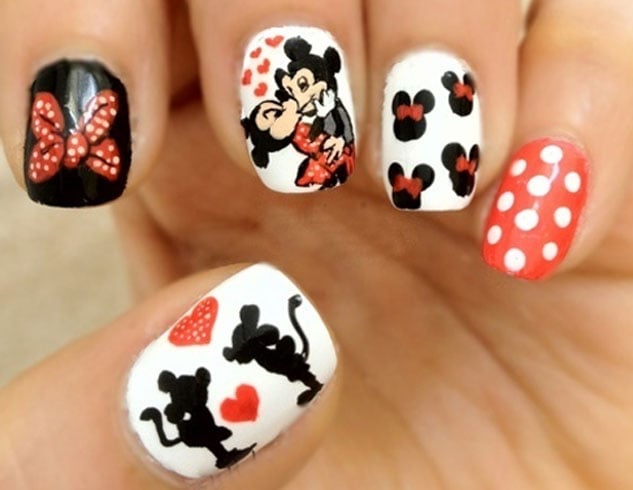
7. Mickey And Minnie Mouse Nails – There is no doubt that Mickey and Minnie are the cutest Disney pairs.
8. Minnie Mouse Nails For Kids – Let your kid flaunt this cute and adorable Minnie Mouse nail art.
9. Minnie Mouse Glitter Nails – Add some sparkle and shine to your Minnie Mouse nail designs.
10. Minnie Mouse Nail Art – Seek a professional’s help and paint each of your nail with a different design to show your Minnie Mouse love.
We hope you like them! Let us know in the comments which one you tried on your nails.
Images Source:pinterest.com
Frequently Asked Questions
1. What type of nail polish remover should I use to remove Minnie Mouse nail designs?
When removing Minnie Mouse nail designs, it is recommended to use a non-acetone based remover. This type of polish remover will not damage your nails or the design in any way and can be used for both acrylic and gel manicures. Make sure to thoroughly remove all traces of the Mickey Mouse or Disney characters from your nails before applying a new design!
2. How often should I get a manicure to ensure my Minnie Mouse nail designs last?
Minnie Mouse nails require regular care to stay looking their best. It is recommended that you get a manicure every two to three weeks, depending on the type of Minnie Mouse nail design and how often your hands are exposed to wear and tear. To keep your Mickey or Minnie nails looking fresh for longer, consider using protective top coats between manicures!
3. What is the best way to apply Minnie Mouse nail decals?
Minnie Mouse nail decals are an easy and fun way to add some Disney magic to your nails. To apply them, begin by prepping the nails with a basecoat. Then cut out the desired decal and soak it in warm water for about 10 seconds. After that, slide the decal off its backing paper onto your finger and press down firmly before sealing it with top coat. Voila! You’ve got yourself some adorable Minnie Mouse Nails.
4. What type of nail art tools should I use to create Minnie Mouse Halloween nail art?
Creating a Minnie Mouse Halloween nail art design requires some basic tools, including nail polish and topcoat, a dotting tool or thin brush to create details, tweezers for precision work, and a steady hand. You’ll also need red and white polishes for the classic colors of Minnie’s dress as well as black and pink polishes to recreate her iconic bow.
Conclusion
I have to say, it was so much fun choosing the best Minnie Mouse nail designs.
I think all of them are equally amazing and unique in their own way.
My favorite design has to be the Flower themed one because it captures the festive spirit perfectly.
It’s a great look for any special occasion or event.
From simple polishes to intricate decals, there is something here that will suit everyone’s style and personality.
With these 10 Best Minnie Mouse Nail Designs, you can show off your love for Disney while also expressing yourself through fashion!