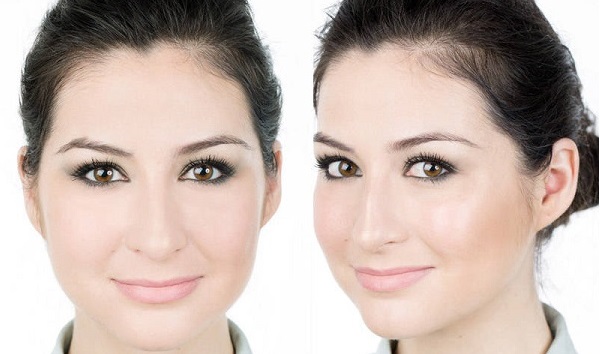
Did you ever wonder why everyone looks better in candlelight? I have always been amused to see how the gleam of the fire tenderly illuminates the skin of the face, just as it were lit by the moon itself.
Well that doesn’t mean you will have to walk always carrying the candle near your face. Nor did I mean you have to always bother your husband asking him to take you on a lavish candle light dinner only to show him your glowing face. All you need is a smart makeup with appropriate use of highlighter.
When I came across a fabulous tutorial by the celebrity makeup artist Nico Guilis on Elle, I thought of sharing it with my readers.
Read on to check out 5 easy steps to get that perfect glowing face, you have always longed for!
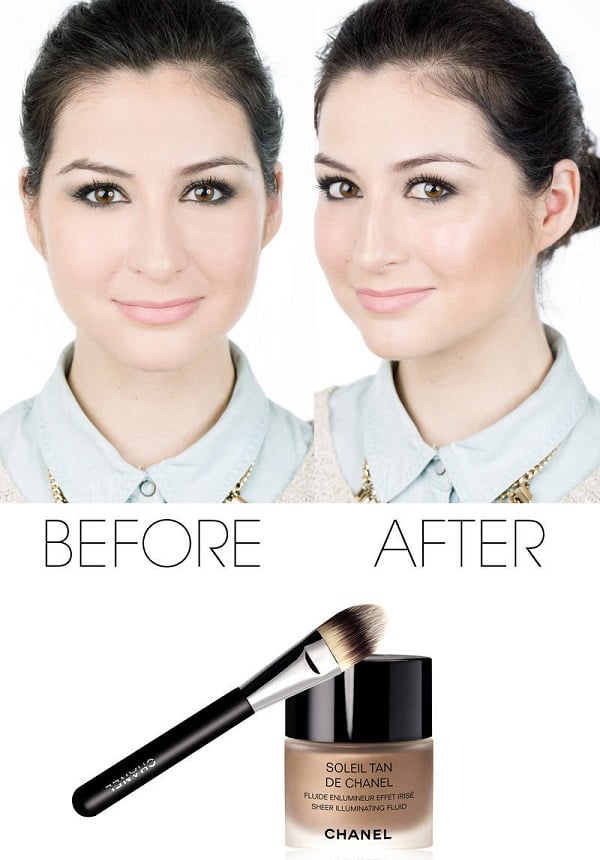
Chanel Soleil Tan de Chanel Sheer Illuminating Fluid
Chanel Foundation Brush #6
Before applying highlighter
The artist chose a completely mattified face to create the effect. Applying matte is necessary, so as to avoid the flat face. Even after applying matte, shine does not appear instead it looks dull although clean.
In order to add shine to the face, it’s necessary to highlight certain areas with few flashes of glow so as to create a multidimensional look. As per the artist, “You want to carve out where the shine would naturally be if the sun was hitting your face.”
#Step 1
As suggested earlier, use the Chanel Soleil Tan de Chanel Sheer Illuminating Fluid, which is a liquid highlighter in golden shade. Since the champagne-hued or pearly-white highlighters may not suit your complexion making you look frosty, it’s better to go for this gold-based highlighter. As per the make-up artist this Chanel item is a facelift that comes in a small bottle.
Since the liquid base doesn’t sink into the pores or crumble like the cream or powder ones; it’s perfect item to create shine on the face.
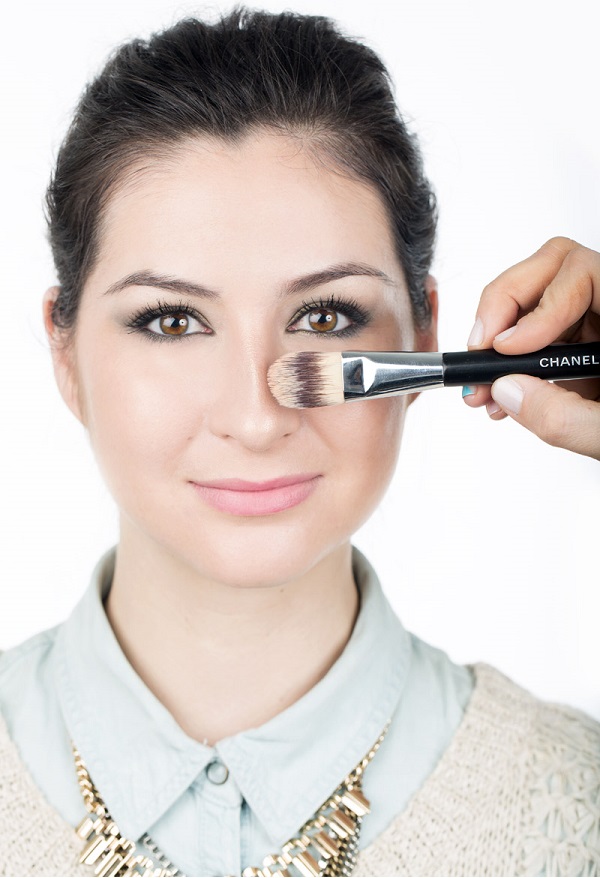
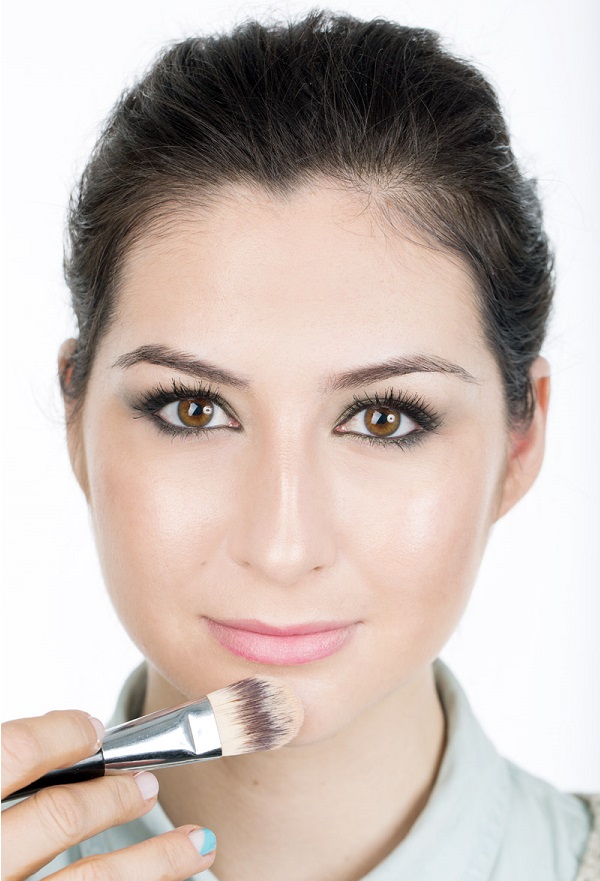
The artist prefers Chanel Foundation Brush #6, as this brush gives her more control for its short handle and above all its hairs don’t shed like ordinary brushes do.
All you have to do is dip the tip of the brush into the Chanel liquid highlighter and apply it smoothly at the center of the nose in a round motion. This spherical movement of the brush will ensure that the highlighter does not sit like a harsh stripe on your nose.
#Step 2
#Step 3
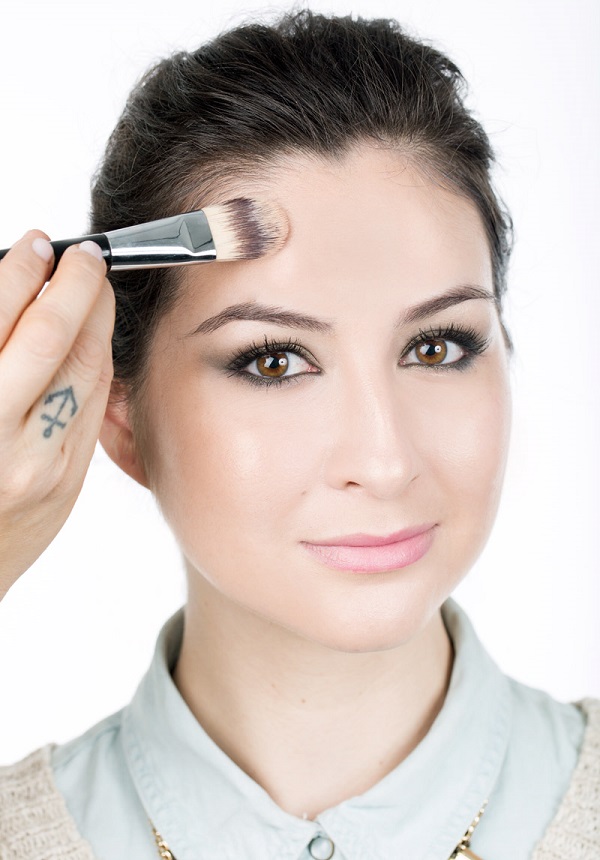
Now apply the liquid base on the right side of the forehead. This will make your face glow from the left view of the onlookers, as if someone is hitting light on the left side of your face. As per the designer,
“I don’t know why, but for some reason the left part of everyone’s forehead seems to twinkle more, so I like to pick up the radiance in that area.”
By applying highlighter only on one side of the face keeps your face from looking greasy because of the shining texture.
#Step 4
The final step is to add a touch of glow to the middle of the chin, which will be the final high area of your face.
#Step 5
Image source: Elle.com
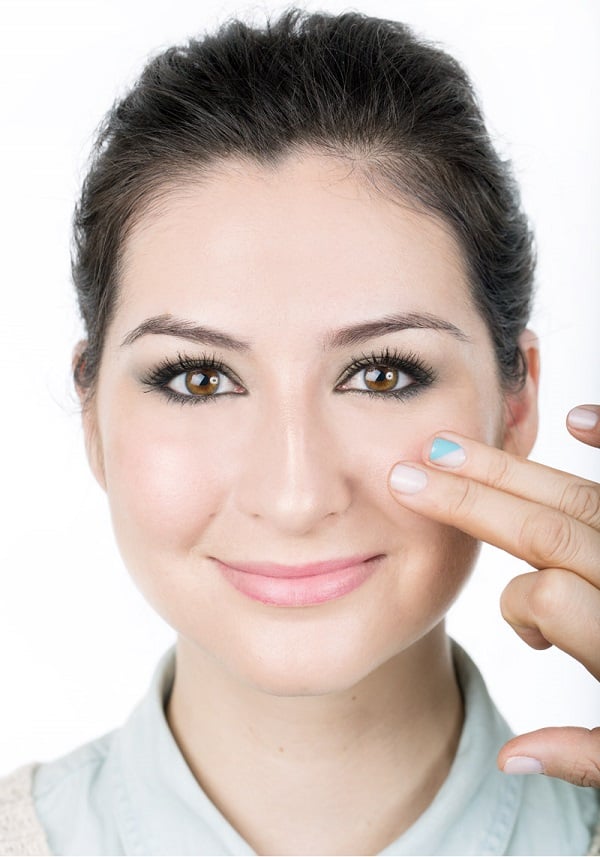
Now wrap your makeup regime by pushing a dash of cream blush on the apples with your fingers. By applying blush after using the highlighter ensures the glow to come from within.
Voila! You now have a glowing face that can illuminate a dark room as well!
Hope this helps!
