
Facials are nothing but a ‘sauna’ that is exclusively intended for our facial skin. Most of us consider hitting spa monthly or fortnightly for treating our face and making it healthier. But the similar treatments can also be practiced at home for turning the facial skin softer, smoother and lesser prone to various issues. Let us dig deeper into both professional spa treatments and DIY facials and know more about them:
Professional spa treatments are complete facial treatments offered by skin experts with professional range of products and equipment. In these methods, your skin is treated with more active ingredients to reduce or completely remove the skin issues, while facilitating the penetration of regular skin care products. These are also safer and the results are long-term.
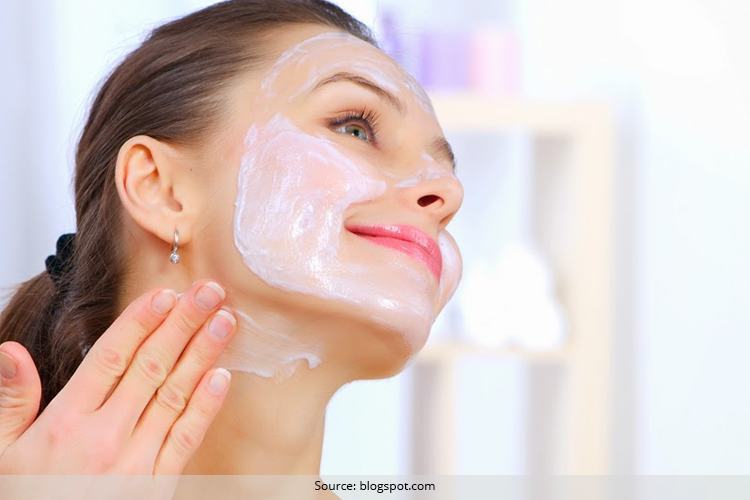
Conversely, DIY facials are facial treatments with simple household products, which can be used individually or combined with others to make scrubs, masks or toners. These are easy to do and pretty affordable. Moreover, you can enjoy the results without leaving the comfort of your home.
If you don’t mind paying lump sum amounts for achieving and maintaining a healthier-looking skin, you can certainly go for professional spa. But there are also some highly beneficial at-home facials, which can give you spa-worthy results.
[Also Read: Natural Homemade Fruit Scrubs]
Source: onsugar.com
3 Different DIY Facials for Getting Spa-Like Results
Now, here are 3 super effective DIY facial methods that can give you spa-level results without burning hole in your pocket. So, just get your own mini spa at your home and start pampering your facial skin by yourself:
Method 1:
Supplies:
- A mild scrub / an enzyme peel
- A skin steamer / washcloth
- A good (kaolin-based) clay mask
- An effective hydrating mask
- Hot water
- Cold water
Steps:
- Exfoliate the dead cells and declog the pores on your skin by applying the scrub gently and massaging in small circular motions with your fingertips. If you are using an enzyme peel, just spread it evenly on your facial skin excluding the eye and lip areas. But in both cases, you have to wait for some time and let the products work before washing them off.
- The next step is steam cleansing, which becomes quite easy if you possess a skin steamer. But as a cheap alternative to that, you can simply dip a clean washcloth into hot water, discard the excess water by squeezing it out and cover your face with it. Let the steam accelerate the functions of the enzymes and degunk the pores more efficiently. Remove the washcloth after a few minutes.
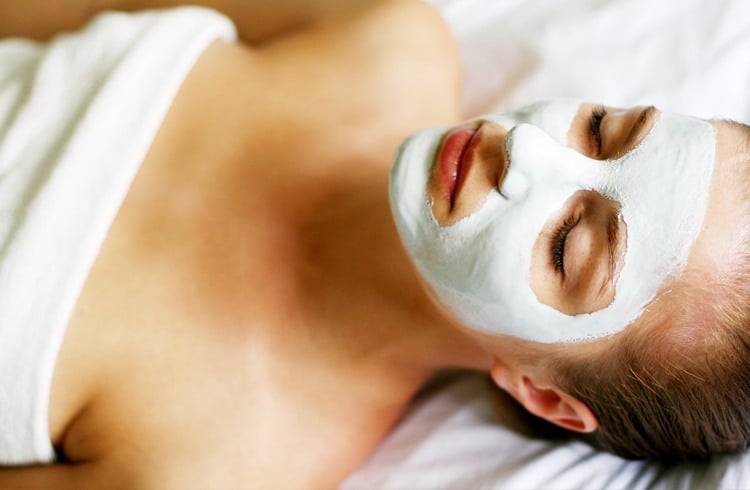
- Apply the clay mask all over your face uniformly to get rid of the remaining impurities. Wait for the next 15 minutes. Then, steam the washcloth once again and drape it over the semi-dried mask. After some more minutes, wipe the mask off with the washcloth.
- Finally, apply the hydrating mask on your bare, thoroughly cleansed face to induce maximum moisture in the skin cells. Wash off with cold water after some time.
[Also Read: Oil Cleansing Method]
Source: twitter.com
Method 2:
Supplies:
- A gentle cleanser
- Fresh herbs (eucalyptus, lavender, chamomile and rosemary)
- A good clay mask / moisturizing mask (as needed)
- A facial lotion
- A warm washcloth
- Water (at room temperature)
- Cold water
[Also Read: How to Pick the Right Facial for Your Skin Type?]
Steps:
- Wash your face with the cleanser and plain water.
- Exfoliate gently with the scrub by massaging in small circular motions. Again, rinse off with water.
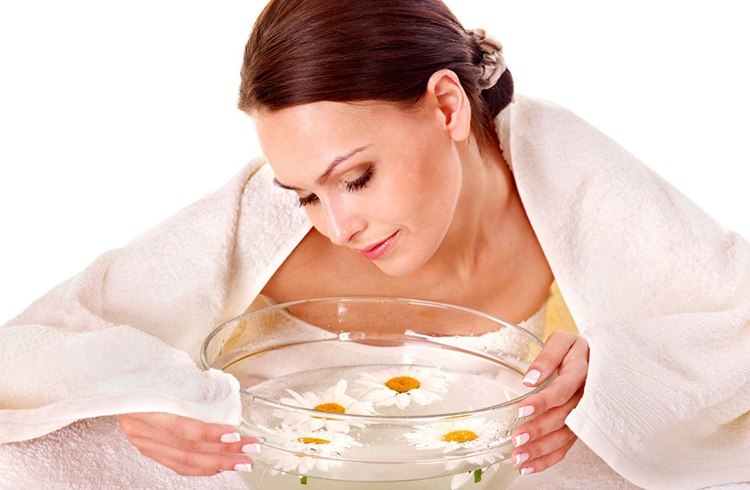
- Pour water (at room temperature) into a big vessel, add all the herbs to it, cover with a lid, and heat it up. Once it starts to boil, turn the heat off and give it a standing time of 5-10 minutes.
- Now, cover your entire head along with your face with a large towel and lean over this herbal infusion. Make sure that your face is at least 10 inches away from the water and you remain in this position not more than 10 minutes. It should open your clogged pores up and make the extraction of all impurities easier.
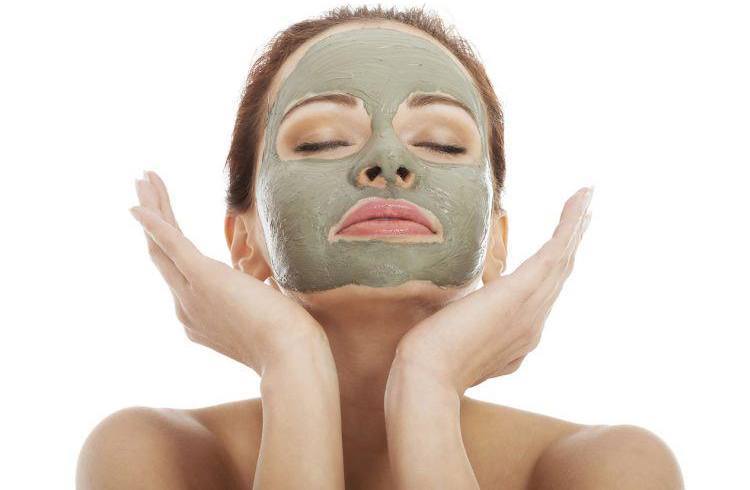
- Now, wipe your face with the warm washcloth and apply the mask. The clay or mud mask is intended for oily skin, while the moisturizing mask can be used on dry skin. If you have a combination skin, apply both of the masks to different parts of your facial skin as per the requirements. Allow the mask to dry for 5 to 10 minutes.
- Wash off with cold water.
- Seal the moisture in by applying a thin layer of lotion.
Source: theloop.ca
[sc:mediad]
Method 3:
Supplies:
- Pure, raw, organic honey – 1 teaspoon
- Egg – 1
- Dried lavender – 1 teaspoon
- Fresh mint leaves – 1 teaspoon (finely chopped)
- A warm washcloth
- Cold water
Steps: