
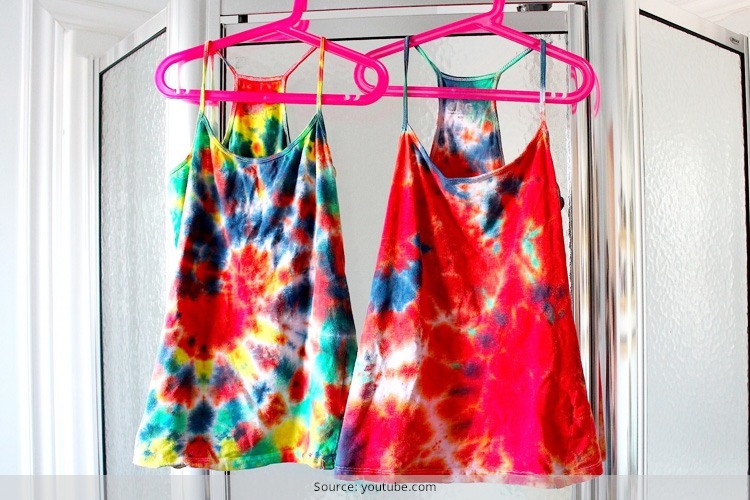
Summer time is a time when you can be vibrant and dress up in happy clothes. Tie and Dye is one such method where you can easily combine tons of different colours and give your T-Shirts a vibrant look. It’s fun and easy and you can come up with tons of different designs. Read on to know more about DIY Tie and Dye.
[Also Read: Tie And Dye Fashion To Flaunt In Different Ways]
Tie And Dye T-Shirts Diy – So What Exactly Is It?
It’s a simple process which includes folding, twisting, pleating, or crumpling the T-shirt or any other fabric and then binding it with string or rubber bands. Once this is done, dye is applied to the T-Shirt. Yes! It’s that simple as that! All you need a T-shirt of your choice and some dye. Tie and Dye T-Shirts DIY is extremely easy and in fact, it is also a favourite craft for kids.
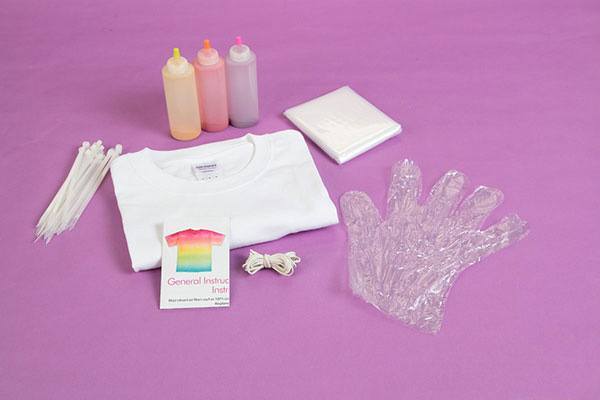
Here’s What You Will Need:
- Pair of protective plastic gloves (This is if you don’t want to get your hands dirty!)
- One set of rubber bands (or more)
- Natural fiber fabrics like cotton, rayon or silk for best dye results (Colours and designs will not be printed properly on synthetic materials.
- Colours/Dye
Source: tiedyeyoursummer.com
Let’s Get Started On Our Diy Tie And Dye Journey!
Before you start your fun process, make sure you are covering the area of work. This is going to be messy and you should definitely protect the place. There are tons of different tying techniques and it all depends on the kind of design you want in your final design. Here are some designs you can choose from:
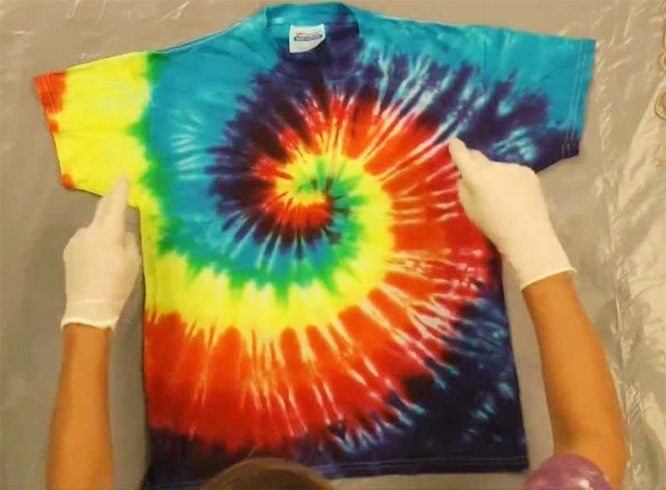
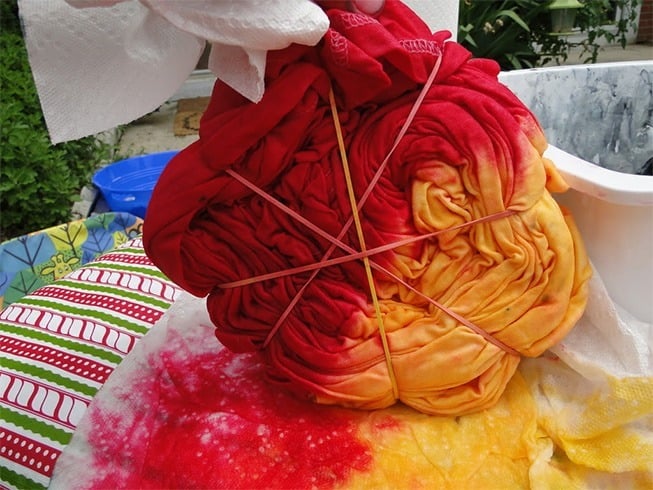
1. Basic Spiral
This one is the most basic and prevalent design used for DIY Tie and Dye. All you need to do is twist and turn the fabric and form a spiral shape. Flatten the fabric after you are done with each twist so that the folds do not rise. Secure your spiral bundle with a set of two to three rubber bands so that the spirals intersect in the middle. Use more rubber bands if you feel the T-Shirt needs more securing.
Source: youtube.com
[sc:mediad]
2. Knotting
This one is another technique which will give you random designs. All you need to do is scrunch up your T-shirt in any pattern you want. Just give it some good twists and turns and secure your masterpiece with rubber bands. We will come to the dying part a little later in the article.
Source: pinterest.com
3. Electric Bunching
Another fun method, this one requires you to bunch up the fabric in small random portions and then draw up the entire fabric in a huge ball. Hold the fabric together with a rubber band or secure it with a string.
Source: photobucket.com
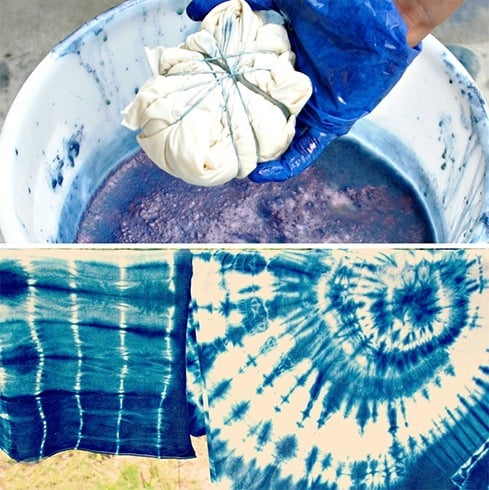
Dying Technique
Now that you have your masterpieces ready, it’s time to use the dyes. You can either use natural dyes (this is a little cumbersome as you will have to work with tons of materials to actually get your colours) or you can even use chemical dyes.
So, what are you waiting for? Let’s get started!