
Wouldn’t it be great if you could do your party makeup all by yourself? Not to go for the insanely talented makeup artists, but they are also insanely expensive and unless it’s your own wedding, you wouldn’t like to spend a bomb getting that makeup done. So if you are looking for some bridal party makeup look, you have come to the perfect place. In this article we will give you the best party makeup tips and how to score that almost professional look with products you have or products that won’t burn a hole in your pocket. So get your notepads out and let’s get started!
First things first!
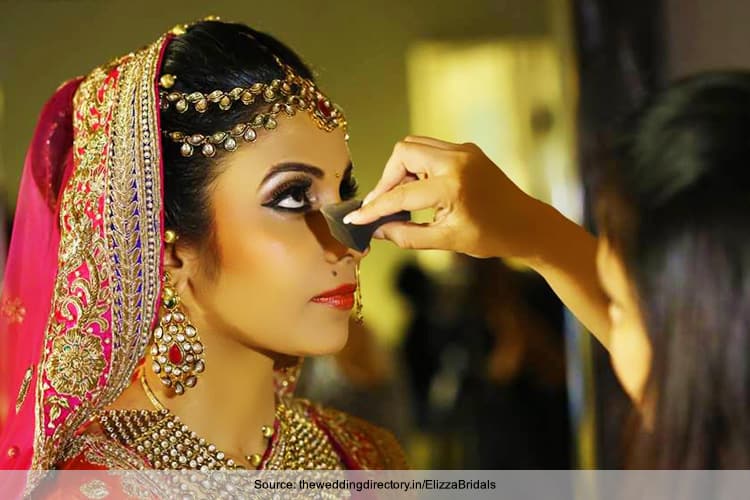
The number one thing to remember when you want to know how to do wedding party makeup at home is to zero in on your inspiration or your muse. Since we are not professional magicians, we will definitely need some inspiration to get that look. And like they say, imitation is the best form of flattery. Imagine the kind of look you would want (this would also mean that you need to know what your colour palette will be – pastel hues require a certain kind of makeup, for instance) and then Google the imagined look. For instance if you want a look for a magenta saree, key in keywords like makeup for pink/magenta saree. This makes your work a lot easier when you know what are the colours that will best suit your look.
Source: desiakhbar.com
Practice makes perfect!
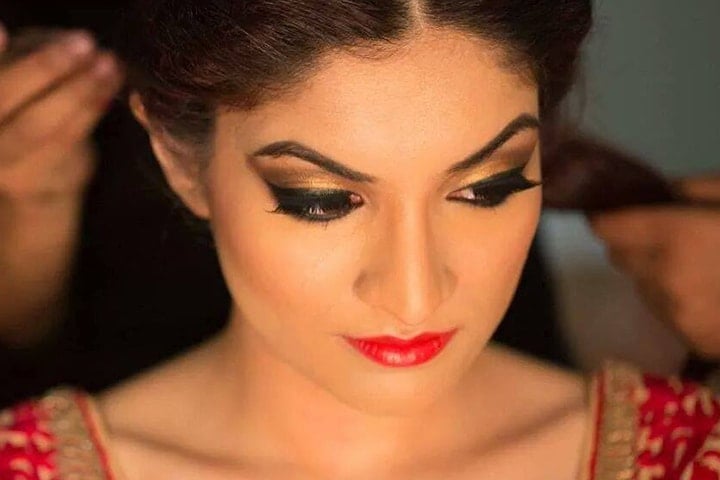
Of course you don’t want to try out the final look without practicing it and unsuspecting little cousins or sisters can make the best canvas for your work. After you have narrowed down on your search, the second important step for a party makeup will be to get your wands and products out and start copying and practicing that look. Smoky eyes won’t be easy, your eyeliner will not be straight and some lipstick will be on the teeth – but that’s what will help you prep for the final day. Practice till you get the look you imagined and on D-Day, your look will be absolute perfection!
Source: makeupforlife.net
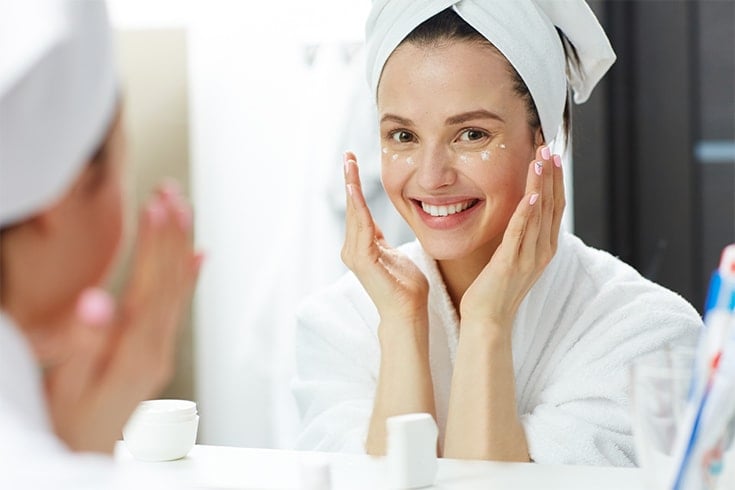
Prep Weeks Before:
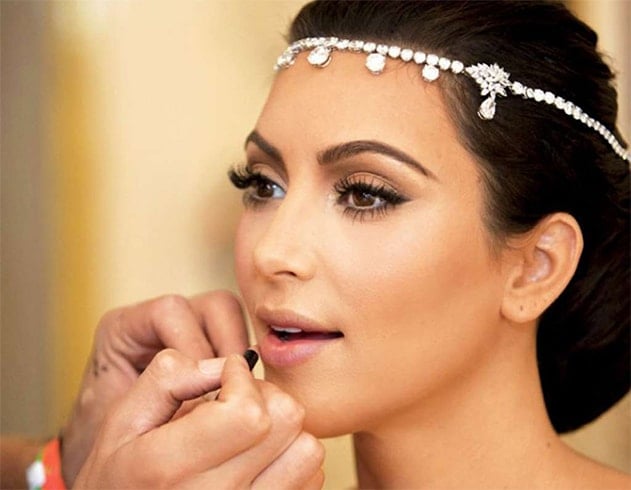
The perfect makeup comes only with perfect skin, so you need to book the right facials and skin spas to ensure that your skin is in pore perfect condition. Start getting monthly facials to make your skin glow from within and not just that, facials also make your skin look dewy and you glow from within. The environmental conditions in today’s life can take a toll on the skin and getting those facials before the final day can help battle any breakouts or dullness. Not just facials, but also take care of your skin at home. Wash off makeup and clean every bit before going to sleep. Also keep your skin moisturized. The right skincare can go a long way in giving you flawless skin.
Source: thelipstickmakeup.institute
Now that you know the best tips to prep your skin for your final day, let’s begin with the makeup basics!
Step 1: Prepping the canvas
The first step in order to ensure that your makeup stays put is to use a primer. If you are used to a moisturizer, don’t skip that step but instead use a slightly lighter moisturizer because even the primer can do the same job. A primer works to smooth out the skin (albeit slightly), shrink the pores and set the colour tone by correction. There are different types of primers available and depending on your skin type, you can decide which one will suit you best. For instance if you have a shiny and oily skin, a Mattifying primer can do the job and for those with a little dull skin , an illuminating primer can be the best for a radiant canvas.
Choose your primer with care because this is what will give you the perfect makeup at the end of the day.
Did you know that you also have an eye primer? So how is it different from the face primer? Well, for starters the eye makeup is usually a little heavier so you would need to have something that will make the eye makeup stay. Hence the eye primer is a must, even if you are doing a simple makeup for wedding party. The eye primer will remove any discoloration of the eye lids and also help in smooth eye shadow application.
Step 2: Choosing the right foundation colour
The right foundation colour can make or break your look. If you don’t choose it carefully, you may end up looking like a total whitewash. Hence, before you begin your makeup, carefully watch the foundation colour to make sure you don’t look OTT. You have to first find out which undertone you belong to warm or cold, once you have determined that, it is easy to understand and choose the foundation. Always apply the foundation near your jaw, and not like most ads show on your forearm. The jaw skin tone will give you a better and much perfect matching colour. If you have a cool undertone, go for foundations that have a red or blue base. In case of warm undertones, use a golden or yellow base.
Now once your primer is set, apply your foundation and dab it gently with a beauty blender all over your face. If you don’t have a beauty blender, you can use your fingers too. The fingers are warm on your skin and helps set the foundation beautifully. Apply the foundation from the middle of your face and blend it as you go outwards. The trick it to blend it well without it looking cakey. A little too much may end up leaving smear lines or streak marks.
Top Tip: When you are using foundation, avoid the ones that come with sun protection. Sunscreen based foundations contain zinc and titanium that leave behind a white face that might end up looking pretty bad in photographs
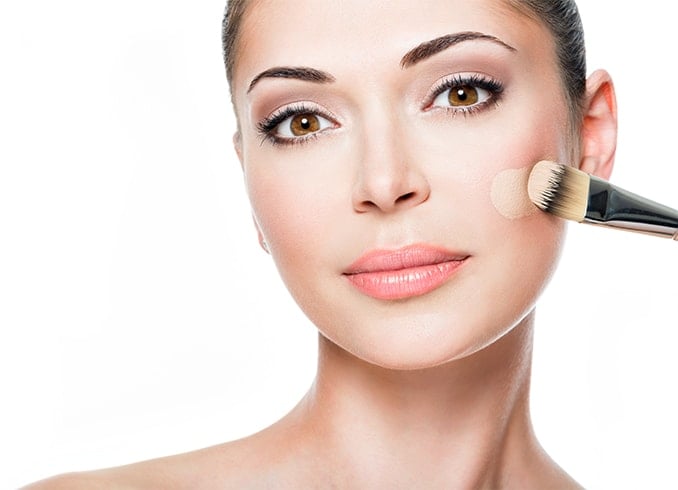
Source: allaboutsaysh.blogspot.in
Step 5: Bronzing it up
This is one step where there’s maximum chance of messing up – the contouring. In contouring, you are adding shadows to your face in strategic places to make it look slimmer or sharper and even though a lot of contouring sticks and balms and lotions exist in the market, the best way to get it done, especially for a newbie is to get a bronzer. The bronzer should be at least two shades darker than your skin. Dab your brush on the bronzer and draw a shape three on your face, starting from the top of your forehead to the contours of your jawline. Now blend it in so that it all appears uniform. This is a little tricky as too much could ruin your whole look. So treat with caution when you are using a bronzer.
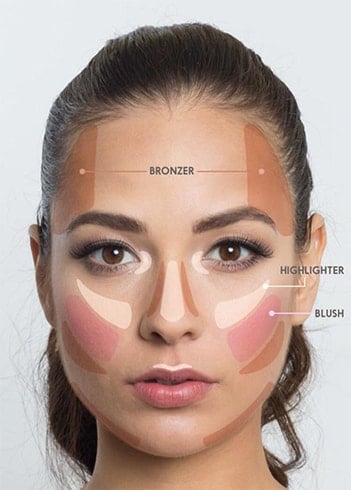
Source: in.pinterest.com/rpalac23/
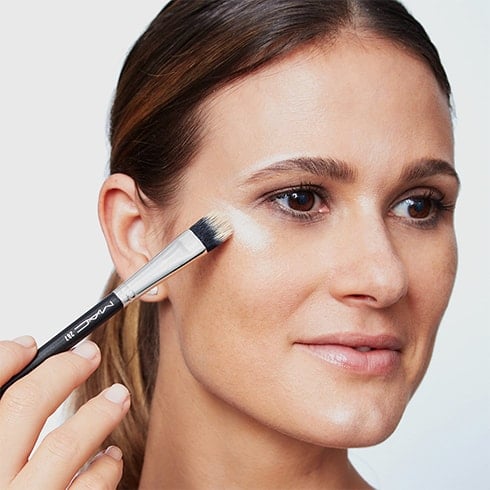
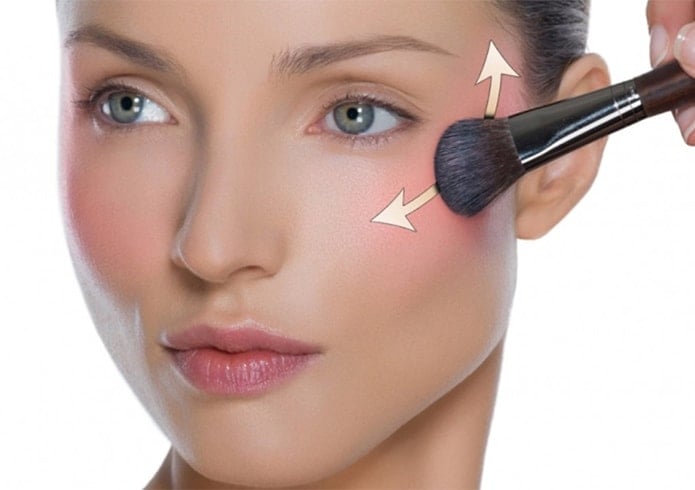
Step 6: A Rosy Blush can go a long way!
Everyone loves a little glow on your face and the blush or rouge can go a long way in making your look rosy and shy. Take some blush on your brush and shake it gently before putting it on your face. The key is to apply it from the apples of your cheeks and blend it in to your hairline. The blush shouldn’t look harsh, but it should look all natural. Remember, just a little tint or else you would end up looking clownish!
Source: dailymotion.com
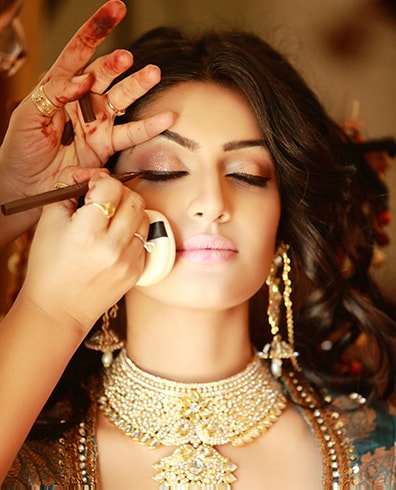
Step 7: Time to step up the EYE game!
Here’s the most important part of your makeup routine – getting the eyes right. And as we mentioned before, the colours or shade you will be using on your eyes need to compliment the dress you would be wearing. However, for a party makeup, here’s one golden eye look that matches almost every dress colour:
Take some sellotape and gently put it on the corner of your eye till your eyebrow in a slanting position. This will help you to apply eye shadow properly. If you have already applied the eye primer, then this will help your makeup stay longer. Take a brown or bronze eye shadow and gently apply it on your eyelids, concentrating more on the crease. A darker colour applied on the crease will give it more definition. Now take a golden eye shadow – preferably one shinier than the brown you just used on the crease and pack it on your eyelids. Blend both the colours together so that they do not feel out of place. Now to finish off the look, dust some silver eye shadow very slightly on your eyelids. The key is to look like you have specs of glitter on your eye.
Now that the eye shadow part is done, time to apply your eyeliner. The best look with this kind of makeup is definitely a winged eyeliner. Take a sharp tipped eye liner for a more defined look. Make your tail stand out by winging it.
You are almost done, take a mascara and curl your upper and lower lashes. For a more dramatic look, go with falsies. Remember applying the mascara or the false eyelashes should be the last step in the eye makeup section. Also, if you are planning to bawl your eyes out at the wedding, your could give the falsies a miss and stick to waterproof eyeliner and mascara. They will stay put even if you decide to shed a few tears.
Top Tip: If you want your eyes to look wider and more open, use a white eye pencil and line the inner eye lines of your upper and lower eyes. This will create an illusion of bigger looking eyes.
Source: hamaraevent.com
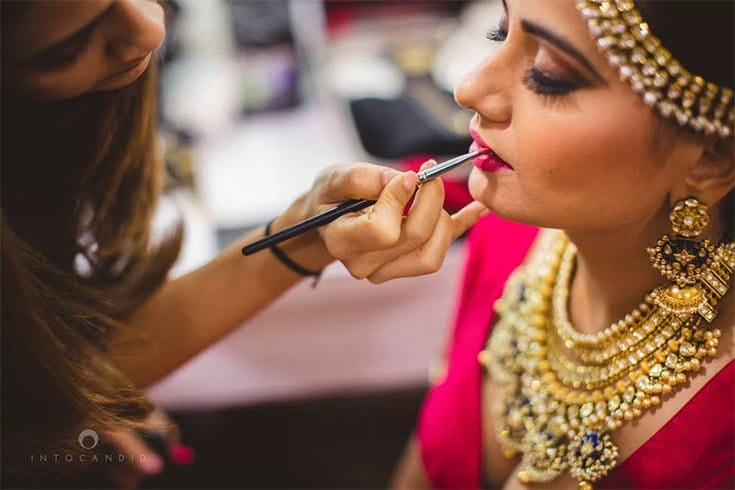
Step 8: The Final Step to a Bridal Party Makeup – Let the lips do the talking!
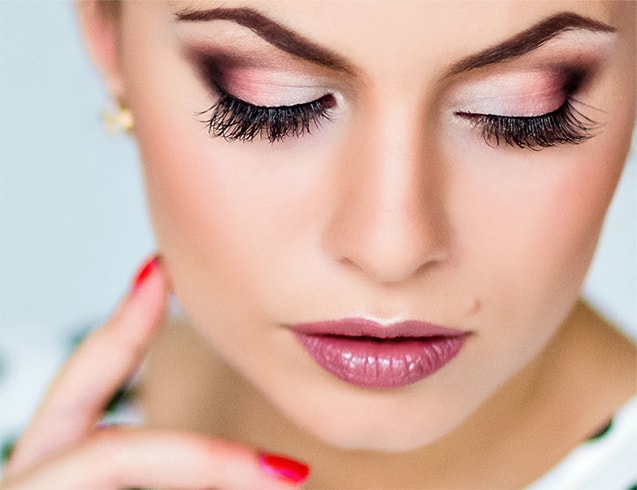
To complete the look, you need to finish off with the right colour of lipstick. The important thing here to is to concentrate on a formula that is highly pigmented, waterproof and can last for quite long (and perhaps endure all the food to that you are going to stuff at the wedding). Of course you wouldn’t want to go through the process of reapplying it again and again, so choose your lipstick with care.
Source: wittyvows.com
So what would be the colour? In addition to matching it with your outfit, the right lipstick shade can be found out with your undertones. Here’s a handy cheat sheet for the correct lipstick colours:
Fair skin: Avoid dark pink, mocha or bronze
Warm undertones- Use peach, sand or shell colours
Cool undertones- go with light mauve, mocha or nudes
[sc:mediad]
Olive skin: Avoid nudes at all costs
Warm undertones- Cinnamon, bronze and copper will look fantastic
Cool undertones- rosy pinks, cranberry and pomegranate colours can compliment your skin tone very well
Dark skin: Anything that has orangey shades should be avoided
Warm undertones- Honey, copper or ginger colours will look fab on you
Cool undertones- Lipsticks that have raisin or ruby red or wine red shades will match well
Try and avoid lip gloss because they don’t last long and don’t always look great on pictures.
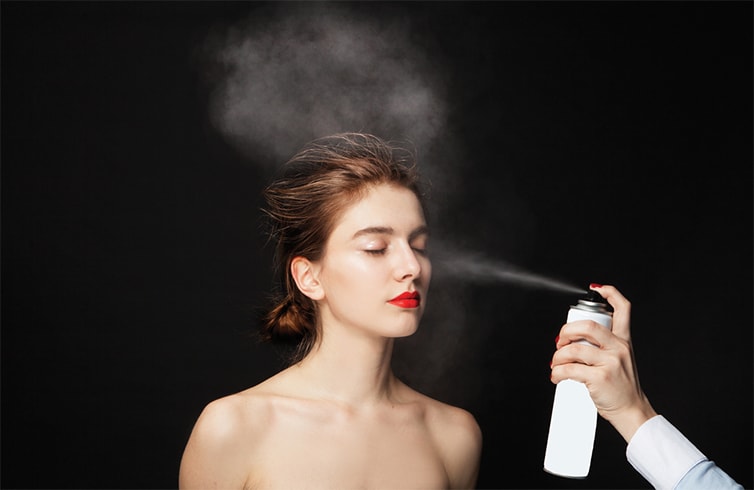
Last but not the least…
The final step that you should never ever forget is using the setting spray. After you are done with all the steps, use a setting spray (Like M.A.C’s prep+ and prime fix+) to complete your look. Not only will it give you a dewy look, but it will also prolong the duration of your makeup’s staying power. You will have your makeup on point at least until the end of the wedding!
Source: clique.adelaidereview.com.au
So here were out steps on how to do wedding party makeup at home – you can thank us later for having saved you a ton of money! You almost became a pro with all the best tips you just read.