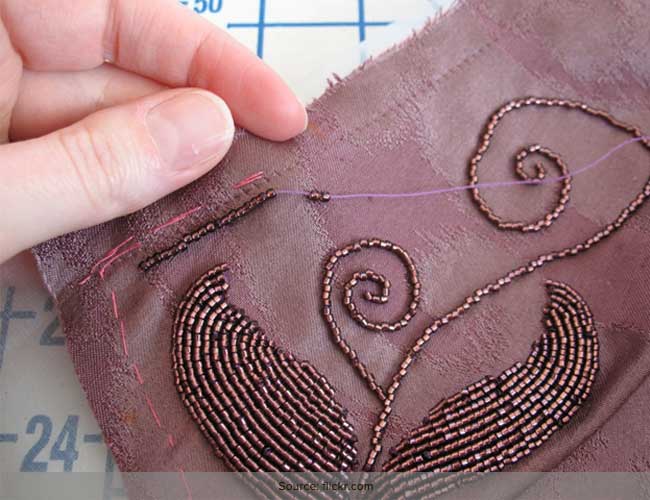
With easy access to DIY projects available online, one can be a self taught beader at ease. Instead of spending big money by enrolling into a professional coaching center, such tutorials for beginners are free and easily available on the web. After getting several requests on DIY beading patterns, today I’ve come up with an exclusive post on how to sew beads onto fabric.
Do have a read to know more about the techniques involved in beading on fabric! Here is a step-by-step tutorial for beginners –
1. Choose the motif for beading
First thing you need to do is to pick a simple motif design that is easy for you. You can go for floral leaflet designs that are easy to be illustrated through bead works. When I look at designer wears, especially from vintage collection I wonder how many hours and manpower would have been involved to create a masterpiece! That being said let’s first start with basics. I came across this vintage embroidered 1950’s Emma Domb Pink Beaded Satin Fishtail Dress on pinterest. The leaf motifs in beads make this dress look much more graceful.
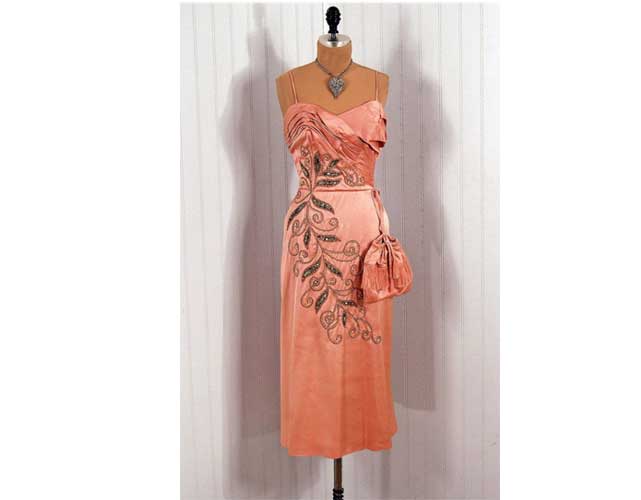
source: pinterest.com
2. Sketch out the leaflet design
Now once you have chosen the design, you can sketch the leaflet design on a paper. If you have a fair hand at drawing, you can directly sketch out the motif design on your preferred garment. But if you are not sure about drawing the design directly on your fabric, it can be bit challenging. However, I have come up with a fabulous alternative that ensures you get the floral illustrations right. For this you will need a tracing paper to take the impression.
[Also Read: How to Pick Beading Needles]
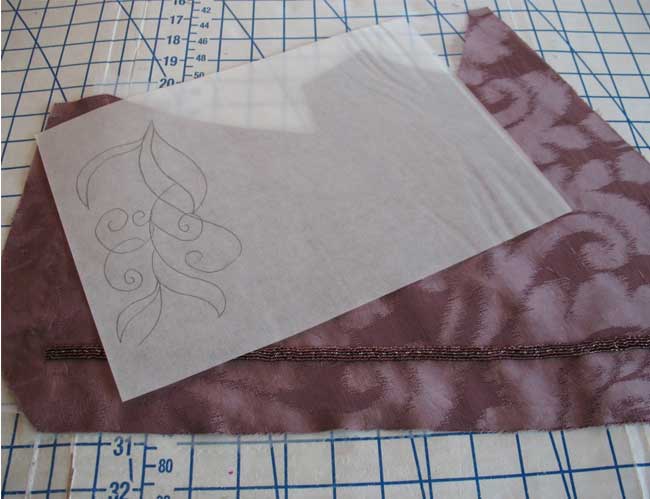
source: flickr.com
3. Transfer the illustration to sheer muslin
For this you’ll require a fabric pen. After you have taken the impression of the leaflet design on the tracing paper, now try to transfer the design onto sheer muslin by using a fabric pen.

source: flickr.com
4. Attach the muslin to the fabric
Since it is sheer, you can easily stitch through the muslin. You can add a piece of organza (it’s a thin and sheer fabric made from silk) to ensure the weight of the muslin is stabilized and you transfer your design carefully.
[sc:mediad]
P.S. Do not forget to use pins to keep the muslin in place and avoid sliding around.
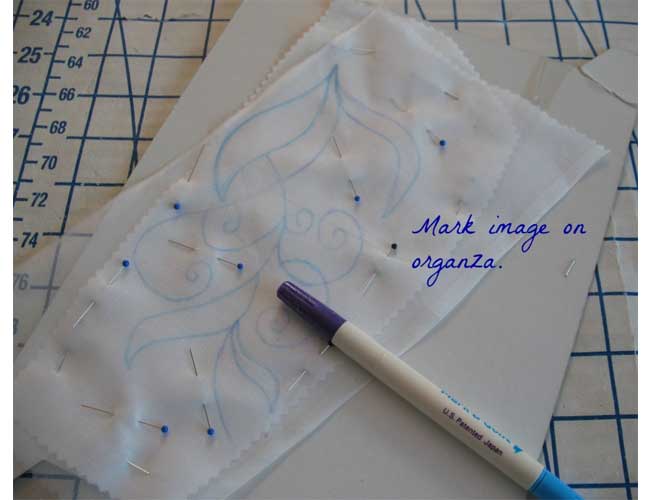
source: flickr.com
5. Now hand baste the fabric
After you have ensured that the muslin is properly pinned, you can now start your hand basting on the fabric. Hand basting is a kind of basic sewing technique that beginners should be aware of. It is a quick and easy way of stitching and is usually used for hemming and quilting.
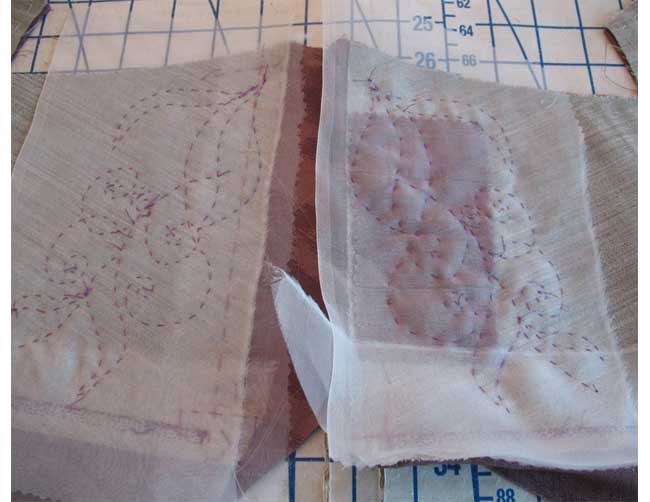
source: flickr.com
6. Now start beading
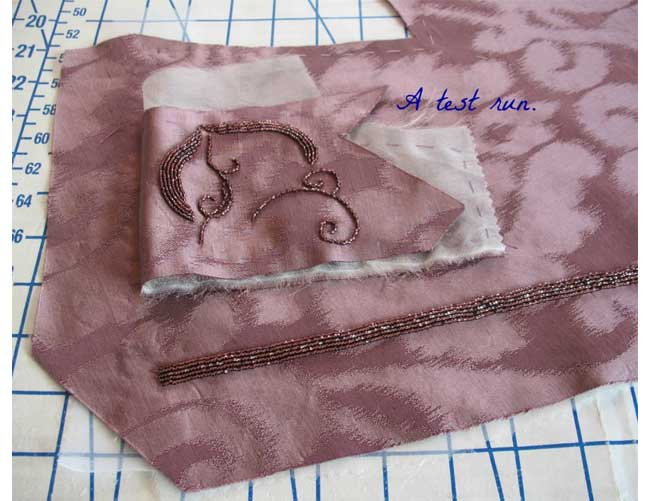
Choose a thread color that matches your beads, as it will give you a flawless embroidery in beads. And if you are still unsure and doubtful of your favorite outfit being spoiled, you can try your DIY beading pattern on a scrap of fabric first.

source: flickr.com
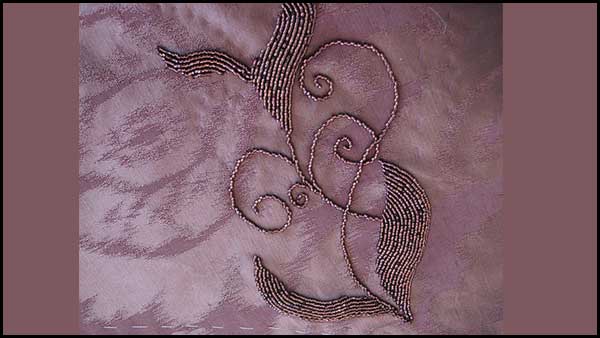
7. Use basic-back stitch method
Do not go for a long needle, instead pick a short needle. Now keeping the needle and thread on the right side, you can take two beads at a single time and drop them on the fabric by using the thread.
source: flickr.com
3 comments
Hello Laura,
We must tell you that you have an amazing site.. Love your work . We have taken the images from flickr and also mentioned the source. However, we would love to give you credit by giving a link back to your site.
Those Flickr images are copyrighted, and I am not okay with you using them on your site – please remove the pictures. Thanks.
Sure.