
Guess the hottest thing going in the nail business? It is marble nail art. Whether it’s long or short nails, marble nail designs are shouting out loud from ramp walks and cocktail parties.
Marble nails are a nail art that looks great for any occasion. Plus the looks you can achieve are well worth the effort. Let us check out some of the hottest marble nail art designs and marble nail art designs step by step.
Water Marble Nail Art For Beginners
Ingredients Needed
- Base Coat: Protect your nails from staining ensuring an even surface for nail polish. Brands available are OPI, Essie and Nails Inc
- Top Coat
- Few Nail polishes
- Round Dish having water of room temperature
- Cocktail sticks
- Cotton Buds
- Nail Polish Remover
How to do:
Here we go doing water marble nail art designs step by step.
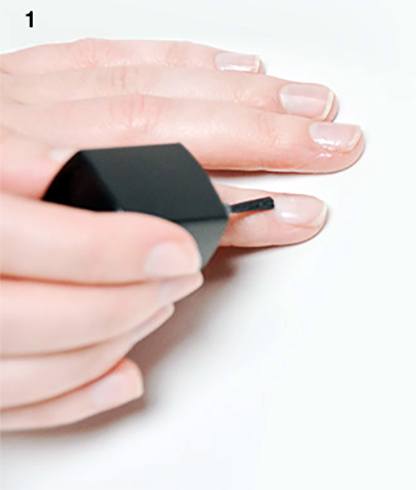
Step 1
Apply base coat over your nails and follow it up by using a moisturiser on the skin surrounding the nail. The nail polish once applied will stay better to the base coat, and will be easier to remove too.
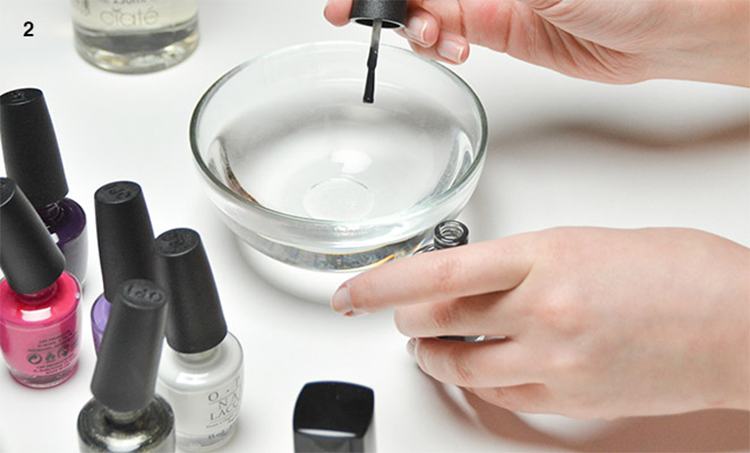
 Step 2
Time to loosen the nail polish lids of all colors that you plan to use. This will make your application time easy and lesser time-consuming.
 Step 3
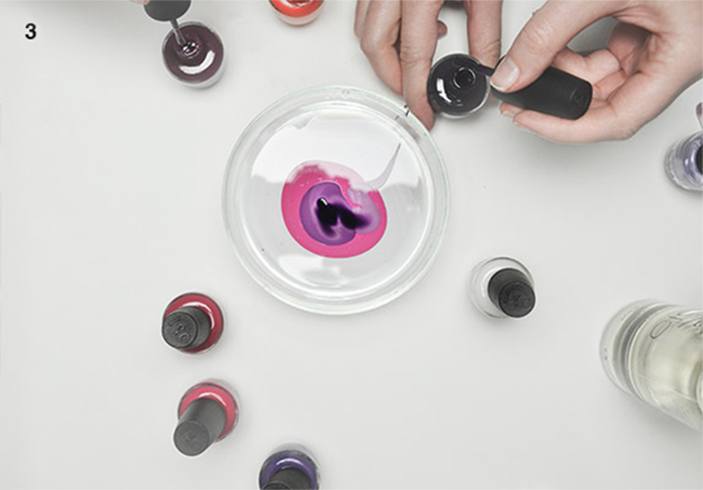
Pull out the nail paint brush out of the varnish bottle, but make sure the brush is loaded with polish. While bringing it close to the water surface, let a drop of the nail paint fall down into the round dish having water. You will see the nail polish spread out in the vessel forming a thin film.
Now choose another nail shade and repeat the same step as you did. Try and aim for the center of the first layer of nail polish.
Step 4
Keep repeating the Step 3 process by using contrasting colours. Try to make around 8 layers of colour.
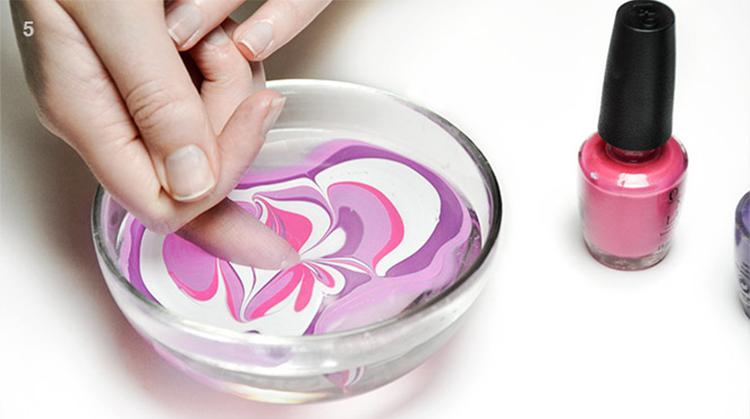
Now pick the cocktail stick and gently drag it through the colors in order to create a contrasting pattern.
Make sure to avoid the outer circle as chances are it has begun to dry out.
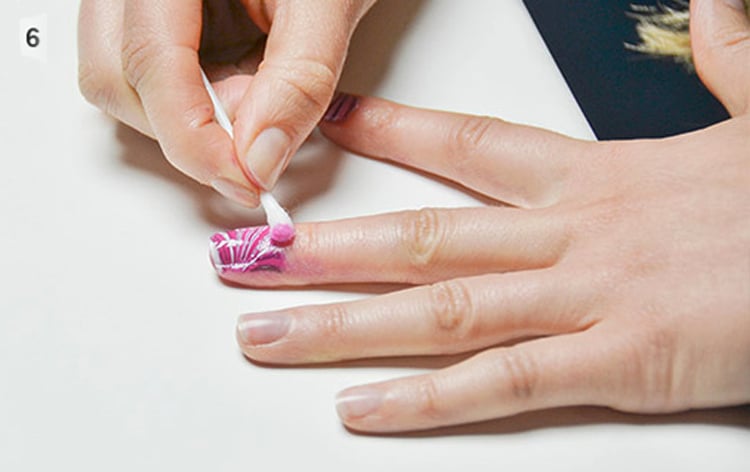
Step 6
Clean the excess of nail polish from your finger using a nail polish remover and tidy up the nail edges. Let your nails dry out.
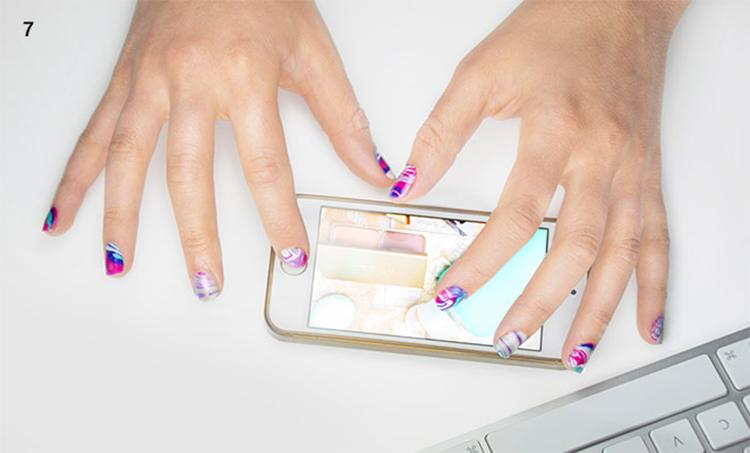
Step 7
Now go repeat the same procedure for all your nails.
2. Marble Nail Art Without Water
If you hold an artistic mind and hand, then give yourself a treat with this marble nail art tutorial. Simple and easy, this marble nail polish gives an edgy look that you desire.
Ingredients needed
- Base coat
- Top coat
- Different nail colors
- A thin brush or stick
Steps Involved
Step 1: Give your well-nourished, perfectly trimmed nails a transparent base coat, to begin with
Step 2: Choose a bold top coat of your choice and paint your nails with it. Before it dries out, move on to the next step.
Step 3: Choose colors that complement the top coat and apply it in the form of dots on the nail.
Step 4: While the dots are still wet, with a thin brush or stick, blend the dots with creative, artistic strokes.
Step 5: Pull off the excess paint flowing from the sides of the nail by squeezing the sides of another finger and keep the paint flat and within the boundary
Step 6: After it dries, apply a finishing coat to seal the marble look.

3. Spiral Marble Nail Art Pattern
The swirls are always eye catchy and painting your nails with spirals is a great way to catch attention. Here is an elaborate, simple tutorial on getting the pretty picture on your fingers.
Ingredients
- A base coat
- Two colors you wish to blend
- A tape
- Needle
- Remover
- Sealing coat
- Round cup of water at room temperature
Steps Involved
Step 1: Like always, handle your nails with utmost care and hence apply a neat base coat.
Step 2: Now tape the corners of the nail which do not wish to get painted
Step 3: Take a round cup and fill it with water at room temperature.
Step 4: Now drop one nail color and let it spread evenly like a thin film. Drop the alternate shade inside the circle of thin film and let it spread too.
Likewise, make concentric circles of alternate colors in the water bowl.
Step 5: with a needle, give the bowl of nail colors two distant swirls
Step 6: Now dip your finger right into the bowl and hold it there for a couple of moments.
Step 7: Take off the excess paint with a stick or a brush.
Step 8: Remove your finger from the bowl and take off the tape
Step 9: Lastly use the nail polish remover to eliminate the excess paint sticking beyond the nail boundary
Step 10: Seal the spiral nail color with finishing coat.
Though we have elaborately put forth 3 good marble nails DIY, we suggest you skim through water marble nail art videos on different sites to play with the themes, the colors and the designs.
Now that you have the tutorials, we are sure you could use some handful suggestions and ideas on making your nails look beautiful and attractive.
Marble Nail Art Ideas
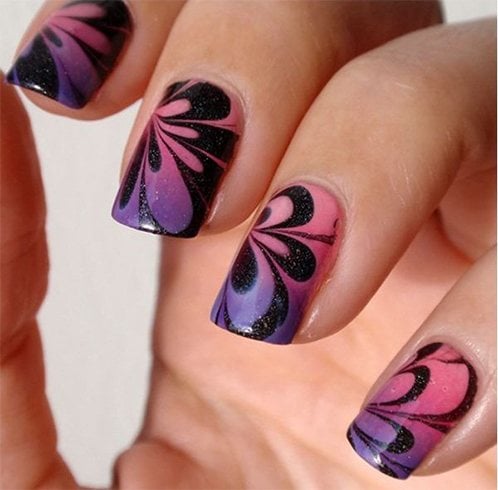
1. Flower Shaped Marble Nail Art
In this water marble nail art, how awesome look the details of black, pink and violet which are topped with silver dust sparkles.
[sc:mediad]
2. Candy Colors Marble Nail Art
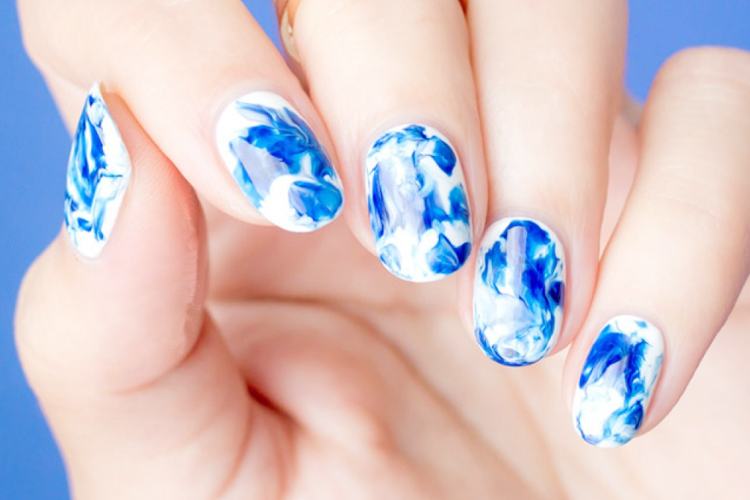
In this cute water marble nail art design having candy colors, you will go mad wearing this lovely combo of pink, blue, orange and green polishes.
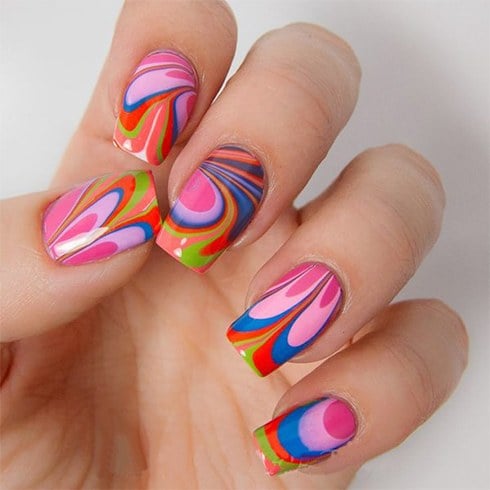
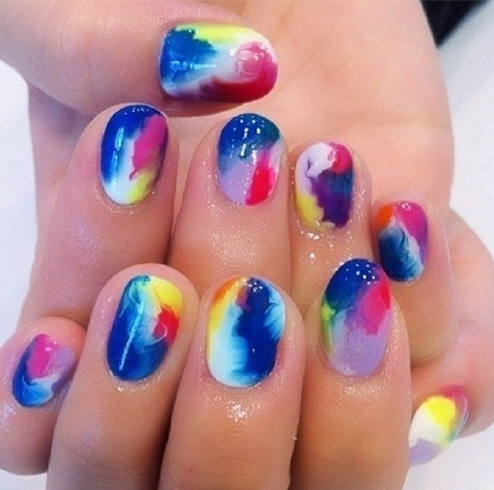
3. Color Mosaic Marble Nail Art
Is this marble nail art designs challenging the rainbow of colors we see up in the sky? Yes. Take a look at the colourful blend of blue, violet, yellow, green and orange colors creating random shapes.
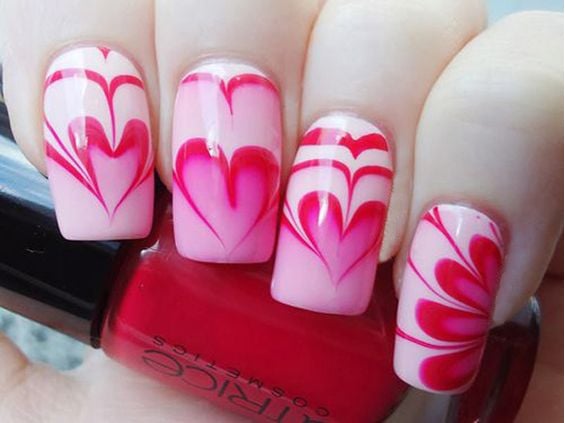
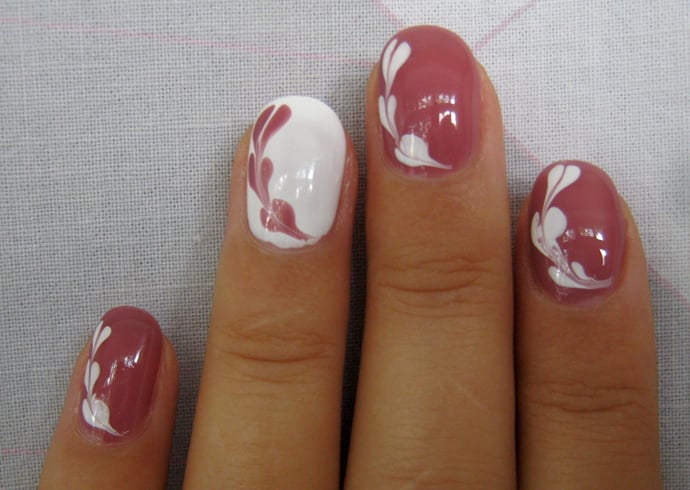
4. Heart Marble Nails
Go girly with shades of pink. Wear your heart right onto your nails and impress your crush on your date night.
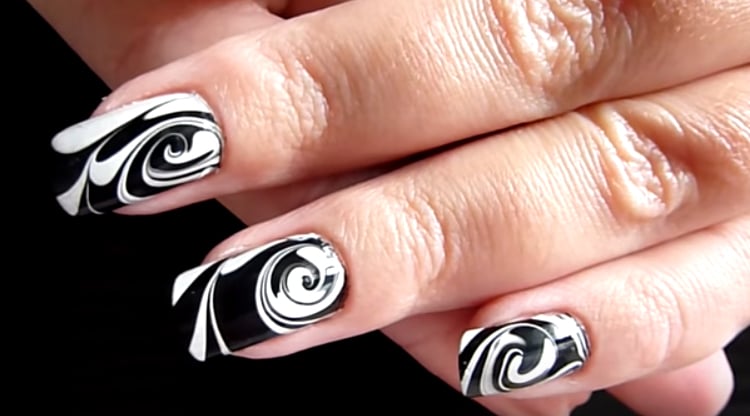
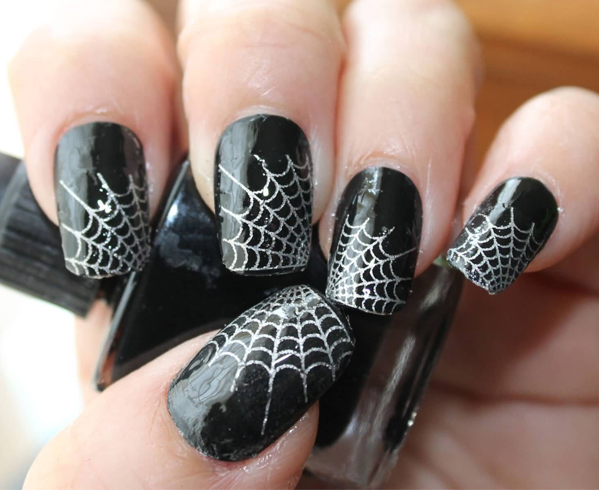
5. Spider Web Marble Nail Art
A black water marble nail art followed by a white web design is something to watch out for this season. A bit odd, a bit creepy yet it is one of the trendy water marble nail art.
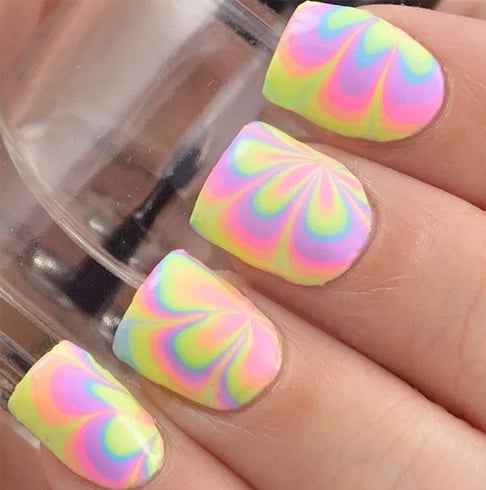
6. Pastel Floral Marble Nails
Love for pastels can spread even onto your nails. Check out this floral pastel marble nail polish that is pleasing to the eyes.
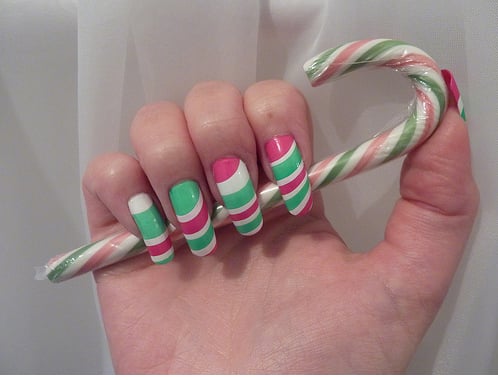
7. Candy Cane Water Marble Nail Art
Bring the Christmas with a bit of fun and on a happy note by painting your nails like a candy cane. This marble nails can be pulled out easily without the use of water.
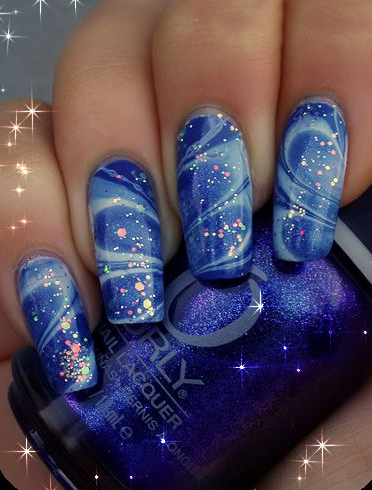
8. Starry Night Marble Nail Polish
Party looks always need to be perfect right from head to toe. This party night, bring the starry glitter night right onto your nails and give your style a stunning finish.
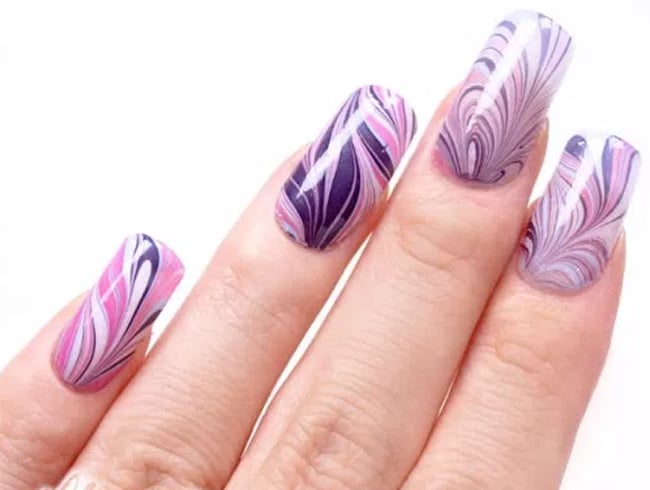
9. Pink and Purple Marble Nails
Pink and purple make for a lovely combination in the water marble nail art. While the pink gives a feminine touch, the purple strikes an edgy look. Check it out-
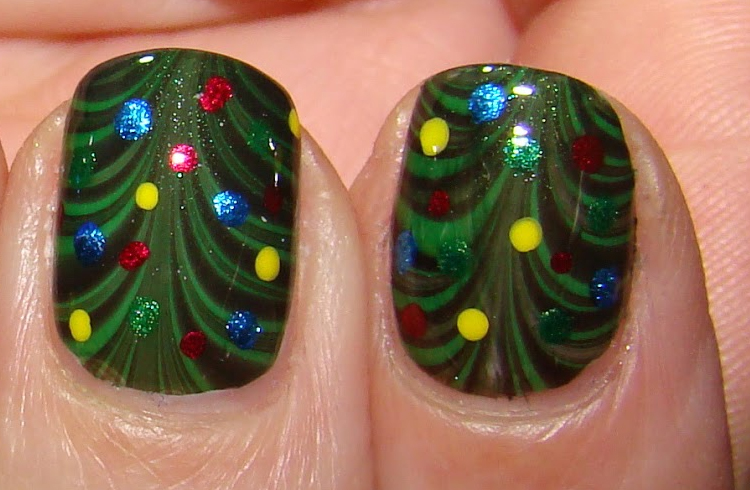
10. Christmas Water Marble Nail Art
This Christmas, knock off everyone at the party with the Christmas tree marble nail art. Add pops of shimmering colors to make it more colorful and charming.
11. Acrylic Multi-colored Marble Nail Polish
An acrylic multi-colored nail art uses acrylic gel instead of the regular nail colors. Since they have a range of shades that we don’t find in our collection of nail polishes, it could be interesting.
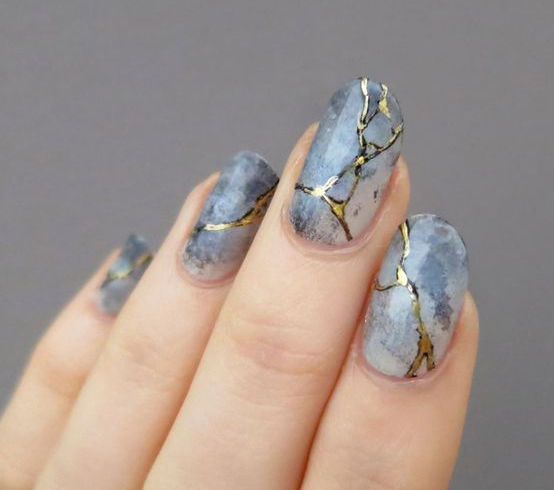
12. Japanese Marble Nails
The Japanese marble nail art totally amazed us. Over a matte finish marble nail polish, the strokes of black and gold surprisingly turned the boring nail art interesting.
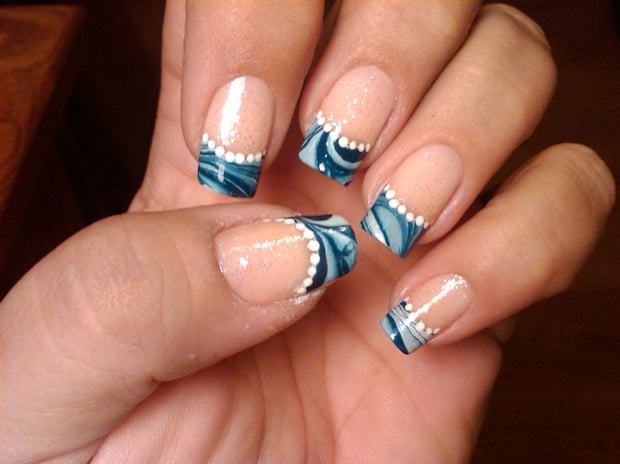
13. French Manicure Marble Nail Art
Love the French manicure? Yes! Give your French nails a party vibe with marble nail art. Seal the part of the nail where you don’t want the paint and dip the nails into the water marble nail art solution and trim it off later to give the perfect French nails that you desire.
14. Gray and Silver Marble Nail Art
This is one insanely pretty color blend with a French manicure finish. It’s worth a shot for sure. What do you think?

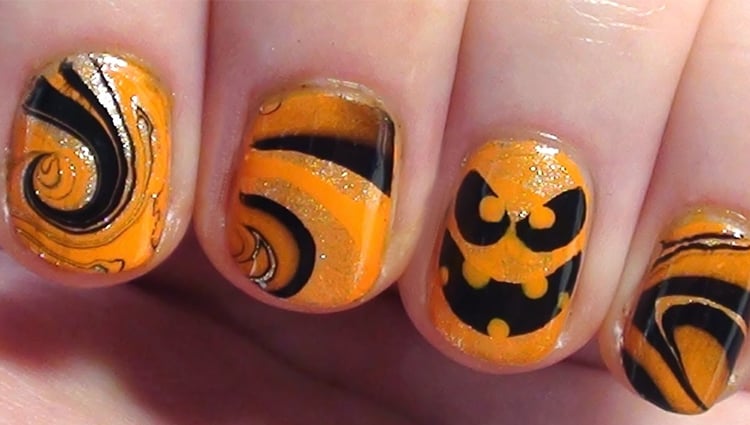
15. Halloween Marble Nails
Match your Halloween costume with a fascinating marble nail art to scare the hell out of people. This is one cutesy style of marble nail art for Halloween parties.
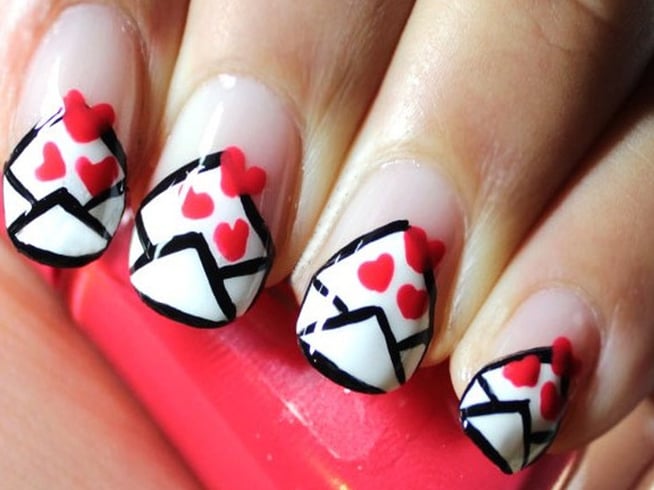
16. Valentine Marble Nail Polish
Don’t like being too girly? Then skip too many shots of pink and impress your loved one this valentine with this cute and adorable nail art.
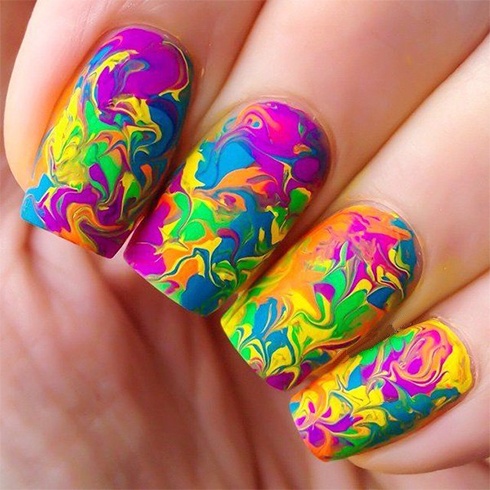
17. Drag Style Marble Nail Art
So far, you have seen a lot of water marble nail art designs. Here is a simple and easy marble nail art. Applying drops of color and dragging them to make an interesting pattern is all you need to be doing for the simply stunning nail pattern.
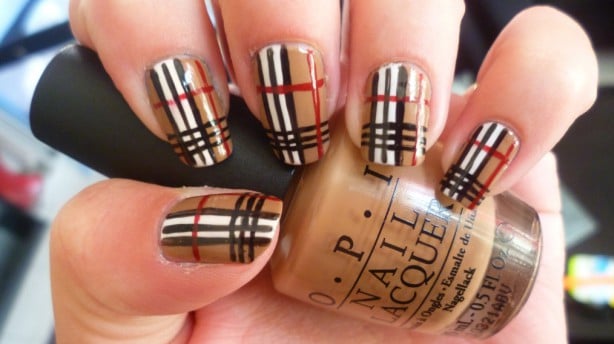
18. Checks Marble Nail Design
A fine needle or a brush can help you get this desired look. Apply a base coat of neutral shade to make the checks prominent.
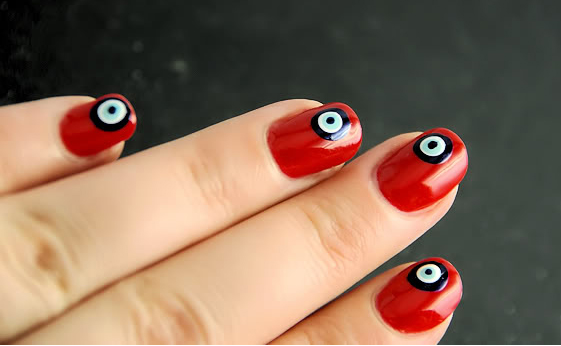
19. Evil Eye Marble Nail Pattern
To thwart the negative vibes and energies, lots of people these days carry an evil eye bag clip, or a keychain or something else. Won’t it be more interesting to try out an evil eye nail art? Yes, it is! Check this out.
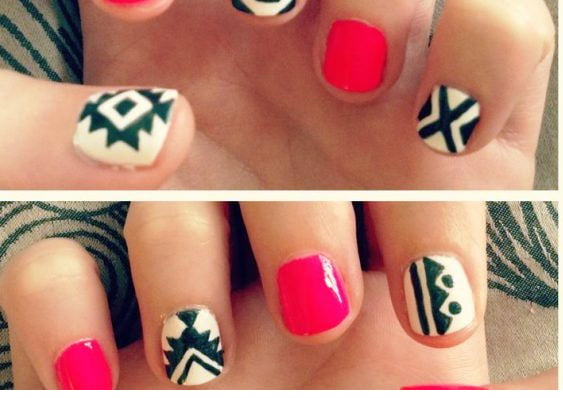
20. Boho Marble Nails
Won’t it be nice to add a tribal touch to a casual style? Start with the boho marble nail designs and look how impressive your style turns into.
So how did you find the concept of marble nail art? Eager to do marble nail art without water or dry water marble nail art? Hurry up doing it before you feel left out of the fashion race. And yes, do tell us how much your love quotient is for marble nail art designs.
Images Source: Pinterest