
Still haven’t learned how to make fishtail braid?
No worries. This simple tutorial will make you an expert within no time and you’ll be able to make your braids in not less than 5 minutes.
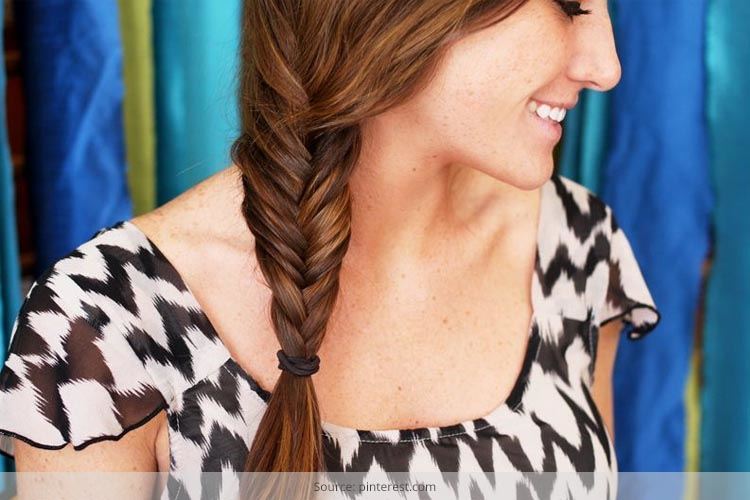
The fishtail braid, which is also known as the herringbone or fishbone braid, might have looked to you elaborate and time-consuming till date. But actually it’s not.
Go through our tutorial and you’ll soon realize it’s surprisingly easy to do. This hair styling is going to become one of your favorites for rushed mornings, especially if you have long hair.
DIY Fishtail Braid:
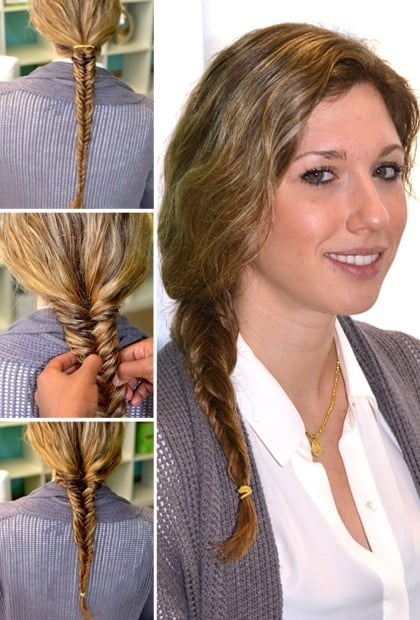
We all love the look of fishtail braids! This trend is quite a rage among girls school and college going girls. Moreover, it’s incredibly easy to style. Fashionlady has managed to collect step-by-step images along-with a tutorial video, so you can try it out for yourself…

While braided hairstyles have always been in the hit list to learn and for DIY, you should also get a hands-on this kind of trendy hair styling. No hot tools or hair accessories except for your hair brush and thin hair bands.
You must be aware of the classic three-piece overlap, but anything beyond that can sometimes seem to be intimidating.
Even you might have watched several YouTube videos but those didn’t help either. The below mentioned fishtail braid instructions are easy to grasp and you only have to understand five simple steps. Besides, we’ve used clear, close-up photos for your better understanding.

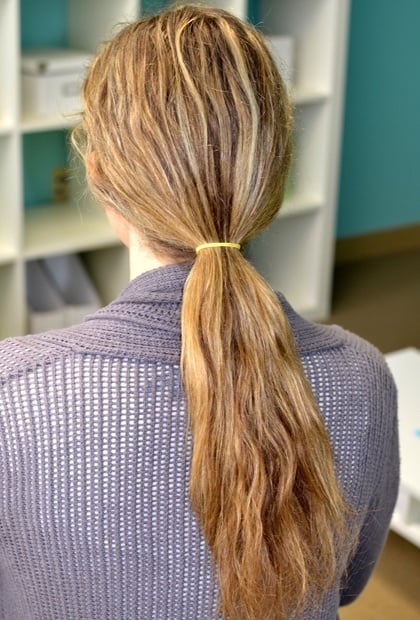
First Step – Create a ponytail:
So, get ready to break out the elastics and loosen your fingers to explore your inner braid connoisseur. Continue reading!
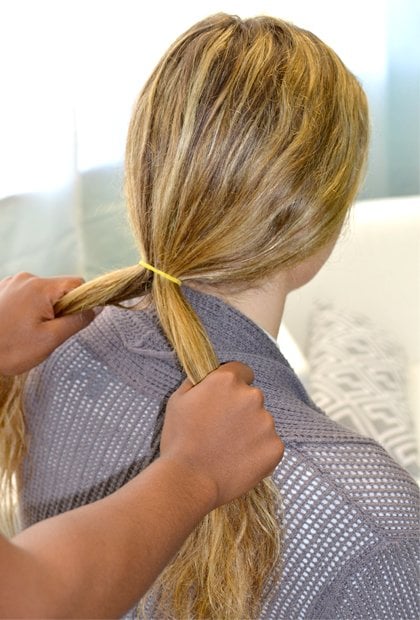
Second Step – Divide and split:
To begin with, gather your hair and make a ponytail. Now use a throwaway elastic, one that can easily get snipped away with scissors at the end.
[sc:mediad]
Begin weaving:
Now split your ponytail evenly into two sections. Unlike the traditional plate, a fishtail braid only requires two sections.
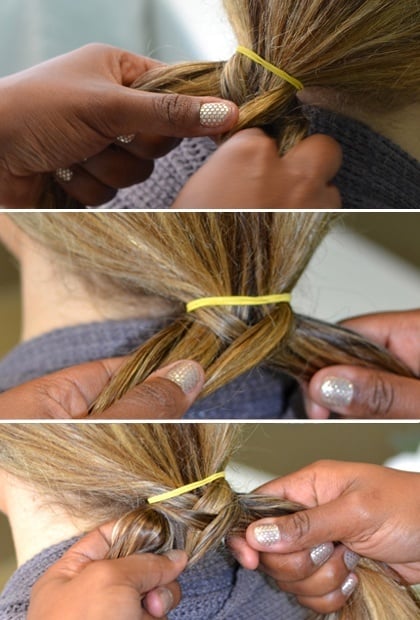
Finish Your Look:
Continue crossing-over the strands from both sides of your ponytail, all the way till the end. Make sure to grab the same size (about a half inch) sections from each side.
Once you’re done with braiding them till the end, secure the style with another elastic. Now, carefully cut out the elastic at the base of your ponytail. Finish your look by gently tugging them with your fingers to loosen it to give an effortless look.
Hope you enjoyed this tutorial on hair-styling.
Images Source: totalbeauty.com