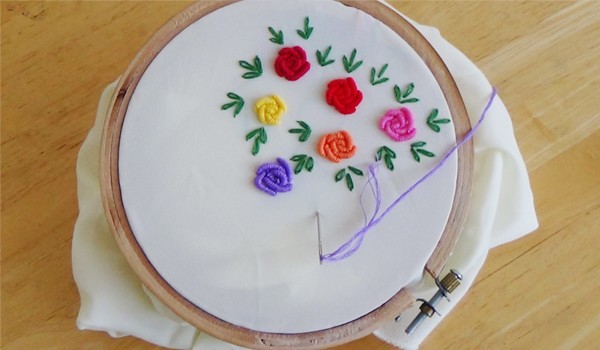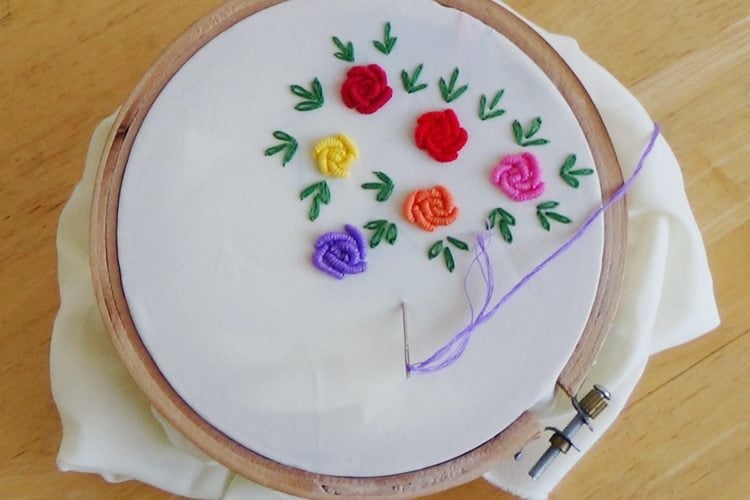
Needlework crafts back in fashion, so why not give your old stuffs a new lease of life with coloured yarns, needle kits and some creativity. Hand embroidery tips will come in hugely handy for those who’ve planned on refurbishing the decor of their homes or gifting loved ones handcrafted embroidered items this Christmas. Apart from employing the appropriate needles, threads, and fabrics, you’ll simply need to follow some simple steps for bettering the quality of your embroidered end-product. Abiding by the following 7 success tips for hand embroidery stitches that will go a long way in ameliorating the look of your needle craft.
[Also Read: 7 DIY Christmas Holiday Gifts With Machine Embroidery Designs]
Hand Embroidery Tips
For a start, to make the final output more visually appealing will essentially entail embroidering a design or pattern that syncs with the item (quilt, t-shirt or bedcover).
Then again, choosing the perfect loop or hoop for your DIY embroidery project will also have a considerable impact on the ultimate outcome. Here are some hand embroidery tips to keep in mind to help you on how to do embroidery stitches by hand.
1. Zeroing In On An Apposite Embroidery Pattern
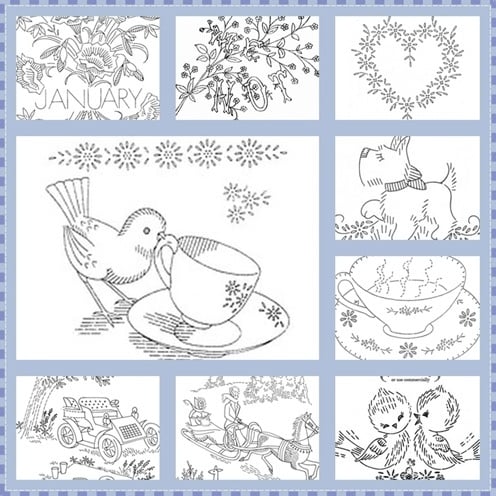
Having a template or outline of the design that you’re eventually going to embellish on the item will be the first of your steps to improve your embroidery. Whatever model you finally select, you must ensure that the same synchs with the piece of fabric on which you’re going to embroider. Bear in mind that a blueprint that might appear fetching on a tablecloth may not look equally eye-catching on a duvet.
Remember that there are distinct categories of designs and patterns for every type of textile material like handkerchiefs, napkins, t-shirts, skirts, towels, bathrobes, tops and so on. Sift through a range of magazines and periodicals or go online to zero in on a pattern that you’ll instinctively realize will match your quilt, blanket or bedcover. To be on the safe side, take a printout of your preferred design and lay it on the material to form a mental imprint of the end result.

2. Getting A Little Tech-Savvy Helps
You’ll be much better off creating your own designs or modifying and improving on those that you’ve already selected from online/offline sources. And one excellent way of doing that is downloading some embroidery software from the net and making backups of the same. Alternatively, learning to edit the programs including scaling, sizing, rotating and merging the patterns will stand you in good stead when it comes to carrying out your everyday embroidery projects.
3. Sewing A Blueprint On Any Commonplace Fabric Item
You know that you cannot afford to take any chances with your embroidery design assignment. So, it’ll be better if you try experimenting with the same by running trial and error tests on a variety of textiles that you don’t use anymore. It could be a terrycloth towel, a tee, a hanky or any other commonplace stuff.
In case you plan to embroider on simple fabric, buying a little extra cloth of the textile you’ll stitch on will prepare you perfectly for the ultimate project. For best results, use the same threads, needle(s), and starch that you’ll be using for the final job.
4. Opting For The Ideal Ring Or Hoop
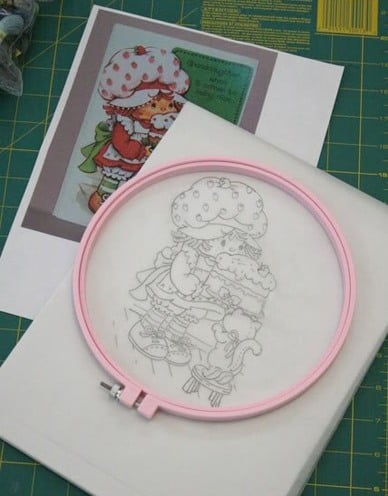
One of the most valuable hand embroidery tips for beginners is to pick a suitable frame or hoop for the fabric. Choosing a compatible ring will flatten out the fabric entirely without making it too taut, thereby giving you more leeway and convenience while sewing. Towards that end, always opt for the smallest loop in order to accomplish a hold that is neither too tight nor too loose.
[Also Read: Now Make And Gift These Cute Machine Embroidery Goodies]
5. Hooping To Perfection
So that you can perfectly fit and stretch the fabric inside the hoop, place both the ring and the fabric on a completely flat surface. Strictly avoid looping the cloth on your lap regardless of the nature of your hand embroidery job. Using an ironing board may help but you’ll be better off inserting the cloth inside the frame on a mat or pad placed on a study table.
[sc:mediad]

[Also Read: Types Of Embroidery Designs For Kurtis]
Palpably enough, the above instructions or success tips on hand embroidery are not rocket science and can be conveniently adhered to if you’re sincere about your needlecraft project. Learning to sew by hand is fun and also offers you a refreshing break from the tedium of a hectic lifestyle. Most significantly, the fulfillment you derive by picking up the ropes of embroidery is priceless!
Images Source: pinterest.com
