
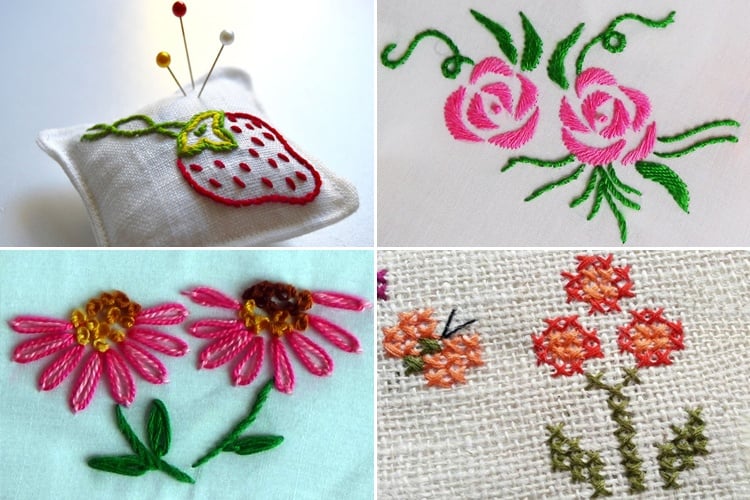
Are you fond of Art and crafts? Do embroidery stitches excite you? Then this post is for you to learn a lot from. We all love embroidery, and it is not that difficult to create these beautiful images with thread. Practicing a little with a sincere dose of patience can work magic in developing your skills for the art. We bring you 15 most loved embroidery styles and tell you how to do them too. Read on and start stitching.
Here is the list of 15 hand embroidery stitches
Hand embroidery has become the most in-demand work on outfits. This work can range from simple stitches to months and months of hard work too. The high end luxury designers themselves look back to hand stitching to produce the finest of outfits to be donned in.
1. Running Stitch Embroidery
If you are a beginner then try out this simple and easy to do embroidery stitch. It is the most basic form which can also be used in stitching anything around you. Making you self-sufficient when you need to repair that little tear somewhere in your dress or mend a table cloth, this stitch also makes way for easy to create designs and can even be used to make outlines to other embroidery designs of yours. Choose some threads with different colours and get drawing with stitches. Follow the steps below to get it right:

Step 1: To start with, poke the needle through the fabric from one side of the cloth and pull the thread.
Step 2: Now poke the thread back into your fabric leaving a little breather space between the two points. Take the thread down below to cover the cloth with one stitched area.
Step 3: now poke the needle again and bring out the thread, this time let the point be a little away from the first point you had poked it at.
Step 4: Follow the same pattern and complete another stitch. Keep moving ahead along the desired line to carry on stitching.
2. Back Stitch Embroidery
Moving a step ahead let’s give a try at back stitch. This style is a good option when it comes to making outlines to your design or maybe adding fine details to a certain portion of your drawing. Also, this style can be used to create an illusion of pattern or texture on your embroidery and can look very pleasing to the eyes. Follow the steps to create those beautiful lines:
Step 1: Begin the stitching process by poking your needle up through your cloth and then take it down again after a little interval. Now poke it back up after leaving a space just as you would do in a run stitch.
Step 2: Now comes the difference where you need to poke your needle and thread back at the end point of the first stitch you had made to take it down under the fabric. This returning of the needle makes this stitch have its name as such.
Step 3: Now poke it out from the fabric yet again now leaving a space from your second stitch. After this, you need to come back again to the end point of your second stitch to repeat the process of back stitching. Keep doing this to continue the line forward and you will be making your designs in no time. With a little trick in the process, this is a very easy way to craft those seamless lines in your design.
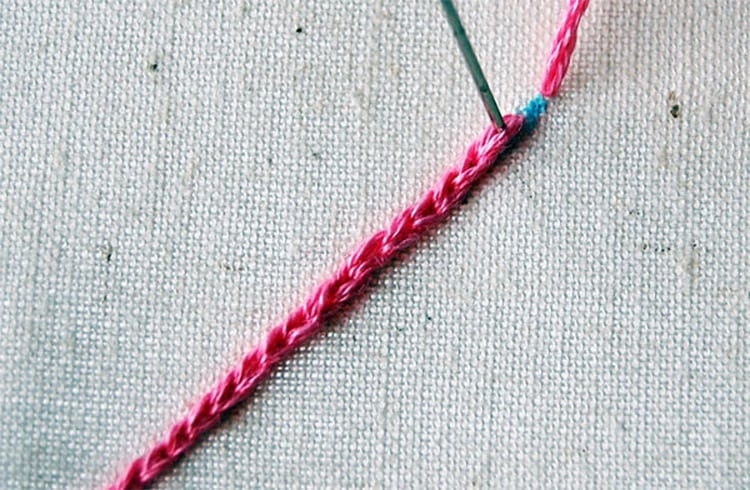
3. Split Stitch Embroidery
Taking you ahead on the difficulty mark we bring you to the beautiful split stitch that is yet another form of stitching that can be used to make outlines. A common for floral designs and used heavily in making the shoots and stems in floral embroidery, with a little focus you can make your needle run to make this style enhance your work. Similar to chain stitching, this design is explained below for you to get going with the steps.
Step 1: Make sure you are using a thicker variety of thread for this particular stitch as you have to divide the thickness of your thread into two halves when you stitch.
Step5: Now bring the needle again from below keeping a half stitch distance from the stitch you just made and repeat the process of poking down again from the middle of your previous stitch.
The stitch looks very delicate and almost appears like a mini chain or a braid giving it a pretty look.
[Also Read: Types Of Embroidery Kurti Designs]
4. Stem Stitch Embroidery
We now come to the stem stitch which is easy to make and looks very elegant in your designs too. A suitable choice for straight lines or stitching curved designs, this stitch is a saviour when you want your work to look neat and perfect. The procedure is quite friendly for beginners and can make them practice their skills pretty well. Read below to know the steps:
Step 1: Poke your needle out from below your cloth to begin your design.
Step 2: Take your needle about one stitch distance away and poke to go down.
Step 3: Now bring your needle out again about one stitch distance away from your previous stitch.
Step 4: Take your needle back and poke it to go down about at half the length of your previous stitch, keeping it close to the design.
Step 5: Take the needle out now again about half stitching distance away from the previous stitch made.
Step 6: Keep repeating this flow and you will see a uniformly stemming line being made for your design.
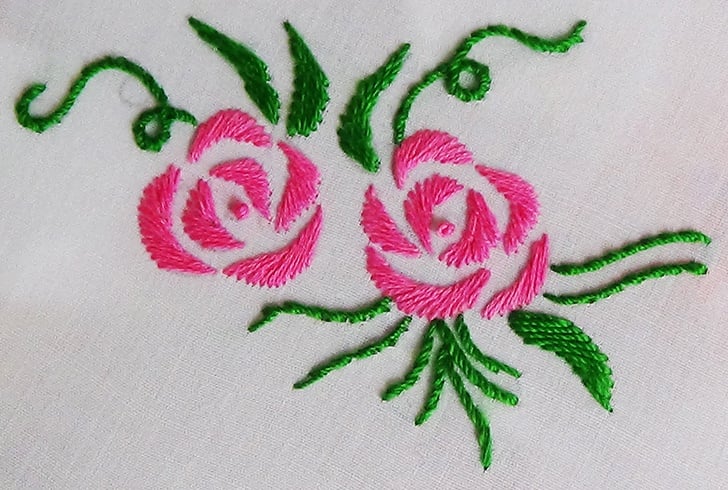
5. Satin Stitch Embroidery
Now comes the stage when you are successful in making those outlines, but now need to move ahead in filling up your designs with a blast of colours. An easy format of filling up space, the satin stitch makes you create a smooth texture while you cover up a design area in close knot stitches without any spaces in between. The more compact they are the better the look is of the final product. Also called the Damask stitch this one is a great way to colour your leaves and flowers in any design. Just following these instructions can create the magic you want.
Step 1: Pull in a good amount of thread into your needle as this stitch requires a lot more of thread quantity for filling areas.
Step 2: Start your stitch by poking your needle from below and choose a distance for your stitch length which you will keep uniform for all the stitches made.
Step 3: Once a single stitch is done, poke your needle back adjacent to the end point of your first stitch and complete your second stitch close to the start point of your first stitch. By doing this you create two stitches that are closely packed next to each other filling up a little portion of the design.
Step 4: Repeat the process in directions of your choice to keep filling the area with the colour of your stitches. It is like painting a picture with every stitch you make.
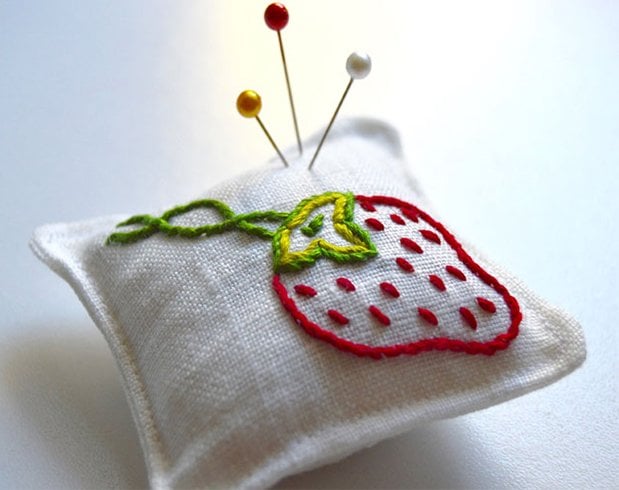
6. French Knot Stitch
Now that you are learning and picking up things pretty well, let’s take you ahead to a more interesting style. The French knot stitch is a fun way to create minute detailing in your designs to make your work look more rich and appealing. A great option when making eyes in your design or the center of flowers, this stitch gives your embroidery a touch of beauty. Make use of the steps to master the French knot.
Step 1: Poke your needle out to the front from below of your fabric. The needle is now in front ready to go back to the other side again.
Step 2: Tie the thread around your needle for about three to four times. Make sure you hold the thread very firmly as you tie it around.
Step 3: Now poke your needle just next to where it came out from and start drawing it from the other side. When you do this hold the loops of thread firmly till the thread completely crosses to the other side.
Step 4: Once done, you will now have a neatly compressed knot of thread that appears like a little blob. Repeat the same around to create textures and design details of your choice.
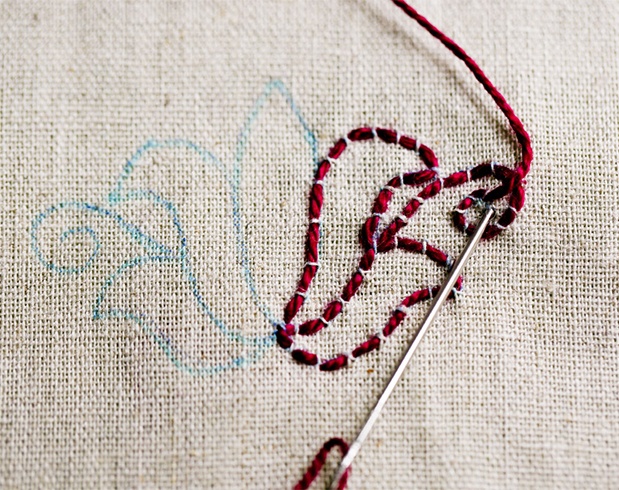
7. Chain Stitch Embroidery
To add more beauty to your artwork on fabric, go a level higher. A few stitches that are a bit more complicated than the previous ones, can make your embroidery a lot more ornamental. Chain stitch is one such way to create designs on both straight lines and curved lines too. Make use of a variety of coloured threads and mix and match them in your design with chain stitches to give a unique look to your work. Follow these steps and make it happen.
Step 1: The first step is to create the anchor stitch for the chain stitch that will support the next stitches in line. Make a simple running stitch through the fabric and come back to the starting point again.
Step2: Next come back again through your fabric as you make the next stitch a little below your previous one. The new hole should be in line with your first one.
Step 3: Now pull the previous stitch with the help of your needle tip and open the stitch slightly, but not too much. Take your string through this loop and make it pull the loop to the fabric. Do not do this too tightly or else the fabric with crunch up.
Step 4: Now put the needle back to the second hole as the loop gets pulled. This makes you create the first segment of your chain.
Step 5: Now repeat the process with this new stitch in place and you can successfully keep adding as many consecutive loops to your chain.
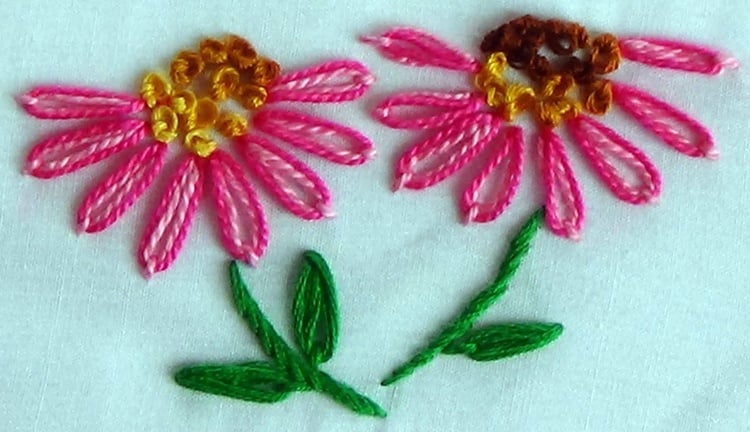
8. Lazy Daisy
The art of embroidery has been popular since ages and the most popular motifs in this beautiful art form are plants and flowers. An interesting way to give shape to these motifs could be the lazy daisy stitch. Yes, the name itself proves that the technique is made for creating floral designs. With a long loop that is fixed at the end with a locking stitch, this one can be repeated in circular directions to make flowers that look like daisies. Follow the steps and make one for yourself.
Step 1: The basic step is to poke your needle from the back of the fabric and bring it to the front to prepare for the loop.
Step 2: Now take the needle back to the other side from the same place it came out from. The trick is to not pull the thread all the way out. You will have to leave a fair length of the string left to be pulled in, which will form the loop.
Step3: The loop is now ready to be made into a petal. Take the needle out again at a distance where it would mark how big you want the petal to be. Make sure that you are taking out the needle from inside the loop.
Step 4: Now take the needle back from outside the loop to create a lock for the petal’s end.
Step 5: Once the single petal is made, make the needle come out of the base of the petal where it starts from and repeat the steps to create the next petal beside it.
[sc:mediad]
9. Feather Stitch Embroidery
This is a very ornamental stitch indeed for you to make your designs look a class apart. The best thing is that it is very easy to craft this stitch and can be done very quickly too; once your hand gets set with the technique. An interesting way to fill up shapes, this stitch can be a good choice for making your designs look heavy by decorating the negative spaces. These steps will explain how to go about doing a feather stitch with perfection.
Step 1: For this, it is essential to draw four parallel lines on your fabric, with a fabric marker, close to each other to use as a guide.
Step 2: Once the lines are drawn, make your needle come out from the first line at any certain point.
Step 3: Now holding the thread near the second line, a little below the level of the insertion of the first line, put your needle in the third line at equal levels with the point on the first line.
Step 4: Make the needle come out now on the second line just above where you hold the thread and pull the string. This makes a shape of a ‘V’ between the first and the third line.
Step 5: Now starting at where you are, repeat the same process between the second and fourth line keeping the third line in the middle that has the corner of the ‘V’ formation. Keep repeating consecutively between the four lines this way to make a pattern.
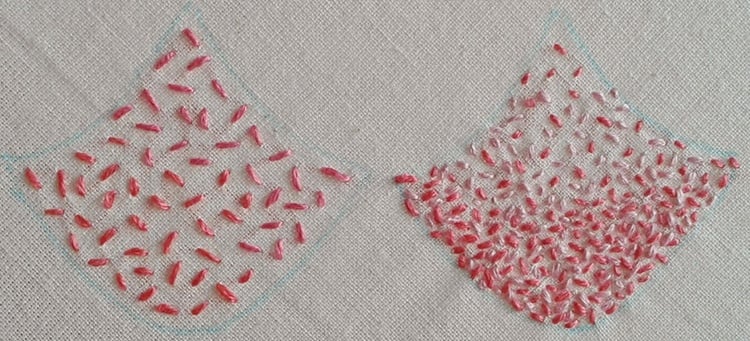
10. Seed Stitch Embroidery
A very similar stitch to the running stitch format, this particular style does the same but here the stitch distances are usually very small to give the illusion of seed like formations. The stitch is good in filling up shapes but not making it too heavy at the same time. A well-done seed stitch will also make a space get an interesting texture for the design. Follow the steps to try it out.
Step 1: Follow the exact steps of how to do a running stitch, but just keep the stitch distances short and the stitch intervals long, or as short as the stitch, according to your wish.
Step 2: Continue your seed stitch across the area until you fill it up. How dense do you want the stitches to be is completely your choice.
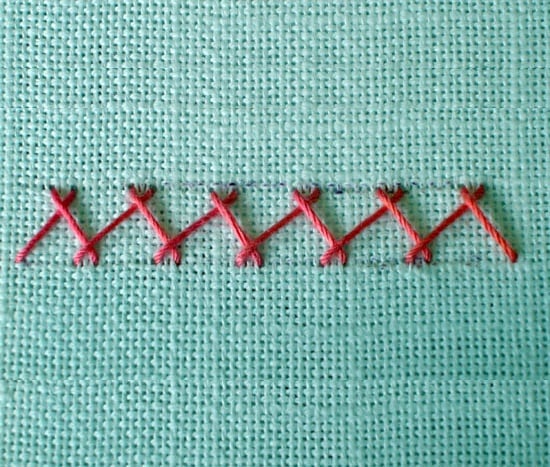
11. Herringbone Stitch
Herring bone stitch is yet another decorative stitch that is used to ornament a shape. Looking like a fishbone structure, this stitch helps you fill up an area with a dense looking stitch style. It is useful to always keep a guide drawn on your fabric to make sure you are in the space confined for the design. Follow the steps below to try this.
Step 1: Take the needle out from one of the parallel lines or corresponding opposite sides of your shape.
Step 2: Now move diagonally up to the adjacent line and make it go in to complete a stitch.
Step 3: Now on this other line where the thread went in, make your needle bring it out at a distance a little lower from where it entered.
Step 4: Now diagonally cross to the first line and make the needle go in and repeat the same format there too. On constant repetition, a web or fishbone-like formation will appear.
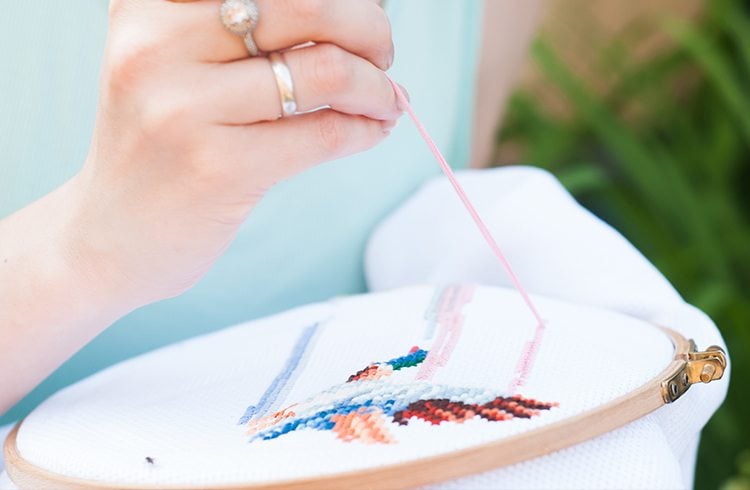
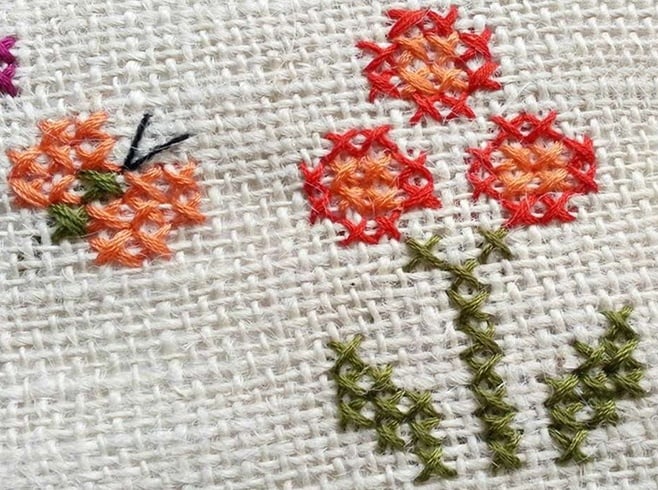
12. Cross Stitch Embroidery
This stitch is an interesting way to draw lines that have the volume to it or can also be used as little pixels to fill up an area. Making little cross signs this can be used to make a mesh-like structure for shapes and textures. The following steps explain how.
Step 1: The method is very simple as the first step involves making a regular running stitch.
Step 2: Once you have the run stitch, treat it as an axis and make another stitch at an absolute parallel axis. The center of both the stitches will meet at one point. This makes for a single cross.
Step 3: Make your needle come out from any of the ends of the two stitches and duplicate another cross beside it. You can also make the next cross at a distance if you wish. Therefore, you can go on filling up the area with these cross marks.
[Also Read: Cute Machine Embroidery Goodies]
13. Shadow Stitch Embroidery
This is an interesting type to create a shadowy or translucent view of a web design made on the back of a fabric. More than a completely different stitching pattern, the uniqueness is in the technique to stitch the design at the back. A preferably thin fabric use is advised, so the design is visible on the other side. The steps explain the technique.
Step 1: Make an outline of the shape or figure you desire with any of the stitch types you have learned above.
Step 2: Now all you have to do is flip your work area to the opposite side of the fabric and use any stitch pattern that is used to fill up spaces. When done, the design will be visible from its opposite side.
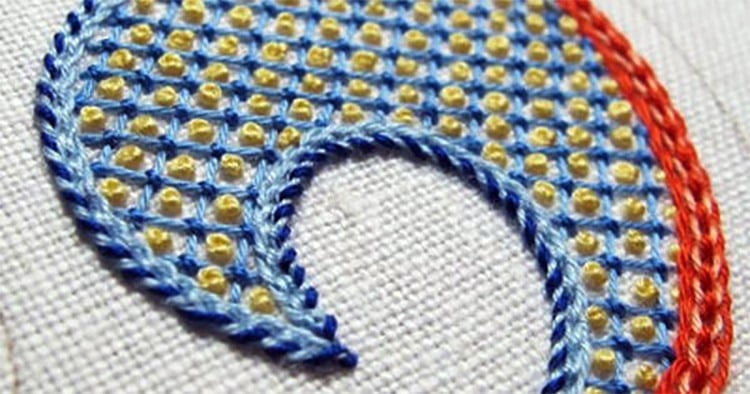
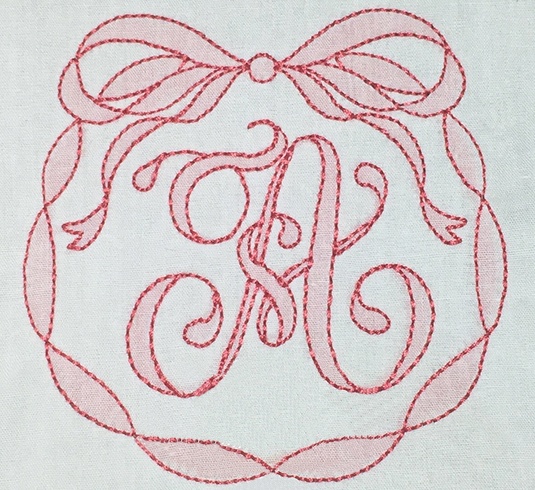
14. Colbert Stitch
This is another technique that makes a design pop out in your artwork by making well defined, bright coloured backgrounds. The outlines of a shape are heavily embroidered giving it a thick volume. The space inside the design is kept blank and the background is worked upon. This creates the illusion of the space within the outlines having a solid colour and it thus stands out.
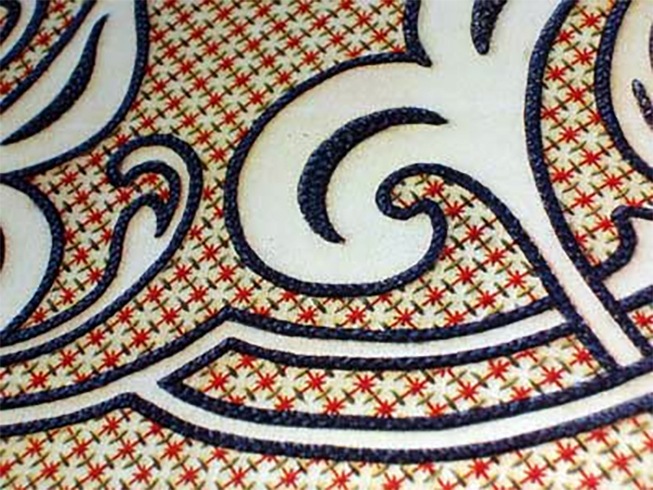
Step 1: Choose a stitch type to make the outline of your figure. Keep it heavy to add some good volume to it.
Step 2: Use pattern techniques like cross stitch or herringbone stitches to fill up the background areas. Your artwork is ready to be flaunted.
15. Hem Stitch Embroidery
This is an interesting method to use the strands of a cloth and make groups of them pulling them apart and making decorative interval designs. Possible with a cloth that is thin, with easy to separate strands of thread in the weaving, this can make beautiful borders too. Follow the steps to find out the secret.
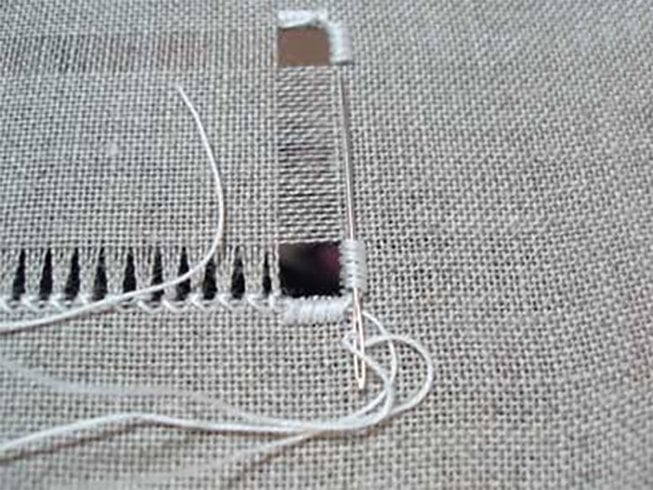
Step 1: Insert the needle close to the border of your cloth to begin the design.
Step 2: Pull apart a little portion of the cloth forcing with the needle and then poke at a little interval to pull apart the cloth again to make a bunch as you stitch around it tightly.
Step 3: Follow the previous step to keep making these little strand bunches secured with a stitch around it and making decorative holes in between.
Besides the above 15 embroidery stitches, there are various beautiful embroidery designs as well, the Kashmiri Embroidery Design being the most fancy and loved one. Let’s learn in detail about the same.
Kashmiri Embroidery Designs:
Kashmiri design, with its traditional name “Kashidakari”, is one of the most popular traditional embroideries in India, which has global reputation alike. It is as beautiful and captivating as the Kashmir itself.
This craftsmanship is hugely seen on woolen garments, especially shawls, cardigans and woolen and some cotton salwar suits as well. The work is also seen carpets, which are world famous for the intricate craftsmanship.
Different Elements of Kashmiri Designs
Colors used in Kashmiri embroidery –
- White – safed
- Green – zingari
- Purple- uda
- Blue- ferozi
- Yellow- zard
- Black- mushki
- Crimson- gulmor
- Scarlet- kirmiz
Motifs used in Kashmiri embroidery –
The motifs used in Kashmiri embroidery is mostly inspired by nature –
- Bird motifs used are parrot, canary, woodpecker and kingfisher
- Floral motifs used are iris, lotus, lily, tulip and saffron flower
- Other designs are grapes plums, almonds, and cherries. The Chinar leaf is an important motif. Butterfly designs are also found.
Fabrics used for doing Kashmiri embroidery are silk, wool, cotton, and threads used are wool and silk.
Stitches-
Used in this embroidery are satin stitches, chain stitch, long and short. Herring bone stitch and darning stitches are used occasionally.
Other stitches used are known as:-
- Vata Chickan- Button Hole
- Doria- Open Work
- Talaibar- Gold Work
- Zalakdozi- Chain Stitch
- Rafooqani or Darning Stitch
Types of Kashmiri Embroidery
1. Crewel Embroidery
This is done using a pointed crochet (locally called “Aari”).Crewel embroidery uses woolen or art-silk thread for embroidery. It is used for embroidery work on cotton, organza, velvet, linen and jute ground fabrics suitable for making drapes and upholsteries. These fabrics are also widely found on pillows, throws and bedding.
Crewel embroidery is further divide into two types –
- 1-ply Embroidery: It uses 1-ply woolen yarn which is cheaper but less durable than 2-ply wool. 1-ply embroidered fabrics are therefore cheaper than 2-ply embroidered fabrics. 1-ply wool embroidery covers larger surface area per stitch when compared to 2-ply embroidery
- 2-ply Embroidery: Employing 2-ply woolen yarn for embroidery, it costs more than 1-ply and is more durable. The resulting fabric is costlier in comparison to 1-ply embroidered fabrics. Also, 2-ply wool embroidery has a lower surface area per stitch therefore accommodating more colors in a pattern as compared to 1-ply.
A finer form of crewel embroidery using cotton thread instead of wool is worked on apparels like jackets, shawls, sarees, salwar kameez, etc.
2. Needlepoint Embroidery
Locally called as “Sozni”, this handcraft is done using a needle of the same name – “sozni”. The embroidery is worked on Pashmina shawls, woolen shawls, jackets, salwar kameez and sarees. Work done on pashminas is comparatively much finer as there is less distance between stitches than other fabrics such as cotton, silk and wool.
3. Silver and Gold Embroidery
Locally called “tilla”, this type of embroidery work is found on ladies cloaks (“pheron”), shawls and salwar kameez. It is done in needlepoint using gold and silver thread.
We are sure you have enjoyed learning these stitching methods and are already brimming with ideas for your masterpiece. Go ahead and make this amazing art a hobby of your choice. Personalise little things with your touch of stitching and enjoy the fun.
Recommended Articles:
How To Dress In Your 30s
Fashion For Women Over 50
How To Design A Plain Saree
Broad Shoulder Women
Dresses To Hide Tummy And Hips