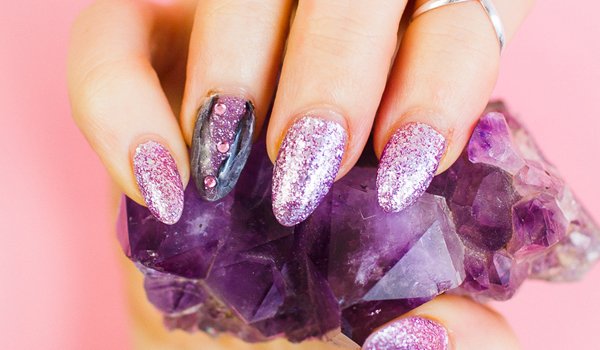
If there is one thing, which is gaining huge popularity these days, it is amethyst nail art. It looks tricky but it also gives you an opportunity to get creative with your own designs. All you need to do is grab some purple or violet nail paints and spend a few hours experimenting with some nail art. In fact, you will be reasonably surprised at how creative and skillful you can be in giving yourself a stunning manicure.
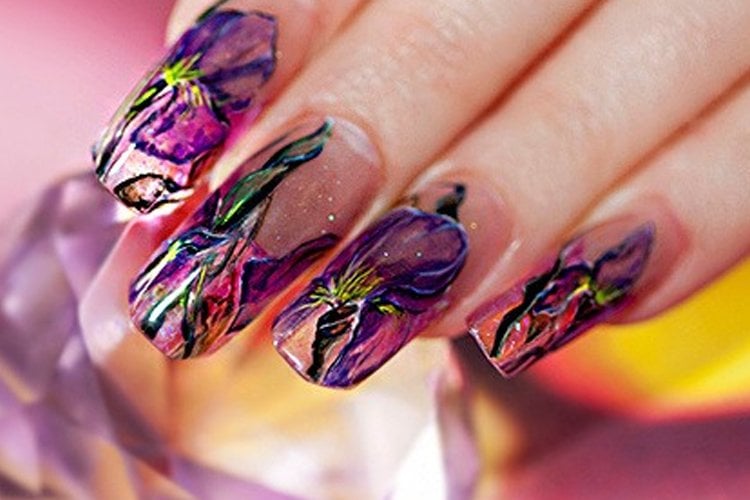
Sporting the amethyst geode is the hottest trend in the world of nail art designs.
It is really BIG in the wedding industry.
Steps To Do Amethyst Nail Art:
Let us see how to ace this trend with DIY geode manicure.
Materials Needed:
To get the amethyst color, you need:
- Grey acrylic powder
- Clear acrylic powder mixed with purple magpie glitter
- Acrylic liquid (in two greys – one light and the other dark)
- UV top coat to finish
- A nail buffer
- Black acrylic paint
- White acrylic paint
- Lecente nail art brush
- Gems and
- Gel glitter polish
Method Of Doing The Amethyst Nail Art:
Follow the step by step tutorial to flaunt the amethyst nail art.
Step 1:
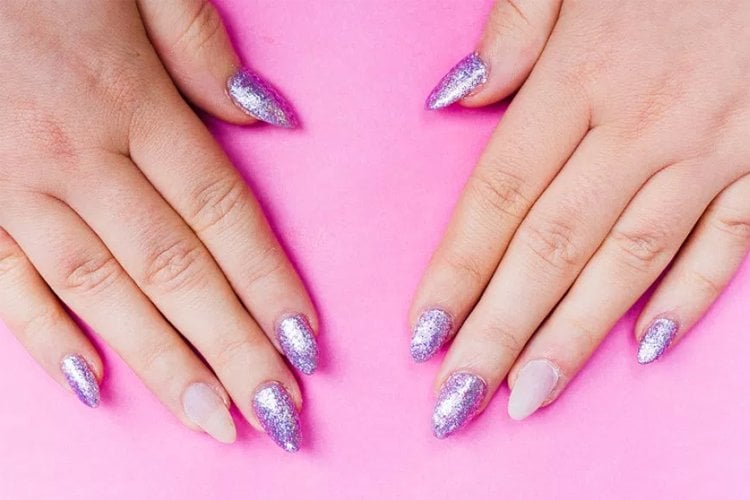
Paint a purple gel glitter polish on all the nails leaving the ring fingers on which you need to put two coats of gel. Simple, got it?
Step 2:
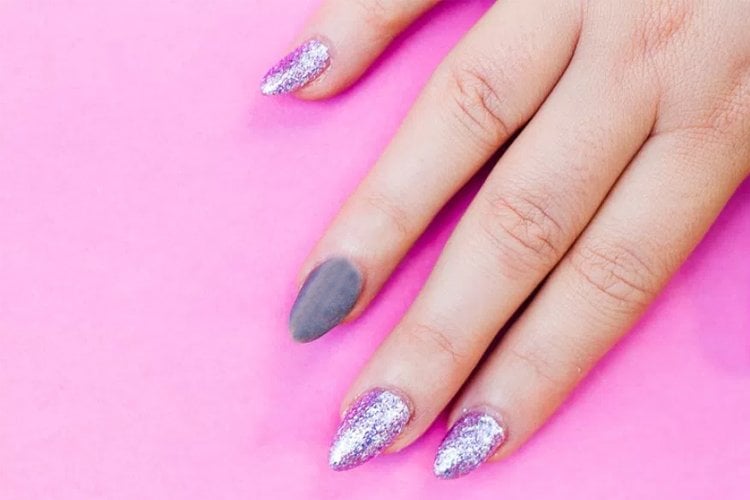
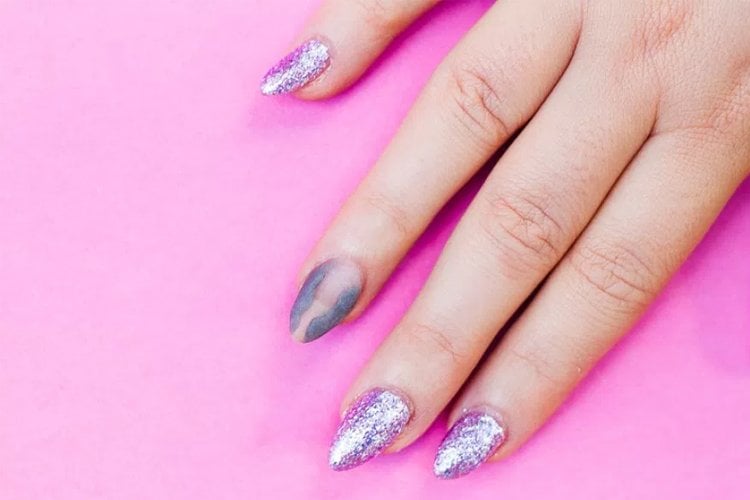
Now take out your grey acrylic powder, dip it in your acrylic liquid and start applying it to the outer edges of the nail. Yes, you need to do so only on your ring finger on which you had skipped applying the purple gel glitter polish.
Step 3:
At this point, apply darker acrylic grey around the outer edges of the grey acrylic powder in order to create a slight ombre effect on the nail.
Step 4:
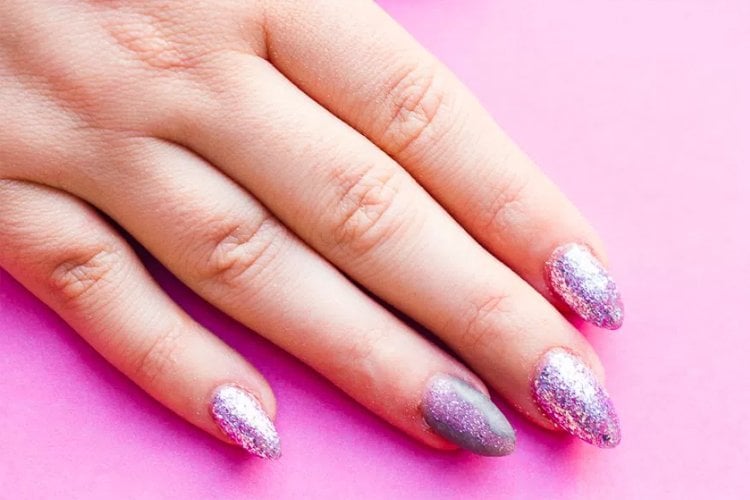
Now is the time to fill the gaps with clear glitter acrylic powder. After that buffer the entire nail to attain an even surface.
Step 5:
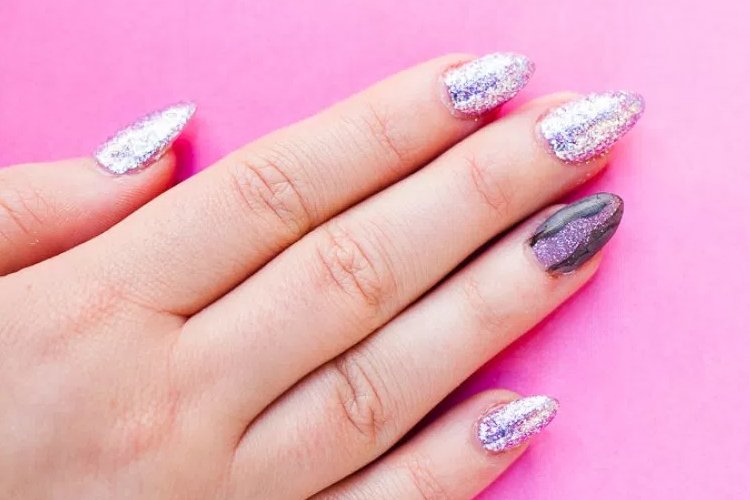
Now get a bowl of water and your black acrylic paint and your nail art brush. Keep your nail art tools handy, and start with dipping your paintbrush into your paint. Then follow the line where your grey acrylic touches the purple. Quickly dip your brush back into the water and blur out the line so that it does not get a super-defined look.
Step 7:
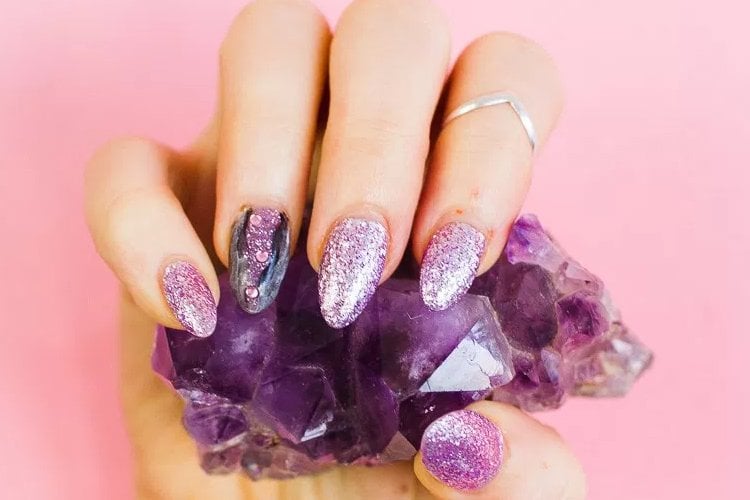
Now add a few small nail gems, then add your UV top coat to finish and set. Your purple amethyst is done!
Here’s a video tutorial to get the amethyst nail art RIGHT!
Hope you liked the DIY amethyst nail art tutorial. What do you girlies think? Do let us know in the comments box if you try our tips or know other ways to nail the look. We would love to hear back from you!
Images Source: bespoke-bride.com
