
The glitter and glamour of Indian costumes, whether it is Punjabi, Rajasthani, South Indian or Bengali goes a notch above with ‘mehndi’ on hands and feet. The joy of watching henna powder and making cones out of it is immense. For some it is the method of daily living and for some it’s a beauty hobby. Though there are ready made cones available, there is no harm in learning the tricks of making the henna cone all by yourself. That way, you will enjoy applying henna all the more. And no, henna cone preparation doesn’t need formal training, just the ecstasy of learning and doing it by yourself is sufficient.
How to Make a Henna Cone
Here we go preparing the henna cone step by step. It is easy and can be done in a matter of minutes.
1. Take a steel or wooden bowl first.
2. Mix 2 tbsp henna powder, water and essential oils (eucalyptus or tea tree oil) into it and make a paste. You can add few drops of lemon juice and warm water to get a paste of thick consistency.
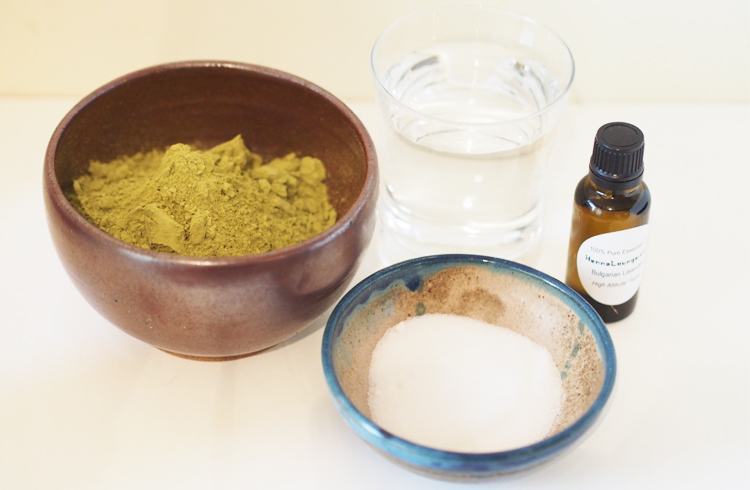
Source: wordpress.com
3. Now cover the bowl with a thin transparent clingy film and keep it aside overnight.
4. Get plastic rolls, cut them to A5 size, and start rolling the cone by folding it in the middle. Put tape in order to hold the cone together.
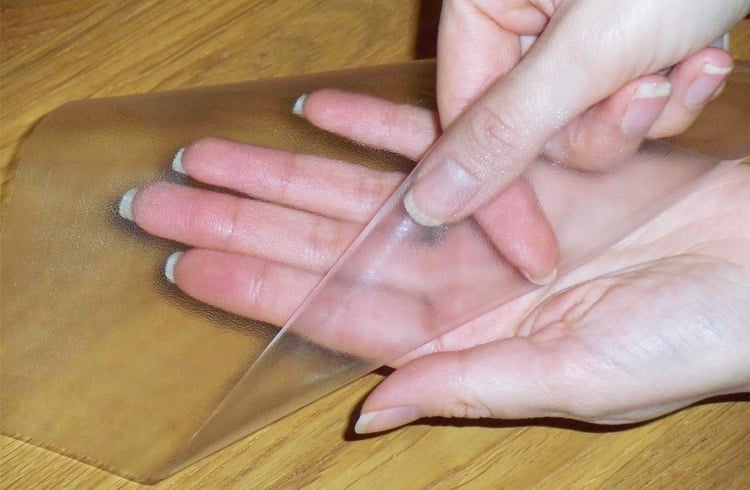
Source: ytimg.com
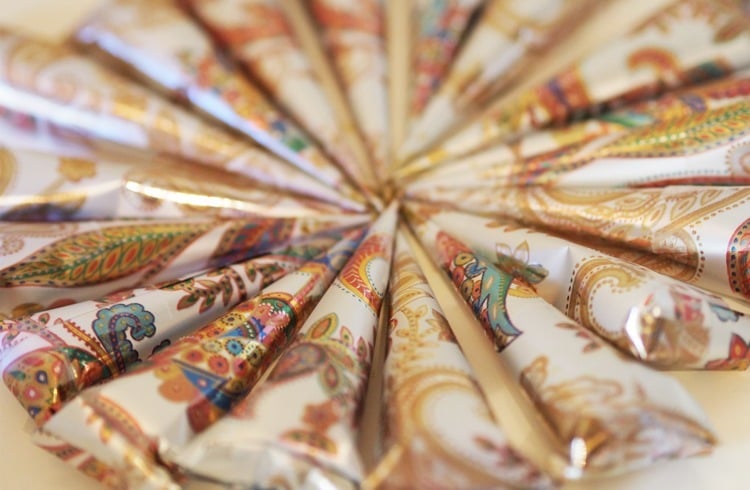
5. The finished cone will look like this.
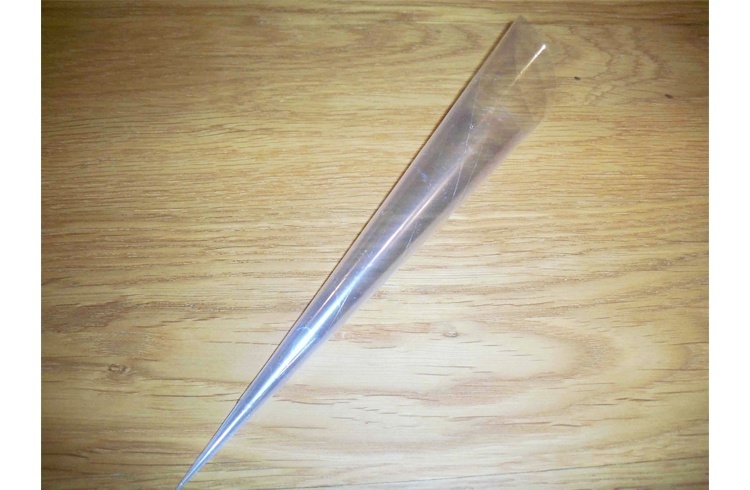
Source: hairmakeup.co.uk
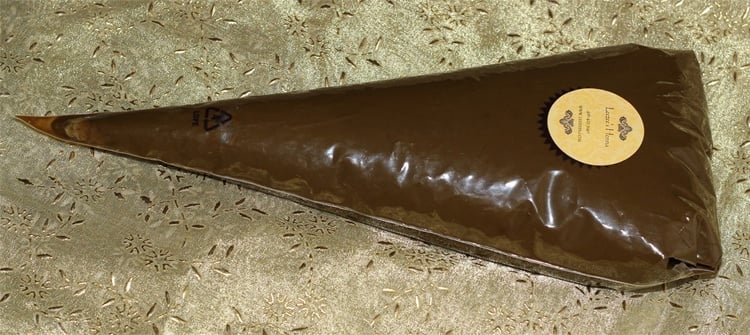
6. Take out the henna preparation from the bowl with a tablespoon and put it into the cone gently and in small measures. Make sure not to overstuff the cone with mehndi. Leave some space so that you can push the mehandi down on the hands where you are applying mehndi on.
7. Tape the top of the henna cone in a secure manner and snip it at the tip in such a manner so that it doesn’t come out of the cone very thick.

Source: mehndidesign.net
8. Keep the henna cones at room temperature for about a day after which you can keep it in the refrigerator for further use.
Source: wordpress.com
[sc:mediad]
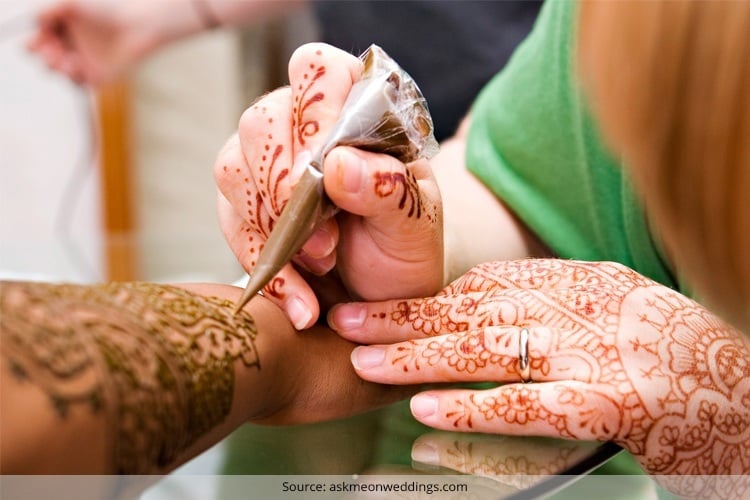
9. Start henna application by drawing a big pattern on the hand. It could be a geometric paisley shape. Now start to draw outward from the center.
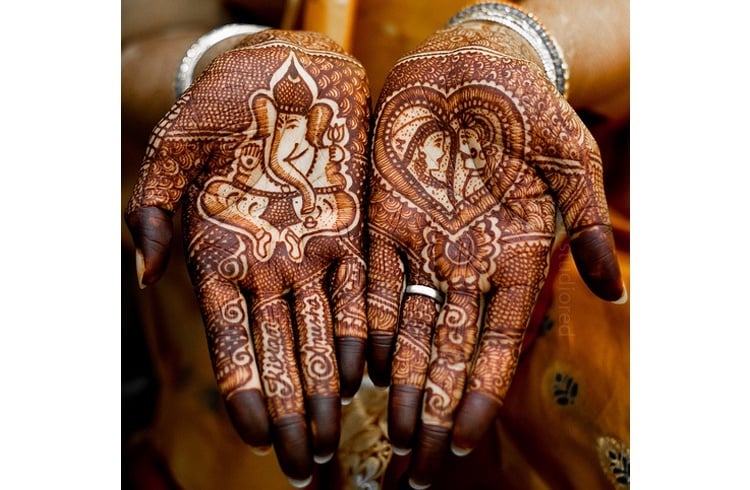
Source: theknotstory.com
Shelf Life of Henna Cone
A mehendi cone is not such a small item as you think. The henna application artists that we find mushrooming in the bazaar in the evenings use one cone to decorate up to ten hands on an average. In case, detailed designs need to be done, then one cone can do only two hands.
Source: shopify.com
The plastic wrap for the cones can be bought from cosmetic stores and online as well. But whatever it may be, with summer vacations around, spend some time making a henna cone at home. If need be, call your friends over and let them pick up this skill too. Happy Cone-ing your hands and feet!