If you believe that a new hairstyle is one of the major contributors for image makeover then you should start practicing some latest styles on your own. The high braided crown hairstyle may seem to be a difficult choice, but you do not have to be a back-breaker to obtain this style.
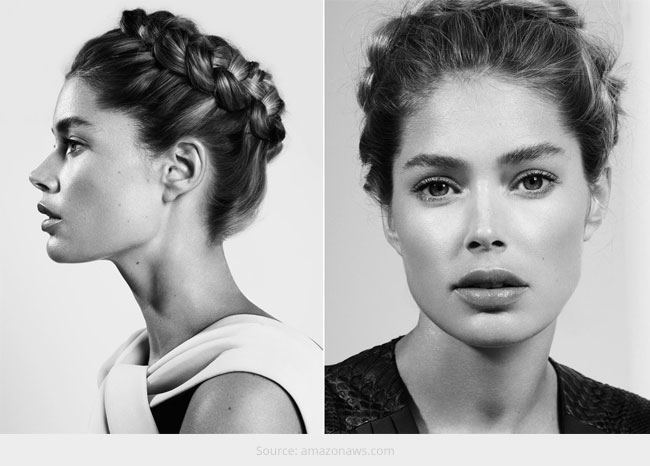
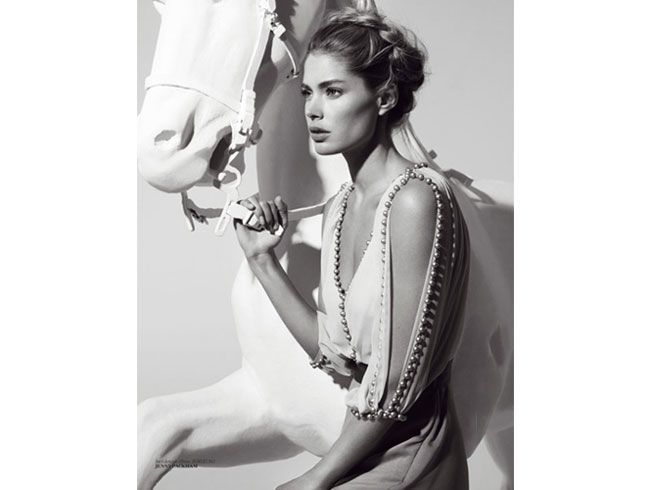
Instead, a little effort and practice can give you fair hands over this latest hair styling idea. Ever since I had seen Doutzen Kroes on the cover page of Vogue Turkey for March 2014 issue, I was not only smitten by her raw charm but also her high braided crown hairstyle appealed greatly to me. The Dutch braid added winning elements to her style statement. Since then I have been trying to master this complex yet elegant hairstyle and thought of sharing this style with my readers as well.

Source: livejournal.com
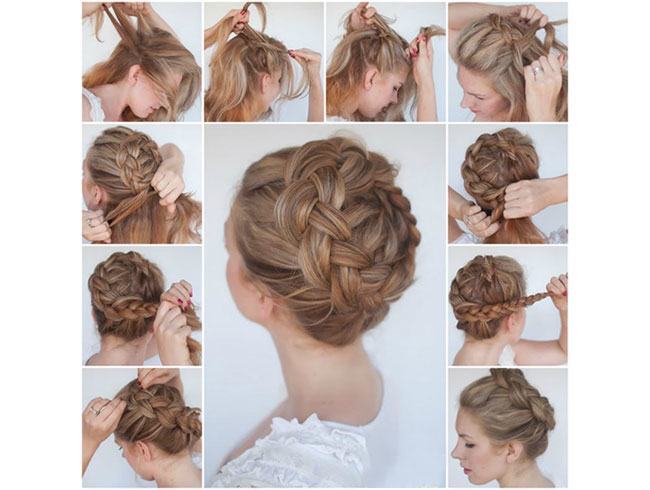
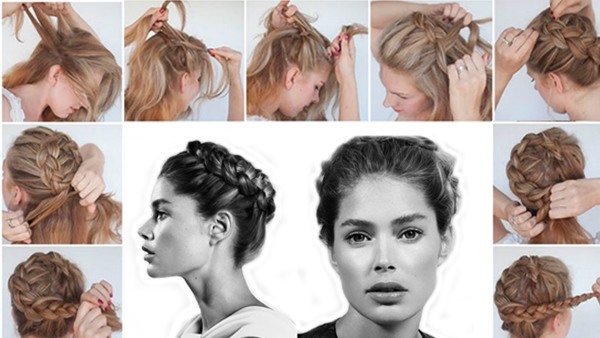
Here is a step by step tutorial for high braided or reverse braid crown hairstyle. This style follows no rule to start with and you can pick any random place on the crown to start your braid. Even though your arms are going to become tired if you’ll be trying this style by yourself; you can still nail it in the first go. Do not forget to maintain the circle while creating the plaits.
[sc:mediad]
With the simple steps shared below, you can also give high braided crown hairstyle a try and flaunt a melo-dramatic look!

Source: topfashioncorner.com
Firstly, you should prep your hair, i.e. your hair should have volume, so much so that it gives you a good hold. You can blow dry your hair and curl it overnight and then spray some dry shampoo before brushing your hair to create this style. This will give your hair good amount of volume thereby making your braided crown look bigger. You can also apply a good volumizing mousse at the roots and blow dry before styling your hair.
- Now brush your hair to remove any tangles and mark the spot where you want to start your braid
- Make sure the braid sits like a halo around the crown, so that the top of the braid looks high at the back.
- The ideal way is to start the plaits from behind the right ear. This way, you’ll get a continuous flow across your crown
- Now divide your hair into three parts to begin your Dutch braid
- The Dutch braid is created in reverse direction unlike the French one. For this, do the crossing from left, under the middle and then proceed towards right
- Continue with the braid by adding small sections of hair from your hairline
- Now curve the braid above your occipital bone to maintain the circle
- Once you’ve added all the hair now complete it with a regular plait and secure the end with elastic
- Now use your fingers to stretch the braid to complete the crown shape
- You can also touch up the loose sections by using some pins to ensure the high braided crown hairstyle stays in place
Hope this step by step tutorial on high braided crown hairstyle proved useful!
