
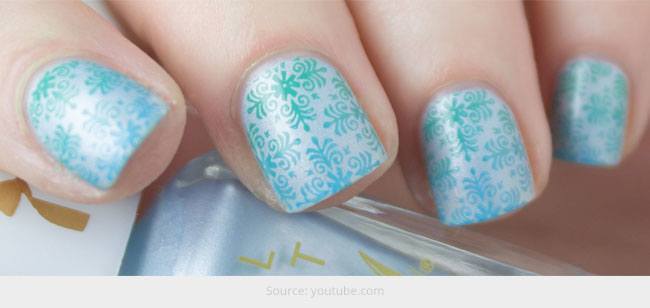
The next best to nail art is gradient stamping. These come out very well and are less messy and time consuming. All the designs come out in similar shapes unlike nail art designs that you may have to re-work on them a couple of time to get what you exactly want. So, my lovely readers go through this post and gather some inspiration for your beautiful nails with gradient stamping nail art tutorial.
Initially it might seem like a problem in figuring out how to blend colors to get the gradient right. But practice will make you perfect. So don’t give up hope.
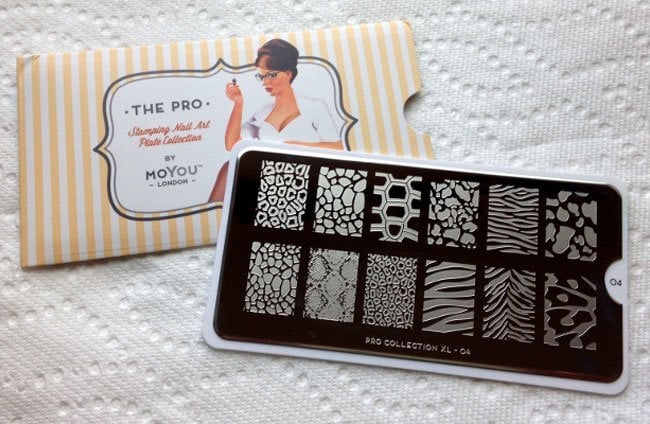
Here are the supplies you’ll need for gradient stamping nail art:
- Nail Art Stamping Kit – You can also go for Konad stamping nail art plate that is available on Flipkart
- Mini round stamping sponge
- Nail polish – You can pick any two shades of your choice
- Top coat
- B. Loves Plates Scraper
- Pure Acetone
- Tapered Clean-Up Brush
Source: i1.wp.com
Watch the video and also read a step by step tutorial on gradient stamping nail art tutorial for beginners. Continue reading!
[Also Read: How to Trim Cuticles]
[sc:mediad]
- Firstly, apply a base coat and let the coat to dry completely
- Now apply your base color and let it dry
- Get your gradient stamping plate ready and pick two nail paints that are contrasting to your base color
- Now carefully apply one of the gradient shades on half portion of a design and paint the other half with another shade
- Since the designs can be larger than the size of your nails, you do not have to paint the entire design
[Also Read: Nail Stamping Plate]
- After applying use the scraper and scrape the paint twice so as to remove the extra paint from the plate. This scraping will properly blend both the shades on the design
- Now you need to be very careful with this step. Plus, you need to be quick as the paints on the plate can dry up. All you need to do is press the stamping sponge on the plate and pick the design. You do not have to hold the sponge on the plate for too long. However, you need to press it hard so that the full design is stamped on it
- Now stamp the design on your nail by pressing the sponge over it. Press it flat and quick. You can also roll the stamping sponge over the nail to ensure the gradient is stamped properly all over the nail
- Now finish your gradient stamping with a top coat to ensure the design lasts longer
Hope this step by step gradient stamping nail art tutorial for beginners help you in getting your design right.