
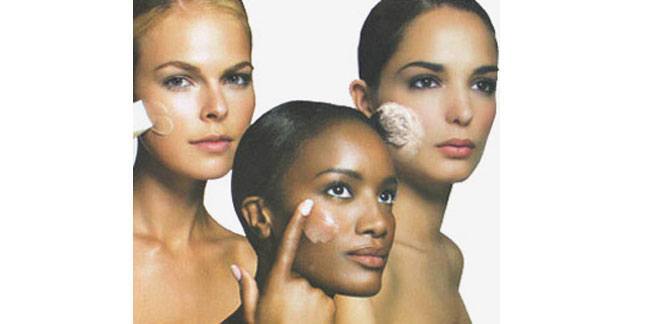
Most of us feel a little strange applying mineral makeup the first time- guess what, we may have not done it the right way; hence the hitch and the glitch. Popular brands have a range of kits for us to choose from- each better than the next and assuring a flawless look– absolutely good and very natural for every skin type and tone.
Quite different from traditional makeup
Mineral makeup is a little more to touch and feel, much more than what traditional powder or liquid foundation is all about. And, once you get a hang of it- the sky is the limit and accolades would be yours to keep. Ready to bring on the natural feel, a flawless look and a light coverage- read on and learn how to apply mineral makeup!
source:examiner.com
Rules to follow
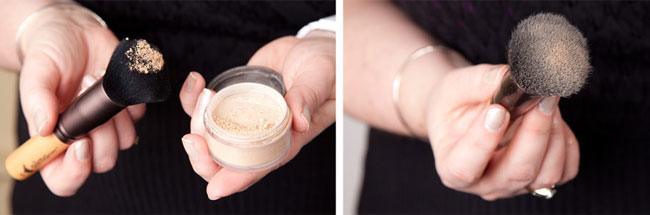
1. Always (we cannot emphasize enough on this) pick mineral makeup either in kits or sets- not individually. A starter kit is what we would advise going with, since it has everything a beginner needs- from applicator brushes to DVDs for instruction.

source:thegloss.com
2. Prior to applying mineral makeup, you should wash your face and clean it well- pat dry only thereafter.
3. Apply a reputed moisturizer before starting with the makeup application. This would bring about a healthy glow to the skin and also reduces the visibility of pores too.
4. Another reason why moisturizers should be used is to help ‘smoothen out’ the skin surface- applying mineral makeup thus becomes easier. The moisturizer should absorb into the skin and dry off on the surface, before the next step is taken into consideration.
[sc:mediad]
5. Now, use your index finger as a ‘palette’ and allow a small amount of the foundation on it – overturn the finger onto a real ‘makeup palette’– the finger rule used wouldn’t allow you to waste makeup.
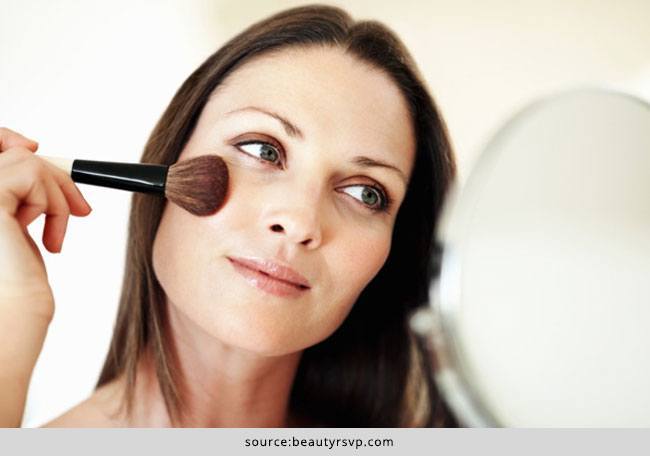
6. With a foundation brush and in swirls, tap the side of the brush against the lid of the foundation- helps keep excess powder at bay- you rather use less than waste more.
7. With a gentle yet swift touch, brush the skin so that the makeup is now transferred over the skin – circular motions only should be used.
8. If there are problem areas (spider veins, acne, dark spots or pigmentation) to hide, focus on building the most amount of coverage here- save areas with no problems for the last.
9. Use a concealer of repute which brings about a flawless and smooth look- applying it on the troubled zones post the foundation application.
10. Upon reaching the desired coverage using the foundation and concealer, you now would move on to using the ‘veil powder’ and the ‘bronzer’- the two are found easily in the starter kit- hence, it is important to pick up a ‘starter kit’.
source:shopify.com
11. Use the same steps as we did for the foundation and the concealer, for the veil powder and the bronzer. Focus areas would be the cheek, the forehead and the chin- a sun-kissed
glow why not?
12. For a dark intense look for the eyes, it would be best to use a dark pencil and very light eyeshadow for contrast.