Some are red and some are blue- we are talking about the blood vessels that show up on the surface of your skin- the face or your legs; the dreaded spider veins. Spider veins are caused due to ageing, hereditary, overexposure to the harmful rays of the sun or because of one’s hormones too.
Physically, spider veins are harmless however the condition can take a toll on an individual’s self-esteem and could also be a cause of embarrassment too. But all hope is not lost; here are a few tips on how you could camouflage spider veins and look a million bucks in less than 10 minutes. Excited are you? Learn more!
Grab hold of the following
- A reputed waterproof foundation
- A reputed concealer
- A reputed translucent powder for the face
- An oil free moisturizing cream, and
- A few sponges
Step 1
Shop for foundation that is thick and not watery- stay away from the regular foundations which even out the skin tone but wouldn’t hide the pesky issues. If you do choose to use liquid foundation, it should be thick and not otherwise- lasts longer or else it fades. Check for foundation which can cover almost anything- tattoos to scars; serious coverage would thus be possible. While picking foundation, the shade you choose should be as close to your real skin tone as possible. And, do not forget to pick up a translucent powder set as well.

Source: irishtimes.com
Step 2
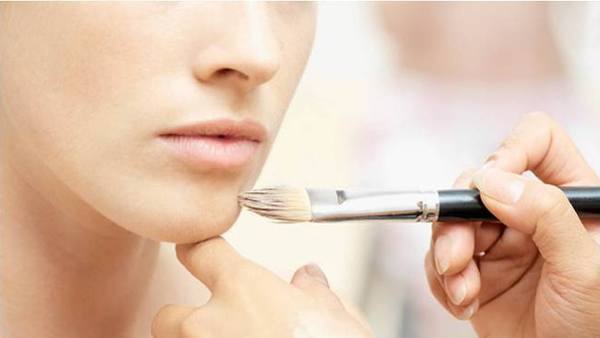
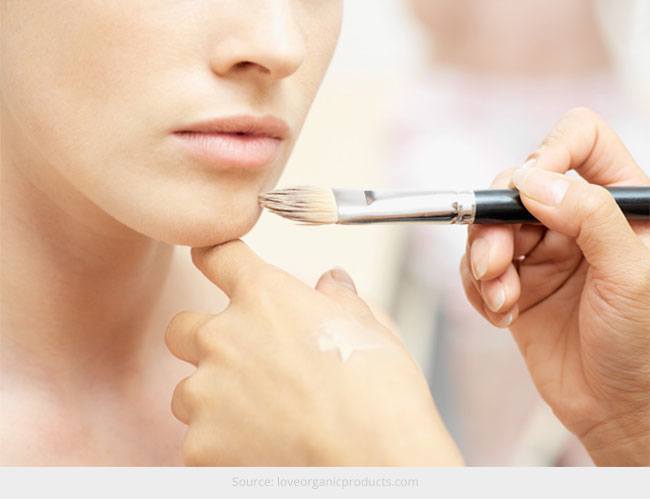
While picking concealer from a reputed brand, choose one that wouldn’t make the face look ‘colourful’, but a brand that would help with serious coverage. The shade chosen should be 1 or 2 shades lighter than the foundation you choose.

Source: getthegloss.com
Step 3
Use an herbal or a mild face wash and clean the skin- pat dry thereafter. While it is a little damp, apply the moisturizing cream; choose an oil-free one. If your skin is too oily, use just a drop and not more; the reverse for dry and sensitive skin- give it a good two minutes to allow the moisturizer settle and absorb.

Source: womensfitness.co.uk
Step 4
You are now ready to use the concealer; use it direct onto the problem areas with the help of your finger tips. The touch should be gentle and feather like- blending the concealer slow and steady into the skin.
[sc:mediad]

Source: prevention.com
Step 5
Use a cosmetic sponge to dab the foundation onto your skin. It should be an upward motion and not a rubbing-it-in motion that should be adhered to. Allow the foundation to cover the concealer first, follow this up with the whole face- focus more on the spider veined zones. For a natural look- apply a little moisturizer to the foundation and then apply- brings to the face a healthy glow.

Source: huffpost.com
Step 6
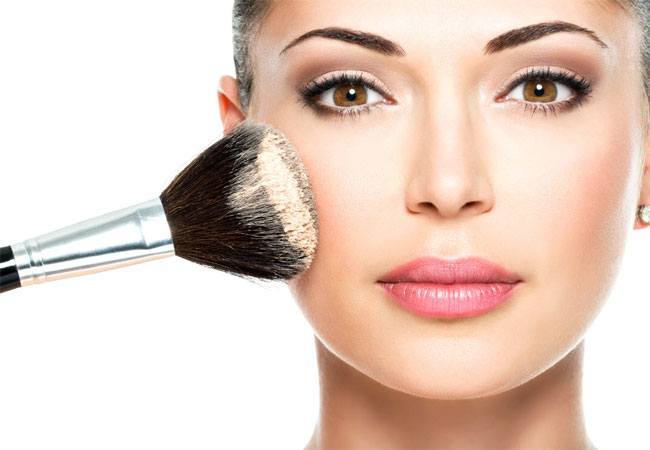
Dust a little translucent powder on your face post the foundation application. A gentle pat is all you’d need to complete the look. The translucent powder would help set the look and wouldn’t allow it to fall over your neck and shoulders too.
Source: empire.edu
Step 7
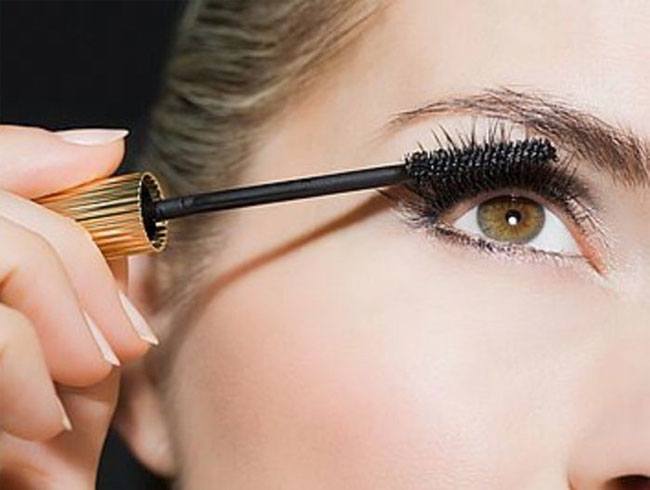
Doll up the lashes with waterproof mascara and use a dark pencil to line the top and bottom of the lash line too.
Source: yanabeautystudio.com
Step 8
Wear bright lipsticks- pinks, red and purples are a trend for 2015. This would take away the attention from the problem areas to the lips.
