
After having discussed in length about various nail art designs and nail art stickers like the Le Nail Art stickers launched by L’Oreal in our previous editions, we have come up with an easy nail art tutorial for beginners. Now you can show your own creativity with DIY project without taking any professional’s help.
We happened to come across a LA based nail artist blogger, Maegan Tintari who regularly writes on nail art designs, home decor and hair styling.
She has come up with a great idea of using lace pieces to decorate your nail.
What you Require:
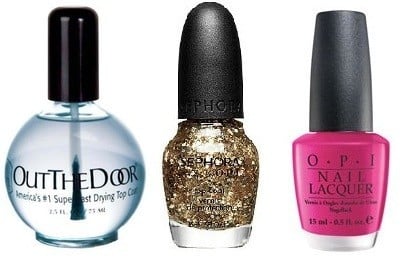
- A fast drying top coat
- Any golden glitter nail polish (Sephora OPI “Only Gold for Me”)
- Any bright shade nail coat (OPI “Koala Berry”)
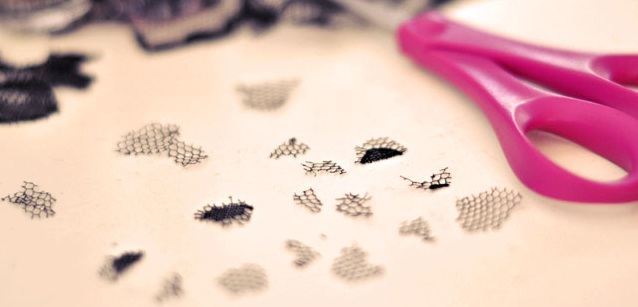
- Black lace
- Scissors, Tweeezer and glue
Steps
1. Paint one coat of your chosen color and allow it to dry
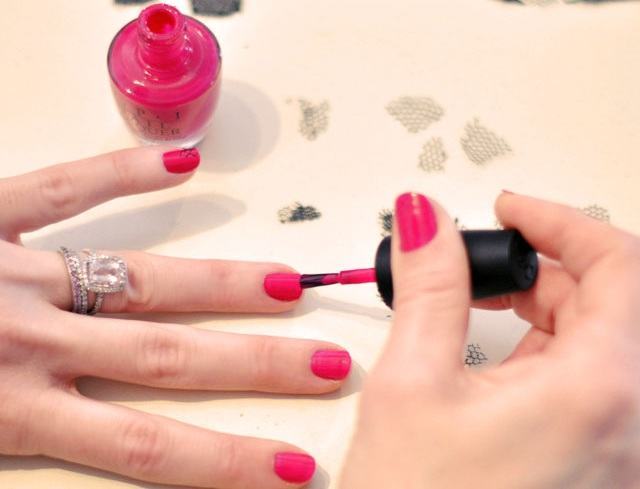
2. Now select the part of the lace you want to choose

3. Cut the pieces of lace as per the size of your nails. You may either cover your entire nail or just a part of it. You can even go for one darker shade and another with lighter shade.
[sc:mediad]
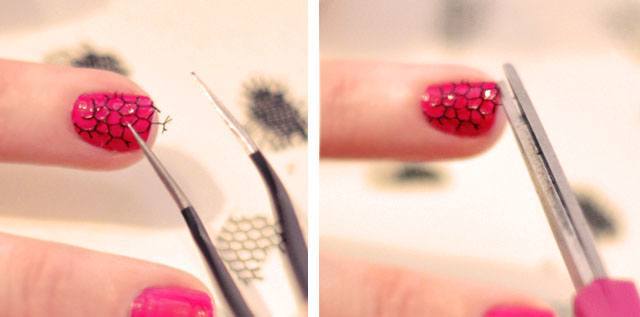
4. Now go for another coat of polish
5. Now with your tweezer, carefully pick up the piece of lace and apply it on your wet nails. In order to set them in place, you can use the back of the tweezer and then trim off the extra with the scissors
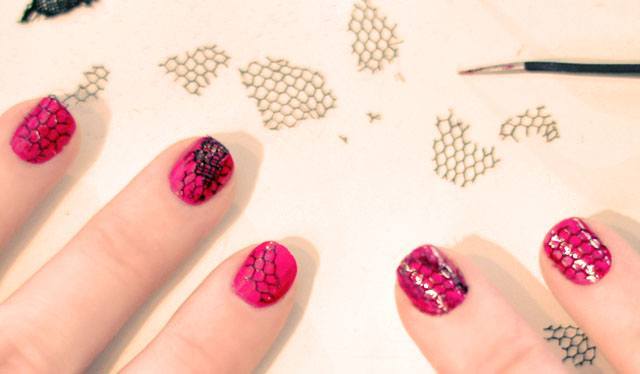
6. Now allow your nails to dry
There you go! Ultra stylish nails in just a few minutes.
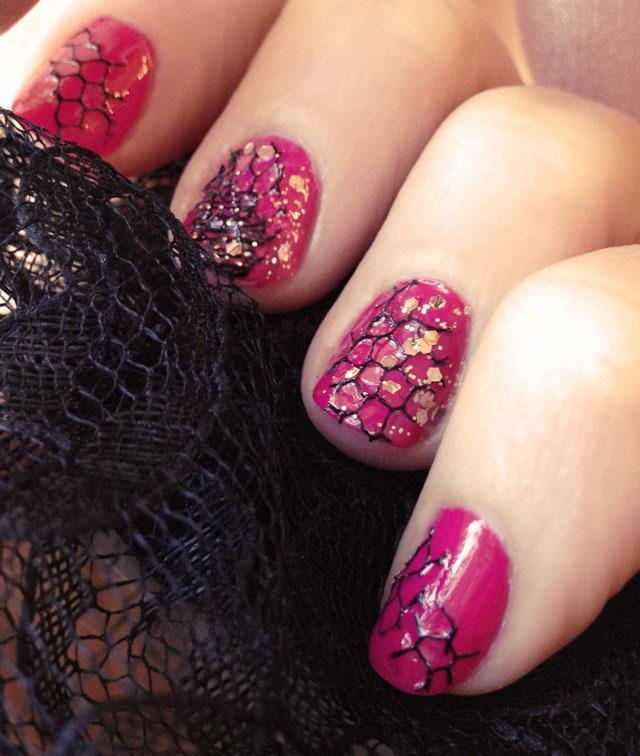
Hope you enjoyed this DIY Project!
Images Source: pinterest.com
